

CAR DETAILING BLOG
by Westchester Auto Detail
Expert car care tips, professional advice and automotive detailing resources.

In the world of automotive detailing, ceramic coatings have become increasingly popular due to their ability to provide long-lasting protection and enhance the appearance of vehicles. However, not all ceramic coatings are created equal. The C6 ceramic coating stands out from the rest, offering a unique blend of advanced materials and innovative technology that takes vehicle protection to the next level.
Scraping your car against another vehicle or object can leave behind an eyesore known as paint transfer. This occurs when the impact transfers paint from the other car or object onto yours, leaving a blotchy smear of foreign paint on your vehicle's exterior. While paint transfer mishaps are common, amateur removal attempts can make the problem much worse by scratching or stripping your clearcoat. As professional detailers, we recommend a careful, step-by-step approach focused on using the least abrasive method necessary. Patience and proper techniques are key to avoiding damage as you work to erase the paint transfer. Start With a Clean, Prepped Surface Before tackling paint transfer, it’s essential to thoroughly wash the vehicle. Use the two-bucket method and quality car wash soap like Gyeon Bathe to gently clean the affected area and surrounding paint. This prevents grinding in any grit or debris during the removal process, which can mar the finish. During your initial wash, try lightly rubbing the paint transfer with your wash mitt. The microfibers may be able to lift some of the foreign paint if the transfer is relatively fresh and on the surface. But be extremely cautious applying pressure and inspect often. Employ a Clay Towel as the First Line of Attack If washing alone doesn’t take care of the paint transfer, reach for a clay towel next. These are made of ultra-fine fibers that work like clay to grab contaminants and pull them away from the clearcoat. Simply spray the area with a lubricating car soap diluted 1:1 with water. Then gently rub straight over the paint transfer using light pressure with the clay towel. Move the towel frequently to expose a clean clay surface. Check your progress often. While less abrasive than clay bars, clay towels can still potentially instill minor marring requiring polishing afterward. This is why it is important to make sure the surface of the paint is as clean as possible, contamination left on the surface can lead to further marring. Be patient and methodical. Try clay toweling for at least 5-10 minutes before determining if a more aggressive approach is needed. Finish by thoroughly rinsing away all debris and lubricant. When Needed, Use a Clay Bar With Caution If a clay towel proves unsuccessful, a traditional clay bar is the next step up. Comprised of a polymer clay compound, clay bars are more aggressive at bonding to and removing stuck-on contaminants. Again, start with a clean and prepped surface. Prep the paint in the same fashion, generously lubricating the area. Then carefully glide the clay bar over the paint transfer using straight, even motions. Apply consistent pressure as you work, and avoid dropping the bar. While effective, clay bars increase the risk of instilling light marring or swirling in the clearcoat around the paint transfer. Take precautions and follow up with polishing. Try to only go over necessary areas where there is still contamination to avoid marring a larger area. Restore Gloss by Polishing the Area After claying, it’s critical to polish the treated paint, even if marring isn’t visible. This removes any potential clouding while restoring clarity and shine to the clearcoat. Polishing helps to eliminate any remaining scratches or imperfections caused by the paint transfer removal process. (Reasons To Polish Your Car, 2015) For machine polishing, use a dual-action polisher on medium speed along with a polishing pad and compound. Work in small sections, overlapping passes for an even finish. Those polishing by hand should choose a polish formulated for application by hand. Use a foam applicator or microfiber cloth with straight motions. Take time to carefully polish and inspect until achieving your desired level of gloss and smoothness. Remove all residue and re-wash the area when complete. Chemical Solutions As a Last Resort For the most stubborn paint transfer, liquid solutions like mineral spirits, paint thinner, or tar remover become an option. But extreme care must be taken as these chemicals can strip or etch your clearcoat if mishandled. Always test a small, inconspicuous area first. If effective without damage, soak a microfiber with the chemical and very gently wipe the paint transfer, checking constantly. Limit application time and wash immediately when done. Re-polish if needed to remove any hazing. It is important to note that chemical solutions should only be used as a last resort due to their potential to damage the clearcoat. Trust the Professionals for Best Results While this covers the basic process, experience makes a difference in the safe, effective removal of paint transfer. If you are ever unsure or dealing with a delicate surface, trust the paint correction experts at Westchester Auto Detail. Bring your car to a professional detail shop to achieve flawless results without risking your investment.

Over time, your car's exterior can become marred with scratches, swirl marks, oxidation, staining, and a faded dull appearance. No matter how gently you care for the paint, normal driving and environmental factors will take their toll. When your once glossy finish starts to lose its luster, paint correction is the detailing solution for restoring your car's beautiful, flawless exterior.
When considering a ceramic coating , one of the most common questions that arises is whether paint correction is necessary first or if the coating can be applied directly. While manufacturers recommend paint correction, some vehicle owners opt to skip it to save time and money. What are the implications of applying ceramic without paint correction? What is Paint Correction? Paint correction is a process of machine polishing the clear coat using compounds and polishes to smooth out imperfections. The goal is to remove swirls, etching, water spots, and oxidation to reveal a flawless, glass-like surface. This prepares the paint for maximum bonding and durability from a ceramic coating. Why Manufacturers Recommend Paint Correction Most reputable ceramic coating brands specify paint correction as a required step before application. There are a few key reasons: Provides a contaminant-free surface. Compounds remove embedded debris a wash misses. This prevents coating bonding issues. Smooths away minor scratches. Claying and washing can micro-scratch paint. Correcting eliminates these flaws so they don't get sealed under the coating. Enhances bonding. The polished clear coat allows the best adherence and uniform coating layer. Extends durability. Coatings last longer on corrected paint than on oxidized, etched surfaces. While high-quality coatings still protect without correction, following manufacturer instructions ensures optimal performance and longevity. The Case for Skipping Paint Correction Some car owners choose to apply ceramic coatings directly to save time and money by skipping paint correction. Reasons include: Newer vehicle with pristine paint. Factors like light use and garage storage can mean no correction needed. Tight budget. $500+ paint correction plus $1,000+ coating is too high. The coating alone enhances shine somewhat. Limited time. Paint correction adds hours or days to the service time. Satisfied with "good enough" results. Less prep gives good-not-perfect enhancement for some owners. While this can work temporarily, it carries long term consequences. Risks of Skipping Paint Correction Applying ceramic coatings without proper paint correction risks: Reduced durability. The coating fails quicker, usually within 1-2 years instead of 3-5 or more. Flaking and peeling. Adhesion issues cause the coating to detach unevenly. Hazy appearance. Micro-marring in the clear coat gets sealed under the coating appearing as clouding. Staining. Surface contaminants get locked under the coating leading to visual distortions. Difficult removal. Removing a coating applied to uncorrected paint is far harder, risking paint damage. Overall, the cost and effort savings often don't outweigh the lackluster results and shortened lifespan from skipping correction. In Conclusion: Correction First Is Best Practice While technically possible to apply a ceramic coating without paint correction, both manufacturers and professional detailers strongly advise properly correcting the paint first. This delivers superior protection, shine, longevity, and value. The extra effort upfront provides exponentially better and longer-lasting results. Discuss your options with a detailing professional to determine if paint correction fits your goals and budget.
For Top-Quality Car Washing in Westchester, NY, Choose Detailing Over a Basic Wash When your car is dirty, a quick run through the automatic Westchester car wash may seem like the easiest solution. But there are major benefits to choosing professional auto detailing over a basic car wash. As experienced Westchester car wash and auto detailing experts, we frequently get asked - what's the difference between a car wash and detailing? Here's how our detailing services go above and beyond: Thorough Cleaning A Westchester car wash provides a fast way to basically rinse dirt off your car's exterior. But our professional detailers do intensive cleaning of every interior and exterior surface using specialized products and techniques to lift embedded contaminants. This removes things a drive-through wash misses. Paint Protection Basic Westchester car washes can actually swirl and scratch your paint with their brushes. Our detailing packages include clay bars, compounds, polishes and waxes protect the paint while restoring the deep glossy finish. Long-Lasting Results A Westchester car wash wears off quickly and dirt builds back up fast. The premium protectants applied during our detailing maintain your car’s pristine condition far longer between services. Customized Service Our detailing is tailored to your car’s specific needs. A full evaluation determines the ideal process and products for your make and condition. Westchester car washes take a one-size-fits-all approach. Interior Services While washes only hit the exterior , we meticulously clean, shampoo, and restore your entire interior from floors to ceiling. This keeps the cabin looking and smelling fresh. Enhanced Value Our professional detailing enhances and maintains your car’s value by keeping it like new inside and out. Westchester car washes have no long term effect on value. While quick, Westchester car washes simply cannot match the transformative results possible with our auto detailing. From headlight restoration to engine bay cleaning and everything between, we offer complete top-to-bottom service. Learn more about our detailing services here , or contact us for a quote tailored to your vehicle’s needs!

Keeping your bike looking slick and running smooth starts with a proper deep clean detailing followed by regular maintenance. This comprehensive guide covers the necessary steps, products, and techniques to make your motorcycle shine using professional-level methods. Why Detail Your Motorcycle? Detailing goes beyond a basic wash to deeply clean surfaces, remove contaminants, and restore cosmetics for a showroom-quality appearance. Benefits include: Removes embedded dirt, grease, bugs, tar, and grime Protects against UV damage, rust, and oxidation Polishes away swirl marks, scratches and defects Waxes or seals for a glossy, slick finish Keeps components functioning optimally Assures safety by cleaning brakes, lights, mirrors etc. Provides thorough inspection while working Extends the life of plastics, paint, chrome, and metals Supplies Needed Bucket with grit guard Soft wash mitts and towels Wheel cleaner and brushes pH balanced shampoo Tire cleaner Degreaser or all-purpose cleaner Foaming surface prep cleaner Pressure washer Blow dryer Clay bar and lubricant Polishes and compounds Wax or sealant Metal/chrome polish Safety Tips Avoid spraying electrical components and air intakes Wear gloves when using cleaners Rinse thoroughly after cleaning Wet surfaces before claying to avoid scratches Only apply polishes by hand or with a buffered orbital tool Test all products on inconspicuous areas first Step-By-Step Motorcycle Detailing Process Wheels and Tires Spray wheel cleaner over the entire wheel/tire and allow to soak briefly. Use a stiff brush to agitate the cleaner and dissolve brake dust and grime on rims, spokes, etc. Rinse. Apply a foam tire cleaner to break down rubber stains and restore a dark black color. Pressure rinse tires as well. Pre-Rinse Rinse the entire bike with a light spray to remove excess dirt and dust. Use a soap canon or foam sprayer to coat the bike with thick clinging suds if needed. This allows soaking and penetration before washing. Wash Hand wash the bike using the two bucket method. Fill one bucket with a motorcycle or auto shampoo mixed with water and the other with plain rinse water. Submerge and wring a wash mitt in the soapy bucket, then wash a section. Rinse mitt in the plain water bucket to remove dirt. Use straight lines and gentle pressure. Pay attention to crevices and hidden areas. Rinse frequently as you work around the entire bike. Degrease and Spot Clean For any oily areas like around the engine or chain not cleaned by washing, apply a citrus degreaser diluted 10:1. Agitate with a brush and rinse. Spray problem spots like bugs, tar, or grease with a multipurpose APC cleaner or adhesive remover. Scrub with a boars hair brush. Rinse. Final Rinse Pressure rinse the entire motorcycle once more to remove any leftover soap residue and lift additional dirt from crevices. Wheel wells, under the seat, and tight areas around fairings will need attention. Dry Use a blow dryer on wand setting to thoroughly dry the motorcycle and crevices, starting with the tank and working your way down and around the components. Go back over areas with a microfiber towel to remove any remaining water spots. Clay Bar Knead a synthetic clay bar to soften it and flatten into a patty shape. Spray a lubricant like quick detailer over a section of the bike. Glide the clay across the surface, using straight back and forth motions. Fold clay frequently to a clean side. Claying removes embedded contaminants from paint, plastic, and glass that washing misses. Use an iron remover if available before claying to make the process easier. It leaves surfaces ultra smooth. Remember to re-lubricate often. Polish and Compound For light oxidation or swirling on paint or plastic, use a polish by hand or with an orbital buffer. Work in small sections with foam pads. For deeper defects, use a cutting compound before polishing . Take care around pinstriping or graphics. Test product compatibility first. Follow directions for application and removal. Wax or Seal Apply a coat of high quality wax or paint sealant by hand or polisher. Use thin, even coats allowing proper curing time between. This protects paint and plastics, while giving an incredible shine. Use a spray wax on chrome or metal components. Maintain Regularly wash your bike by hand using proper techniques to avoid swirls. Wax or seal annually. Inspect and lube components. Repair any new chips, scratches etc. Keeping your bike detailed means you only need to do heavy corrections like claying every 2-3 years. By mastering these detailing steps and motorcycle maintenance practices, you can keep your bike looking and running like new for many more miles down the road. Ride safely and in style!

Opening your car door and seeing mold sprouting on the seats or carpets is frustrating and concerning. But to prevent mold, you first need to understand exactly how and why it's able to grow inside your vehicle in the first place. Mold is present everywhere outdoors but normally doesn't become a problem indoors. Tiny mold spores float in the air, easily entering your car when you open the doors or windows. However, mold cannot actually begin growing until these spores land on a surface with enough moisture. Moisture is the key fuel source for mold. Damp areas in your car, especially fabrics, leather, and carpets, provide the ideal breeding ground for spores to germinate and spread. Common car moisture sources include: Flooding from heavy rain or leaks Condensation buildup on cold window glass and surfaces Door seals, sunroofs, or window leaks Spilled liquids like coffee or soda Wet gear like umbrellas, snowy boots, towels Once mold spores come into contact with a consistently damp area, they activate, sink roots in, and rapidly multiply into fuzzy mold colonies you can see and smell. Even just moderately humid conditions can be enough to initiate growth. To stop mold from recurring or getting worse, you must fully dry out your car's interior and fix any water leaks. Starving mold of moisture prevents regrowth and spread to more areas. Killing surface mold with cleaning solutions is also important. With vigilance to keep your car dry, prompt repair of leaks, and thorough cleaning of contaminated spots , you can take away the water mold needs to grow. A dry cabin won't give spores the chance to turn into a headache-inducing infestation. Consistent moisture control keeps your interior fresh and mold-free.
Ever climbed into your car and been hit with a strong, unpleasant musty or moldy smell? That odor is a clear sign mold is present and actively growing inside your vehicle's cabin. Understanding what causes the moldy stench can help you locate and remove the source. Mold produces microbial volatile organic compounds (mVOCs) as it feeds on organic matter. These smelly chemical compounds quickly evaporate into the air, creating the telltale moldy smell. The odor intensifies as mold growth spreads. While the health effects of breathing in mVOCs are still being researched, they can cause reactions like: Headaches Fatigue Nausea Nasal/throat irritation Dizziness The smelly compounds attach to dust particles which then enter your nose and lungs. Even if you can't see the mold, following the smell helps pinpoint where it's lurking. Getting rid of the musty odor requires eliminating the root cause - moisture. Mold needs consistent dampness to thrive. Common car moisture sources include: Door seals or sunroof leaks Clogged AC evaporator drains Flooding from rain or plumbing issues Condensation buildup on windows or cold surfaces Once you find and repair the moisture issue, thorough cleaning and drying of all fabrics and spaces will banish mold and odors. Ozone treatment and antimicrobial foggers can also neutralize stubborn smells. Don't ignore a moldy smell in your car. The worsening stench means mold is advancing and potentially damaging your vehicle's interior. Take action quickly to attack mold, fix leaks, and restore your car's cabin to a fresh, healthy state. We created a guide on how to remove mold from your vehicle . Follow all the steps to remove musty smells and mold from your vehicle.

Opening the door to your car and being hit with a musty, moldy smell is never pleasant. Mildew and mold spores thrive in the warm, damp environment inside a car, especially if water has leaked in or condensation has built up. Getting rid of that mildew odor and stopping regrowth requires thorough cleaning and drying of the car's interior. According to the US EPA , "There is no practical way to eliminate all mold and mold spores in the indoor environment; the way to control indoor mold growth is to control moisture." With some work, you can banish mildew and restore your car’s cabin to a fresh, clean state. In this article, we’ll cover how to effectively remove mildew and its associated smells from your car’s upholstery, carpets, and hard surfaces. We’ll go over key steps like vacuuming, using antimicrobial cleaners, steam cleaning, and thoroughly drying the car afterwards. While this process takes time and effort, it’s well worth it to erase unpleasant mildew and odors from your vehicle’s interior.
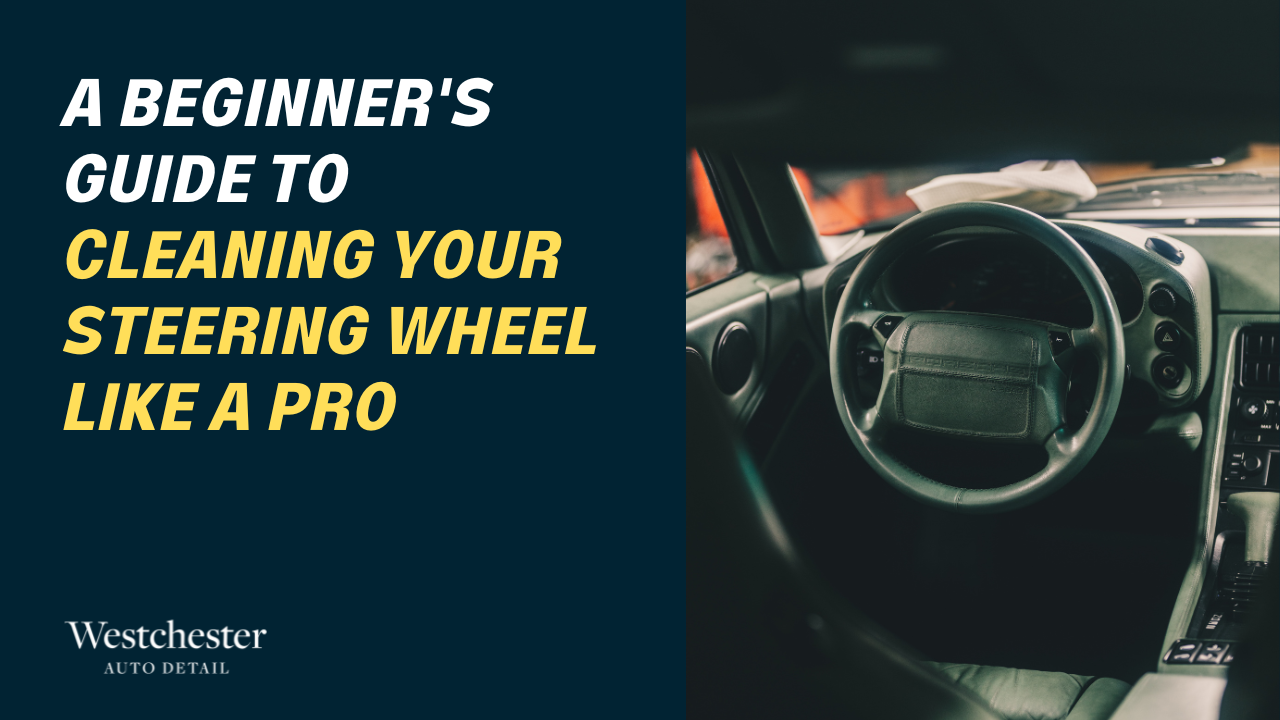
Your steering wheel is one of the most frequently touched parts of your vehicle. Over time, dirt, grease, and grime can build up, making it feel gritty or slippery and look dirty and dingy. While it’s easy to overlook steering wheel maintenance, keeping it clean isn’t just for aesthetics - it’s critical for maximizing control and ensuring safety while driving. A study published by Ashton University found that the typical steering wheel could have up to 700 different types of bacteria, while a toilet seat only has 60 different possible types. In this beginner's guide, we’ll walk through the fundamentals of proper steering wheel cleaning so you can keep your wheel looking like new and maintain a solid grip at all times. Understanding Steering Wheel Materials The first step is identifying what material your steering wheel is made of, as the proper cleaning method depends on the type of material: Leather: Most luxury vehicles have leather steering wheels. Leather requires gentle cleansers and conditioners to prevent drying out. Synthetic leather: Less expensive to maintain than real leather. Can handle stronger cleaners but still requires some conditioning. Plastic/rubber: Most affordable and durable factory steering wheels. Can be cleaned aggressively with chemical cleaners. Wood: Found in some luxury or custom vehicles. Requires very gentle cleaning like leather. Alcantara: Soft suede-like synthetic material. Needs a delicate touch to avoid damage. Assembling Your Cleaning Tools Having the right cleaning tools makes steering wheel cleaning much easier: Microfiber cloths: Gentle on all surfaces and great for wiping away dirt and dust. All purpose cleaner: All-purpose interior cleaner safe for most materials. Good for quick cleanups. Detailing brushes: Soft brushes to scrub away stubborn dirt in crevices and texture. Exfoliating pad: For deeper cleaning of synthetic leather and plastic wheels. Leather conditioner : Nourishes and protects leather after cleaning. Cotton swabs: Useful for extremely delicate materials like real wood or Alcantara suede. Pre-Cleaning Assessment Before cleaning, inspect your steering wheel closely and make note of problem areas like heavy dirt or stain buildup. This allows you to tailor your cleaning efforts to the wheel's specific needs. Check for: Oily, shiny areas indicating dirt and skin oil accumulation Dull, faded spots suggesting sun damage on leather Sticky spots or crusty textures from spilled drinks Gritty textures when you run your hand across it General Cleaning Techniques For regular maintenance cleaning, a microfiber cloth lightly dampened with a detailing spray is ideal for most steering wheel materials. Wipe the wheel surface using small circular motions to lift up and capture dirt. For deeper periodic cleaning, opt for a detailing brush and interior cleaner fluid designed for your wheel's surface type. Use short scrubbing motions to dislodge stuck-on grime. Finish by wiping clean with a fresh microfiber cloth. Deep Cleaning Methods For more intensive cleaning every few months: Leather: Mix a mild soap with warm water and use a soft brush to create a light lather on the wheel. Wipe clean with a damp cloth, then apply leather conditioner. Plastic/Rubber: Use an exfoliating pad dipped in interior cleaner for an abrasive scrub. Rinse with a wet cloth until all residue is gone. Alcantara: Very lightly mist water using a spray bottle and dab clean with a microfiber cloth. Let fully air dry before using. Wood: Wipe with a cotton cloth dampened with distilled water. Dry immediately with a clean cotton cloth. Removing Tough Stains For challenging stains, try these techniques: Ink/grease: Use a cloth dampened with isopropyl alcohol. Rinse and dry thoroughly after. Dried soda: Saturate with interior cleaner and scrub gently with a soft brush. Mysterious spots: Dab with a cloth and adhesive remover made for automotive upholstery. Always follow up spot cleaning with a regular cleaning to avoid damage or residue. Maintaining a Secure Grip A clean steering wheel helps maintain a secure grip by getting rid of oils, residue and buildup that can make the wheel slick. Thorough cleaning restores traction and control. Extra Cleaning Tips Use a toothbrush or detail brush to gently clean stitching, buttons, and tight crevices. Focus on the areas at 9 and 3 o’clock, where hands contact the wheel the most. Move in consistent circular motions to effectively lift dirt. Change cleaning cloths frequently to prevent spreading around dirt. Work in manageable sections instead of tackling the whole wheel at once. Prevention Strategies Implement these habits to keep your steering wheel cleaner between washes: Wash hands before driving to reduce dirt and oil transfer. Wipe down the wheel routinely with quick detailer spray. Cover the wheel with a fitted sun shield if parking outside for extended periods. Apply a protectant like 303 Aerospace Protectant to minimize dust buildup. Maintaining Steering Wheel Cleanliness Get into the habit of quick cleaning your steering wheel after each drive to prevent heavy buildup. Wipe it down with a microfiber cloth sprayed with interior detailer to easily capture dust and oils transferred from your hands. Deep clean your steering wheel every 1-2 months using the methods outlined above to keep it looking fresh and new. Well-maintained wheels enhance the interior ambiance and provide a pleasant grip. Conclusion Regular steering wheel cleaning is a simple practice that pays dividends in the safety, longevity and aesthetics of your vehicle’s interior. Understanding your wheel's material requirements, using the proper tools and techniques, and cleaning thoroughly on a routine basis will keep your wheel in prime condition for the best driving experience.
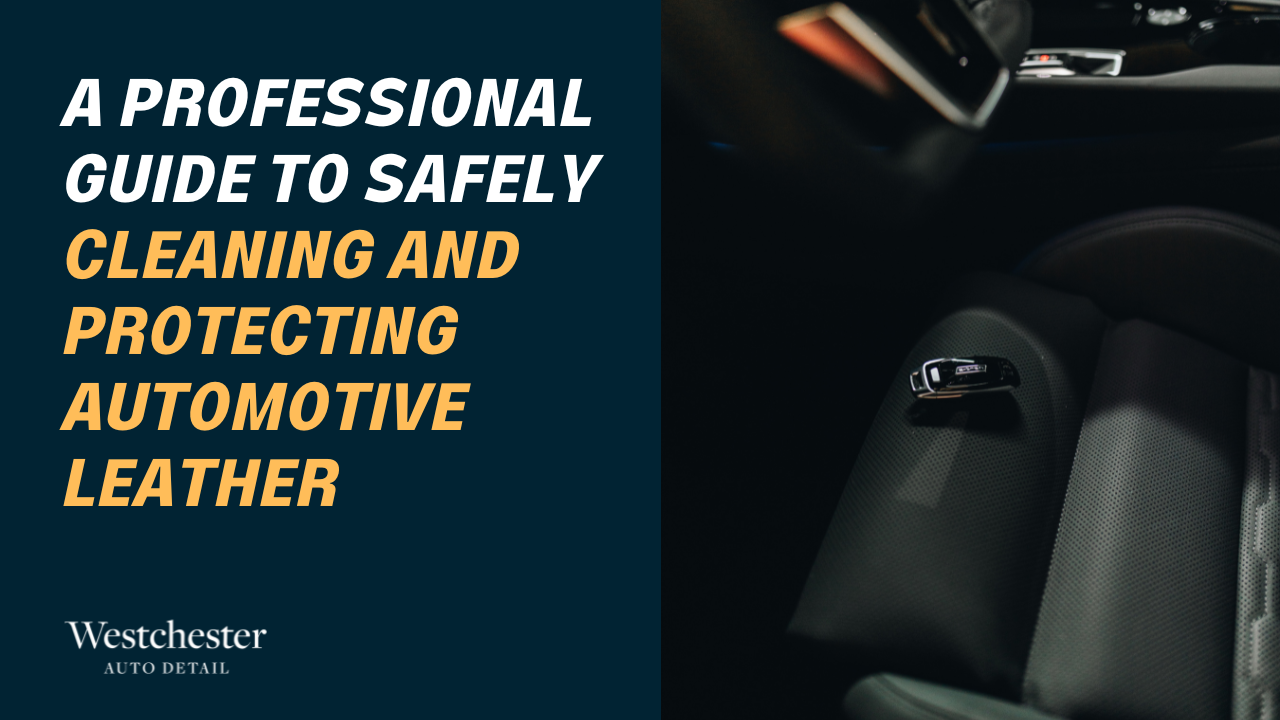
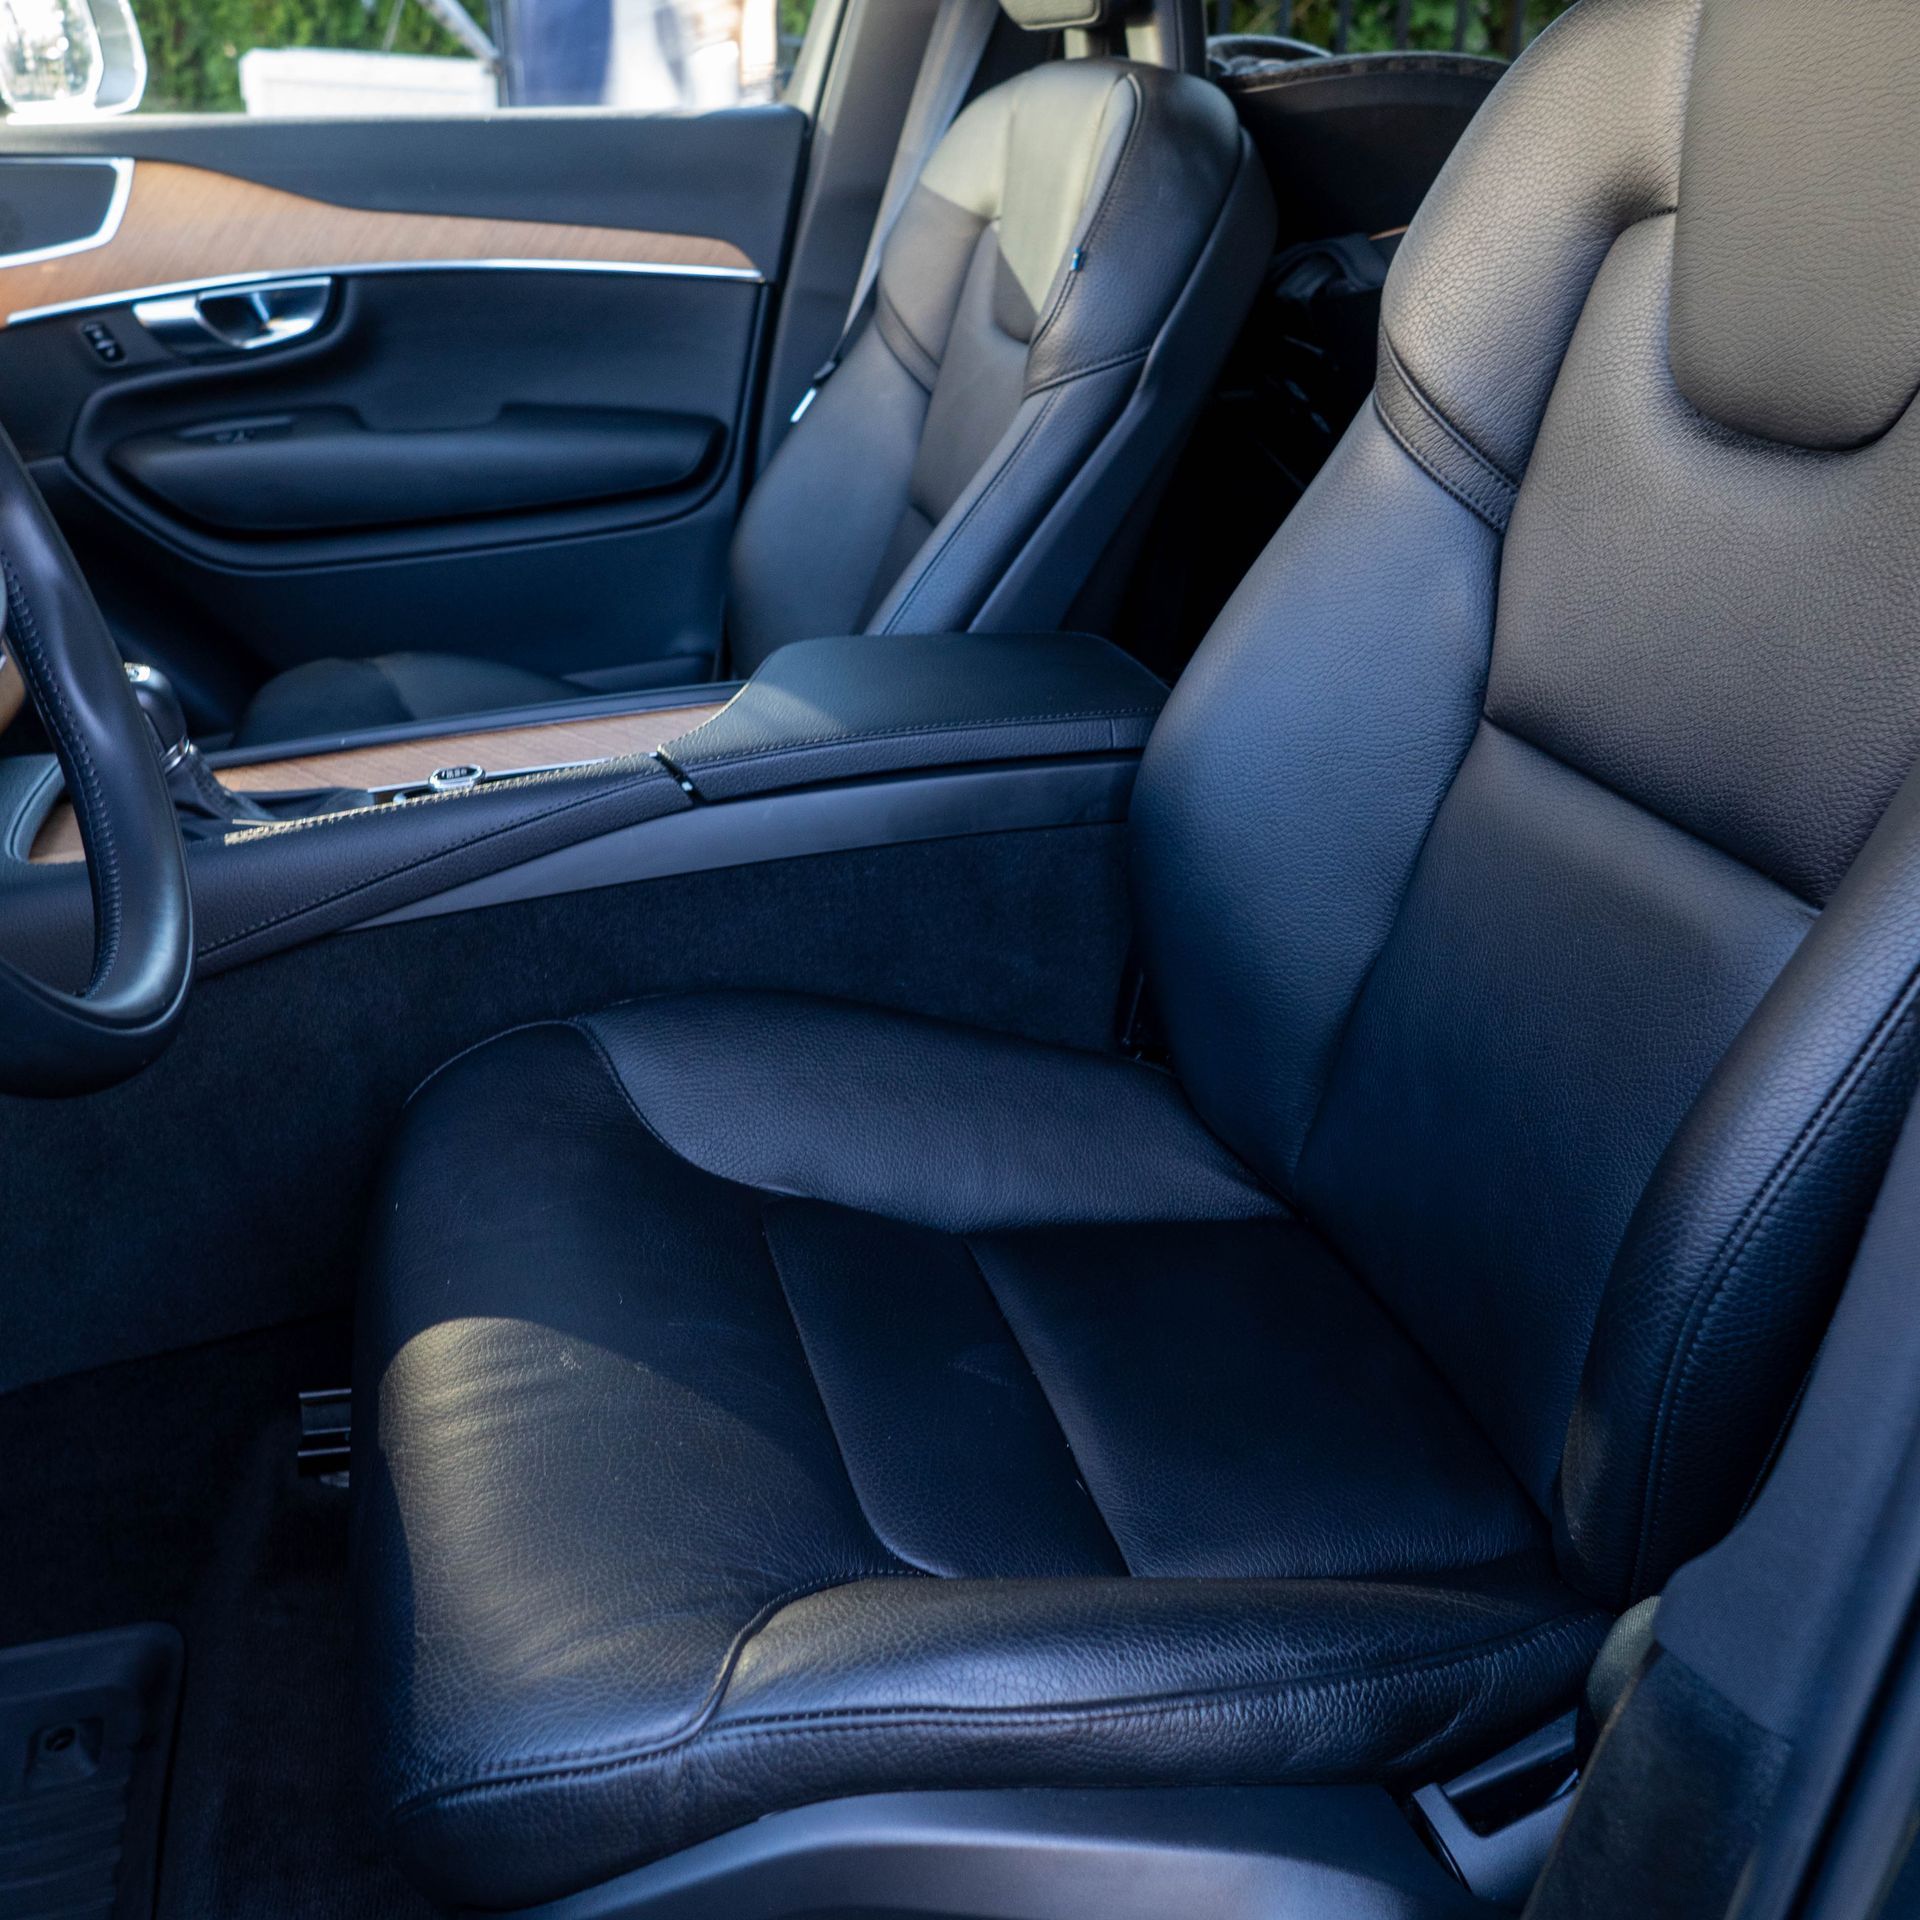
At Westchester Auto Detail, we specialize in premium detailing services for all vehicle types. Our expert team cares meticulously for automotive exteriors and interiors using modern techniques tailored to each car's unique needs. For leather upholstery, we follow strict protocols to clean and condition safely with non-damaging products. Leather upholstery instantly elevates a car's interior with its supple texture and upscale aesthetic. But keeping leather looking pristine requires gentle care tailored to its delicate nature. Harsh chemicals and improper cleaning can permanently damage leather's surface and protective finish. Follow this professional guidance to properly care for your vehicle’s leather interior. We'll cover utilizing the right products, tools and techniques to clean leather safely without causing premature wear, drying or cracking over time.

When it comes to keeping your car looking shiny and new, the array of cleaning and protection products on the market can seem endless and confusing. Terms like "polish", "compound", and " wax " get thrown around frequently, but what is the difference between them? This guide breaks down five major product categories to help demystify essential solutions for paint care. Polishes use mild abrasives to remove minor defects in the clear coat finish of your car's paint. Swirl marks, fine scratches, and oxidation can be effectively reduced by working a polish into the paint's surface with an orbital polisher. Choosing a polish matched to the hardness level of your vehicle's paint ensures ideal results. Compounds are more aggressive, designed to cut deeper into the clear coat to remove or smooth over scratches and flaws that polishes cannot address on their own. While compounds require more physical effort to apply, they yield very noticeable improvement in paint clarity by removing deeper blemishes. All-in-one (AIO) products offer a convenient 3-in-1 formula with polishing/ paint cleaning agents, very light abrasives for simple defect removal, and protective ingredients in one solution. They allow for easy routine maintenance washes while gently enhancing the paint over time. However, AIOs lack the cutting power to address very dull, scratched or oxidized paint. Pre-wax cleaners strip away old wax, sealants and other bonded contaminants, preparing the paint for improved adhesion with the next product applied. Using them ensures maximum durability for your chosen wax or sealant. Now equipped with knowledge of these "must-have" product types, you can build an effective paint care regimen tailored to your vehicle's unique needs. Proper product selection is the first step to maintaining showroom shine for miles to come.

Tackling Fresh Sap
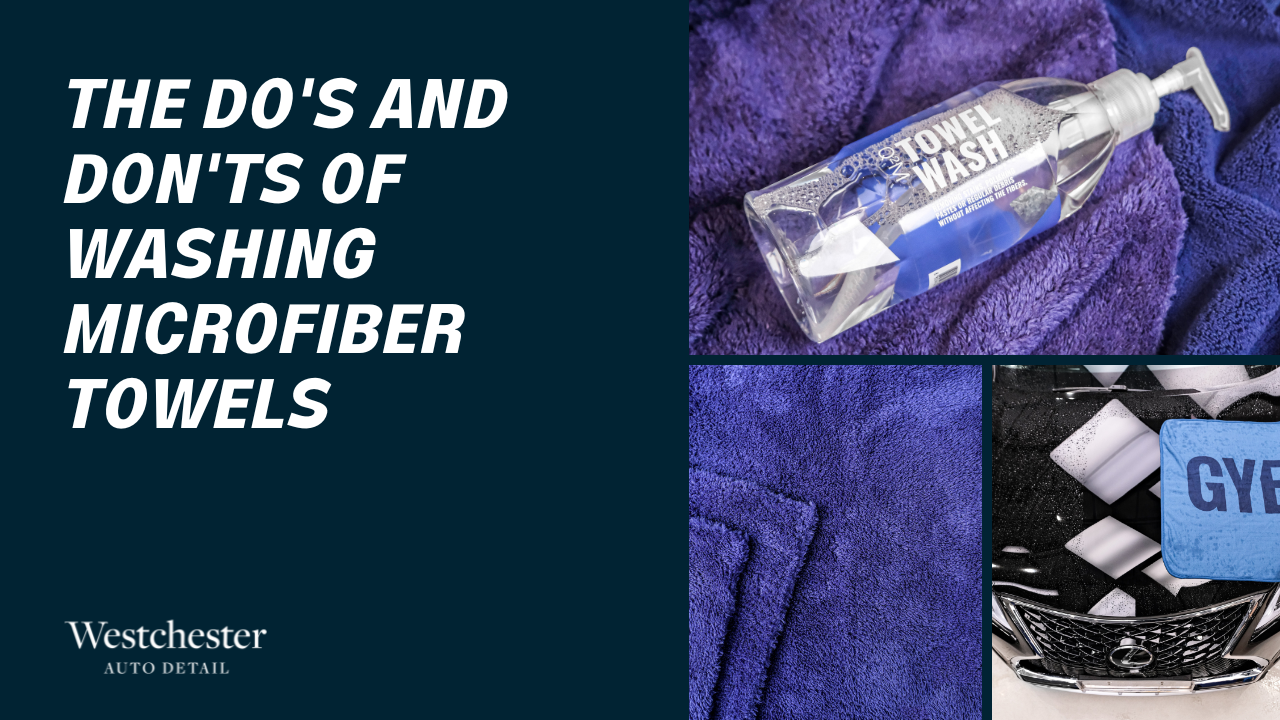
Microfiber towels have become a cleaning essential in countless households and detailing shops thanks to their ultra-fine fibers that lift dirt without scratching. But to get the most life and performance out of these towels, proper laundry practices are crucial. Follow this comprehensive guide to washing and caring for microfiber towels: Always Wash with Cold Water The number one rule for microfiber is to only wash with cold water. Hot water can damage, shrink, and melt the synthetic polymer fibers causing the towels to lose their softness and absorbency. Warm or hot water can also loosen excess dye leading to discoloration issues over time. Stick to cold washes to keep towels intact. Wash New Towels Before First Use Brand new microfiber towels contain residual loose fibers, lint, and chemicals left over from manufacturing. Wash them separately before using to remove this debris and maximize cleaning ability. Lint roll towels first to get surface fibers off. Then do an initial wash by themselves to get rid of the rest without contaminating other laundry. Separate Towels by Color When washing microfiber, always separate light and dark colored towels. The dyes used for darker colors like black, navy, red, and forest green can bleed into lighter towels over repeated washings. To prevent any dye transfer, keep them separated into light and dark piles from the very first wash. Categorize Towels by Use In addition to separating by color, also sort towels into piles based on their intended use - glass, polishing, wax removal, interior, engine, wheels/tires etc. Washing towels together that have been used for different detailing tasks can lead to cross-contamination. Grease and chemicals can transfer between the towels. Use an Extra Rinse Cycle After washing microfiber towels, always run an additional rinse cycle to thoroughly flush out all soap residue. Leftover detergents attract dirt particles once the towels are back in use. The extra rinse ensures no chemicals remain embedded in the fibers. For extra softening, add a splash of white vinegar to the final rinse. Choose a Specialized Microfiber Detergent Avoid using regular laundry detergent on microfiber towels, as some ingredients are harsh and can shorten the lifespan. Opt for a specialty microfiber wash formulated to deeply clean the fibers without being too abrasive. Brands like PNS Rag to Riches contain no fillers, optical brighteners, or fragrances that leave residue. Say No to Fabric Softeners and Dryer Sheets Never use liquid fabric softeners or dryer sheets when washing/drying microfiber. The waxes and chemicals coat the fibers causing the towels to repel water rather than absorb. This significantly reduces their cleaning capabilities. Only use products specifically made for microfiber. Avoid Using Bleach While bleach can remove stains, it is too harsh for routine microfiber washing. The high alkalinity degrades the fibers over time, causing them to fray and lose absorbency. Only use bleach occasionally to strip extremely dirty towels. Always rinse thoroughly after to remove all bleach residue. Dry on Low Heat High heat from dryers can melt, shrink, and damage microfiber fibers. Always use the lowest heat setting or no heat when machine drying towels. For best results, line dry completely after washing. If machine drying, use the air fluff cycle and remove before fully dry. By following these microfiber laundry dos and don'ts, you can keep your towels working like new. Taking extra care when washing will extend the life of your towels for hundreds of washes so you can count on professional-grade cleaning performance every time.

Do I need to get a paint correction before a ceramic coating?

© Westchester Auto Detail 2020-2024. All rights reserved.