A Beginner's Guide to Cleaning your Steering Wheel Like a Pro

A Beginner's Guide to Cleaning your Steering Wheel Like a Pro
Westchester Auto Detail

Jan 27, 2024

Your steering wheel is one of the most frequently touched parts of your vehicle. Over time, dirt, grease, and grime can build up, making it feel gritty or slippery and look dirty and dingy. While it’s easy to overlook steering wheel maintenance, keeping it clean isn’t just for aesthetics - it’s critical for maximizing control and ensuring safety while driving. A study published by Ashton University found that the typical steering wheel could have up to 700 different types of bacteria, while a toilet seat only has 60 different possible types.


In this beginner's guide, we’ll walk through the fundamentals of proper steering wheel cleaning so you can keep your wheel looking like new and maintain a solid grip at all times.


Understanding Steering Wheel Materials

The first step is identifying what material your steering wheel is made of, as the proper cleaning method depends on the type of material:


  • Leather: Most luxury vehicles have leather steering wheels. Leather requires gentle cleansers and conditioners to prevent drying out.
  • Synthetic leather: Less expensive to maintain than real leather. Can handle stronger cleaners but still requires some conditioning.
  • Plastic/rubber: Most affordable and durable factory steering wheels. Can be cleaned aggressively with chemical cleaners.
  • Wood: Found in some luxury or custom vehicles. Requires very gentle cleaning like leather.
  • Alcantara: Soft suede-like synthetic material. Needs a delicate touch to avoid damage.


Assembling Your Cleaning Tools

Having the right cleaning tools makes steering wheel cleaning much easier:

  • Microfiber cloths: Gentle on all surfaces and great for wiping away dirt and dust.
  • All purpose cleaner: All-purpose interior cleaner safe for most materials. Good for quick cleanups.
  • Detailing brushes: Soft brushes to scrub away stubborn dirt in crevices and texture.
  • Exfoliating pad: For deeper cleaning of synthetic leather and plastic wheels.
  • Leather conditioner: Nourishes and protects leather after cleaning.
  • Cotton swabs: Useful for extremely delicate materials like real wood or Alcantara suede.


Pre-Cleaning Assessment

Before cleaning, inspect your steering wheel closely and make note of problem areas like heavy dirt or stain buildup. This allows you to tailor your cleaning efforts to the wheel's specific needs.


Check for:

  • Oily, shiny areas indicating dirt and skin oil accumulation
  • Dull, faded spots suggesting sun damage on leather
  • Sticky spots or crusty textures from spilled drinks
  • Gritty textures when you run your hand across it


General Cleaning Techniques

For regular maintenance cleaning, a microfiber cloth lightly dampened with a detailing spray is ideal for most steering wheel materials. Wipe the wheel surface using small circular motions to lift up and capture dirt.

For deeper periodic cleaning, opt for a detailing brush and interior cleaner fluid designed for your wheel's surface type. Use short scrubbing motions to dislodge stuck-on grime. Finish by wiping clean with a fresh microfiber cloth.


Deep Cleaning Methods

For more intensive cleaning every few months:


  • Leather: Mix a mild soap with warm water and use a soft brush to create a light lather on the wheel. Wipe clean with a damp cloth, then apply leather conditioner.
  • Plastic/Rubber: Use an exfoliating pad dipped in interior cleaner for an abrasive scrub. Rinse with a wet cloth until all residue is gone.
  • Alcantara: Very lightly mist water using a spray bottle and dab clean with a microfiber cloth. Let fully air dry before using.
  • Wood: Wipe with a cotton cloth dampened with distilled water. Dry immediately with a clean cotton cloth.


Removing Tough Stains

For challenging stains, try these techniques:

  • Ink/grease: Use a cloth dampened with isopropyl alcohol. Rinse and dry thoroughly after.
  • Dried soda: Saturate with interior cleaner and scrub gently with a soft brush.
  • Mysterious spots: Dab with a cloth and adhesive remover made for automotive upholstery.


Always follow up spot cleaning with a regular cleaning to avoid damage or residue.


Maintaining a Secure Grip

A clean steering wheel helps maintain a secure grip by getting rid of oils, residue and buildup that can make the wheel slick. Thorough cleaning restores traction and control.


Extra Cleaning Tips

  • Use a toothbrush or detail brush to gently clean stitching, buttons, and tight crevices.
  • Focus on the areas at 9 and 3 o’clock, where hands contact the wheel the most.
  • Move in consistent circular motions to effectively lift dirt.
  • Change cleaning cloths frequently to prevent spreading around dirt.
  • Work in manageable sections instead of tackling the whole wheel at once.


Prevention Strategies

Implement these habits to keep your steering wheel cleaner between washes:

  • Wash hands before driving to reduce dirt and oil transfer.
  • Wipe down the wheel routinely with quick detailer spray.
  • Cover the wheel with a fitted sun shield if parking outside for extended periods.
  • Apply a protectant like 303 Aerospace Protectant to minimize dust buildup.


Maintaining Steering Wheel Cleanliness

Get into the habit of quick cleaning your steering wheel after each drive to prevent heavy buildup. Wipe it down with a microfiber cloth sprayed with interior detailer to easily capture dust and oils transferred from your hands.


Deep clean your steering wheel every 1-2 months using the methods outlined above to keep it looking fresh and new. Well-maintained wheels enhance the interior ambiance and provide a pleasant grip.


Conclusion

Regular steering wheel cleaning is a simple practice that pays dividends in the safety, longevity and aesthetics of your vehicle’s interior. Understanding your wheel's material requirements, using the proper tools and techniques, and cleaning thoroughly on a routine basis will keep your wheel in prime condition for the best driving experience.
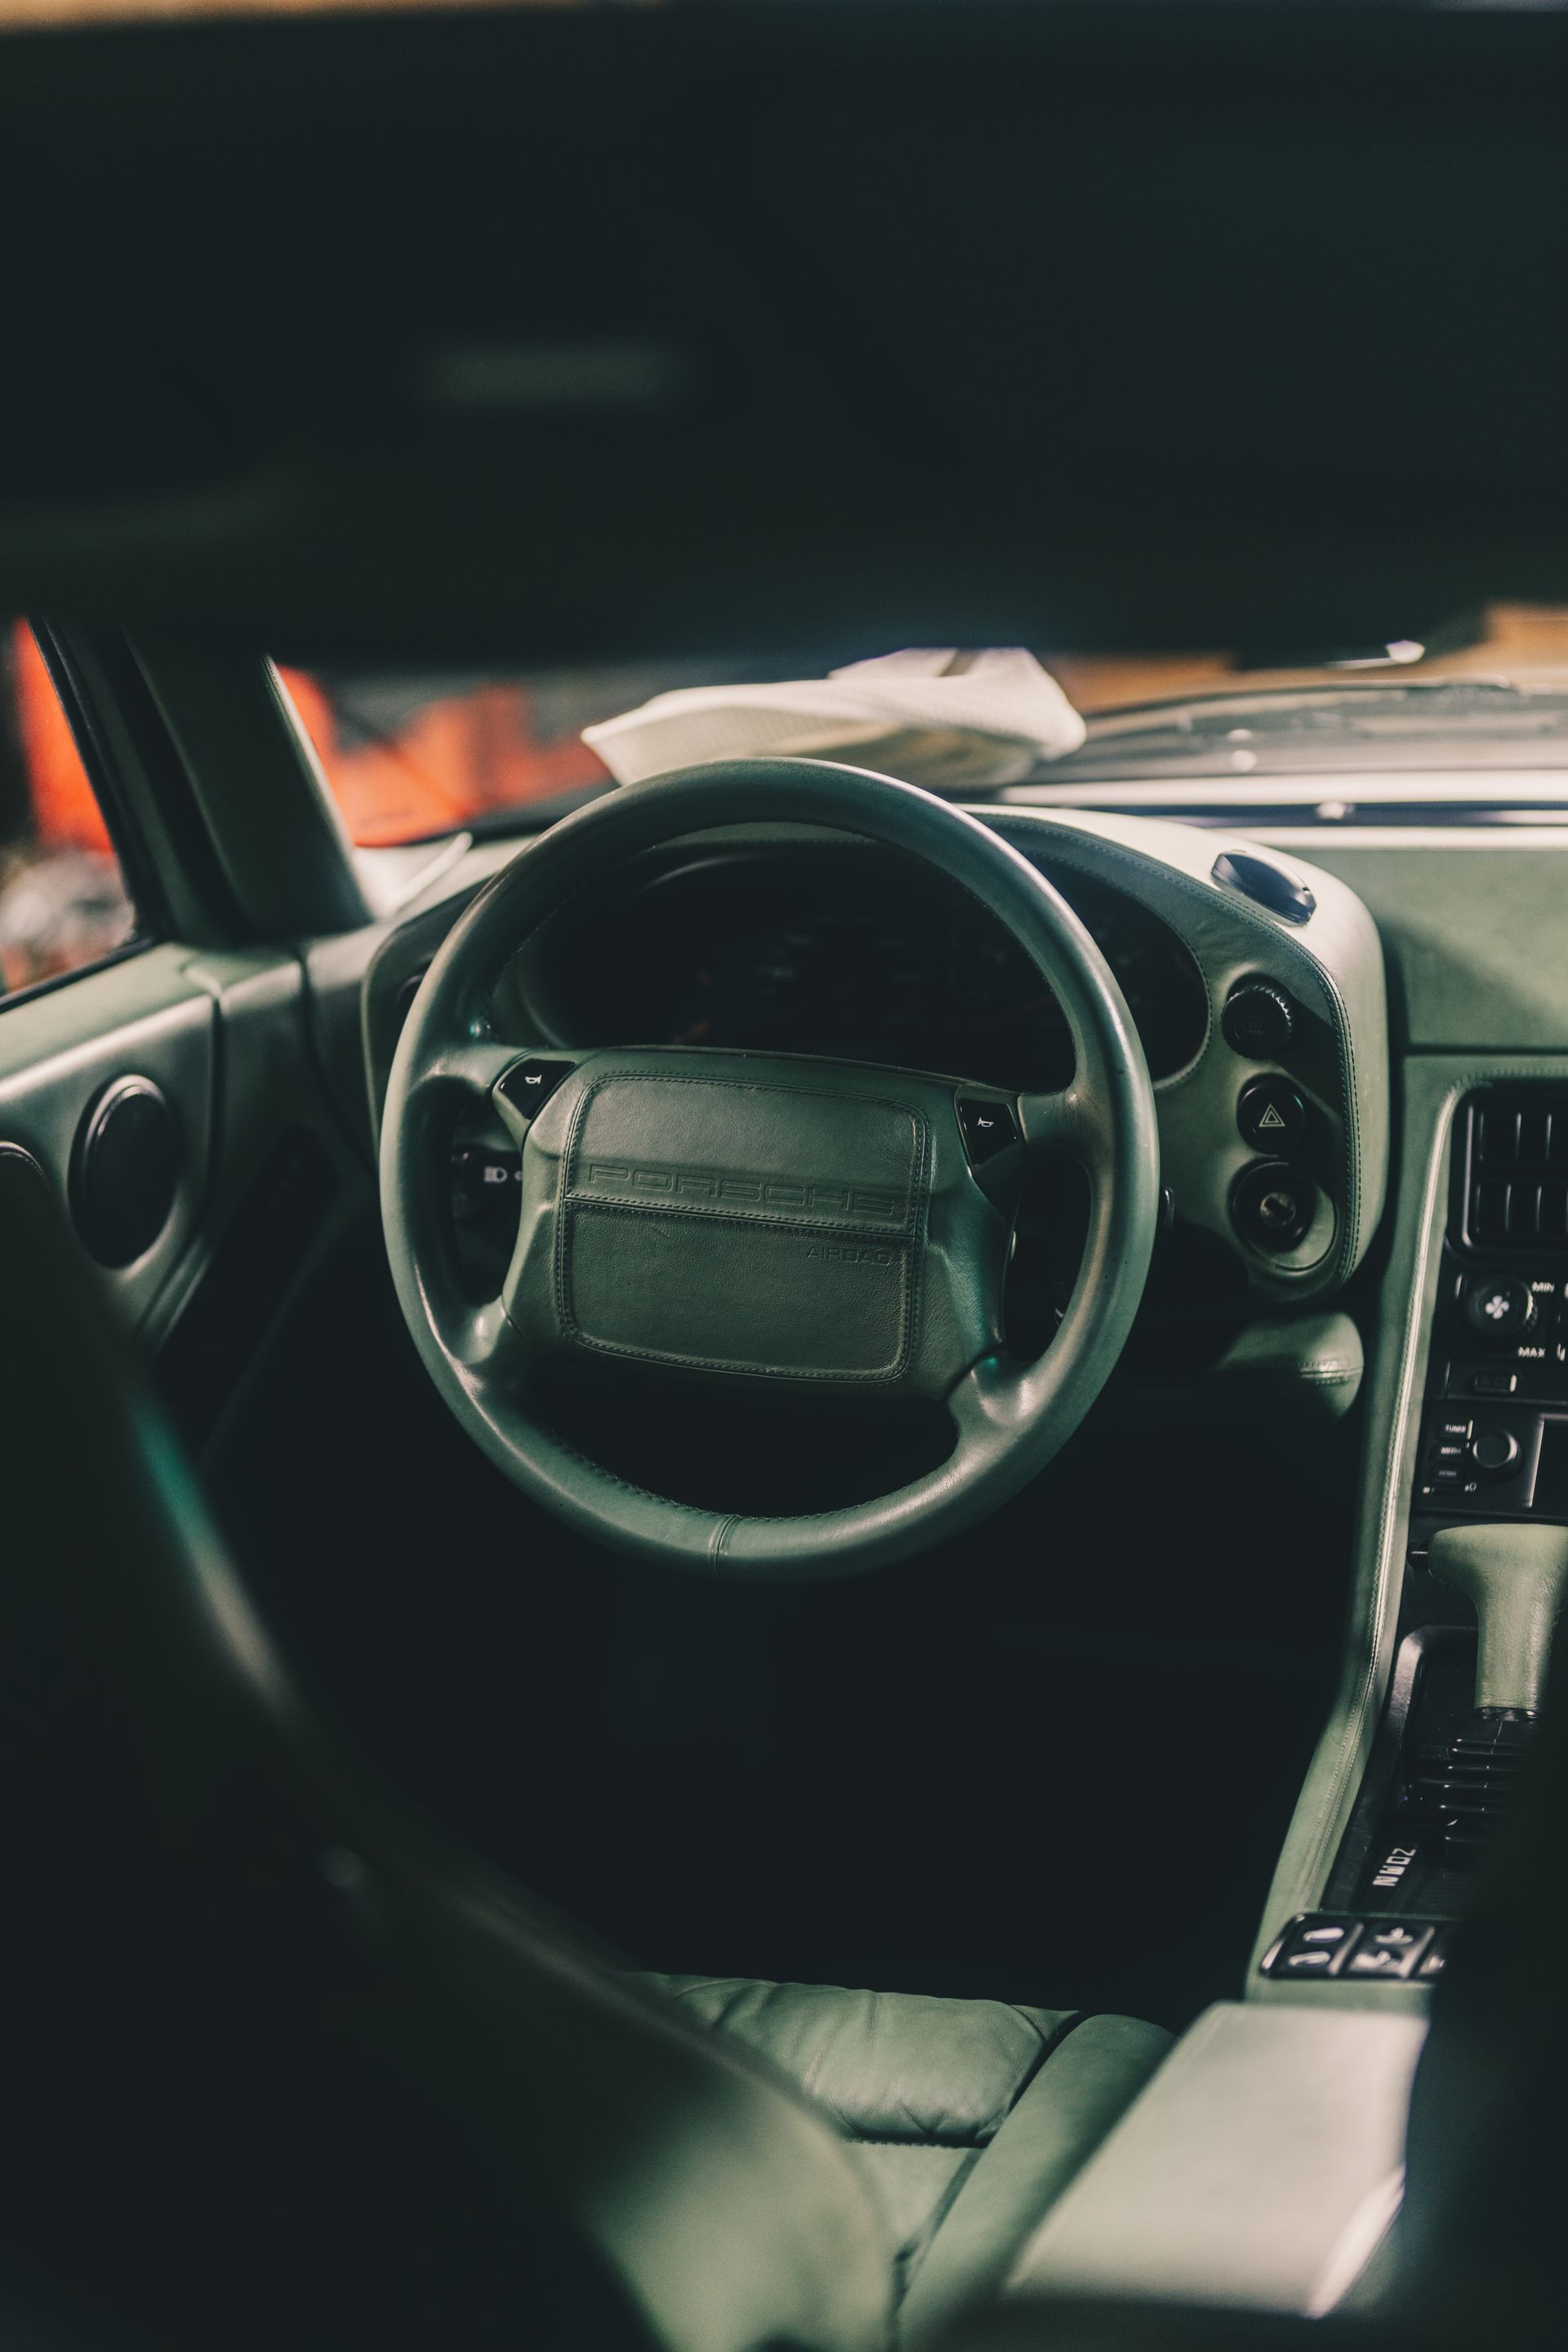
the inside of a car with a steering wheel and dashboard .
The logo for c6 ceramics is a red and gray hexagon.
24 Apr, 2024
In the world of automotive detailing, ceramic coatings have become increasingly popular due to their ability to provide long-lasting protection and enhance the appearance of vehicles. However, not all ceramic coatings are created equal. The C6 ceramic coating stands out from the rest, offering a unique blend of advanced materials and innovative technology that takes vehicle protection to the next level.
27 Feb, 2024
Scraping your car against another vehicle or object can leave behind an eyesore known as paint transfer. This occurs when the impact transfers paint from the other car or object onto yours, leaving a blotchy smear of foreign paint on your vehicle's exterior. While paint transfer mishaps are common, amateur removal attempts can make the problem much worse by scratching or stripping your clearcoat. As professional detailers, we recommend a careful, step-by-step approach focused on using the least abrasive method necessary. Patience and proper techniques are key to avoiding damage as you work to erase the paint transfer. Start With a Clean, Prepped Surface Before tackling paint transfer, it’s essential to thoroughly wash the vehicle. Use the two-bucket method and quality car wash soap like Gyeon Bathe to gently clean the affected area and surrounding paint. This prevents grinding in any grit or debris during the removal process, which can mar the finish. During your initial wash, try lightly rubbing the paint transfer with your wash mitt. The microfibers may be able to lift some of the foreign paint if the transfer is relatively fresh and on the surface. But be extremely cautious applying pressure and inspect often. Employ a Clay Towel as the First Line of Attack If washing alone doesn’t take care of the paint transfer, reach for a clay towel next. These are made of ultra-fine fibers that work like clay to grab contaminants and pull them away from the clearcoat. Simply spray the area with a lubricating car soap diluted 1:1 with water. Then gently rub straight over the paint transfer using light pressure with the clay towel. Move the towel frequently to expose a clean clay surface. Check your progress often. While less abrasive than clay bars, clay towels can still potentially instill minor marring requiring polishing afterward. This is why it is important to make sure the surface of the paint is as clean as possible, contamination left on the surface can lead to further marring. Be patient and methodical. Try clay toweling for at least 5-10 minutes before determining if a more aggressive approach is needed. Finish by thoroughly rinsing away all debris and lubricant. When Needed, Use a Clay Bar With Caution If a clay towel proves unsuccessful, a traditional clay bar is the next step up. Comprised of a polymer clay compound, clay bars are more aggressive at bonding to and removing stuck-on contaminants. Again, start with a clean and prepped surface. Prep the paint in the same fashion, generously lubricating the area. Then carefully glide the clay bar over the paint transfer using straight, even motions. Apply consistent pressure as you work, and avoid dropping the bar. While effective, clay bars increase the risk of instilling light marring or swirling in the clearcoat around the paint transfer. Take precautions and follow up with polishing. Try to only go over necessary areas where there is still contamination to avoid marring a larger area. Restore Gloss by Polishing the Area After claying, it’s critical to polish the treated paint, even if marring isn’t visible. This removes any potential clouding while restoring clarity and shine to the clearcoat. Polishing helps to eliminate any remaining scratches or imperfections caused by the paint transfer removal process. (Reasons To Polish Your Car, 2015) For machine polishing, use a dual-action polisher on medium speed along with a polishing pad and compound. Work in small sections, overlapping passes for an even finish. Those polishing by hand should choose a polish formulated for application by hand. Use a foam applicator or microfiber cloth with straight motions. Take time to carefully polish and inspect until achieving your desired level of gloss and smoothness. Remove all residue and re-wash the area when complete. Chemical Solutions As a Last Resort For the most stubborn paint transfer, liquid solutions like mineral spirits, paint thinner, or tar remover become an option. But extreme care must be taken as these chemicals can strip or etch your clearcoat if mishandled. Always test a small, inconspicuous area first. If effective without damage, soak a microfiber with the chemical and very gently wipe the paint transfer, checking constantly. Limit application time and wash immediately when done. Re-polish if needed to remove any hazing. It is important to note that chemical solutions should only be used as a last resort due to their potential to damage the clearcoat. Trust the Professionals for Best Results While this covers the basic process, experience makes a difference in the safe, effective removal of paint transfer. If you are ever unsure or dealing with a delicate surface, trust the paint correction experts at Westchester Auto Detail. Bring your car to a professional detail shop to achieve flawless results without risking your investment. 
13 Feb, 2024
Over time, your car's exterior can become marred with scratches, swirl marks, oxidation, staining, and a faded dull appearance. No matter how gently you care for the paint, normal driving and environmental factors will take their toll. When your once glossy finish starts to lose its luster, paint correction is the detailing solution for restoring your car's beautiful, flawless exterior.
More Posts
Share by: