The Do's and Don'ts of Washing Microfiber Towels

The Do's and Don'ts of Washing Microfiber Towels
Westchester Auto Detail

Jan 25, 2024

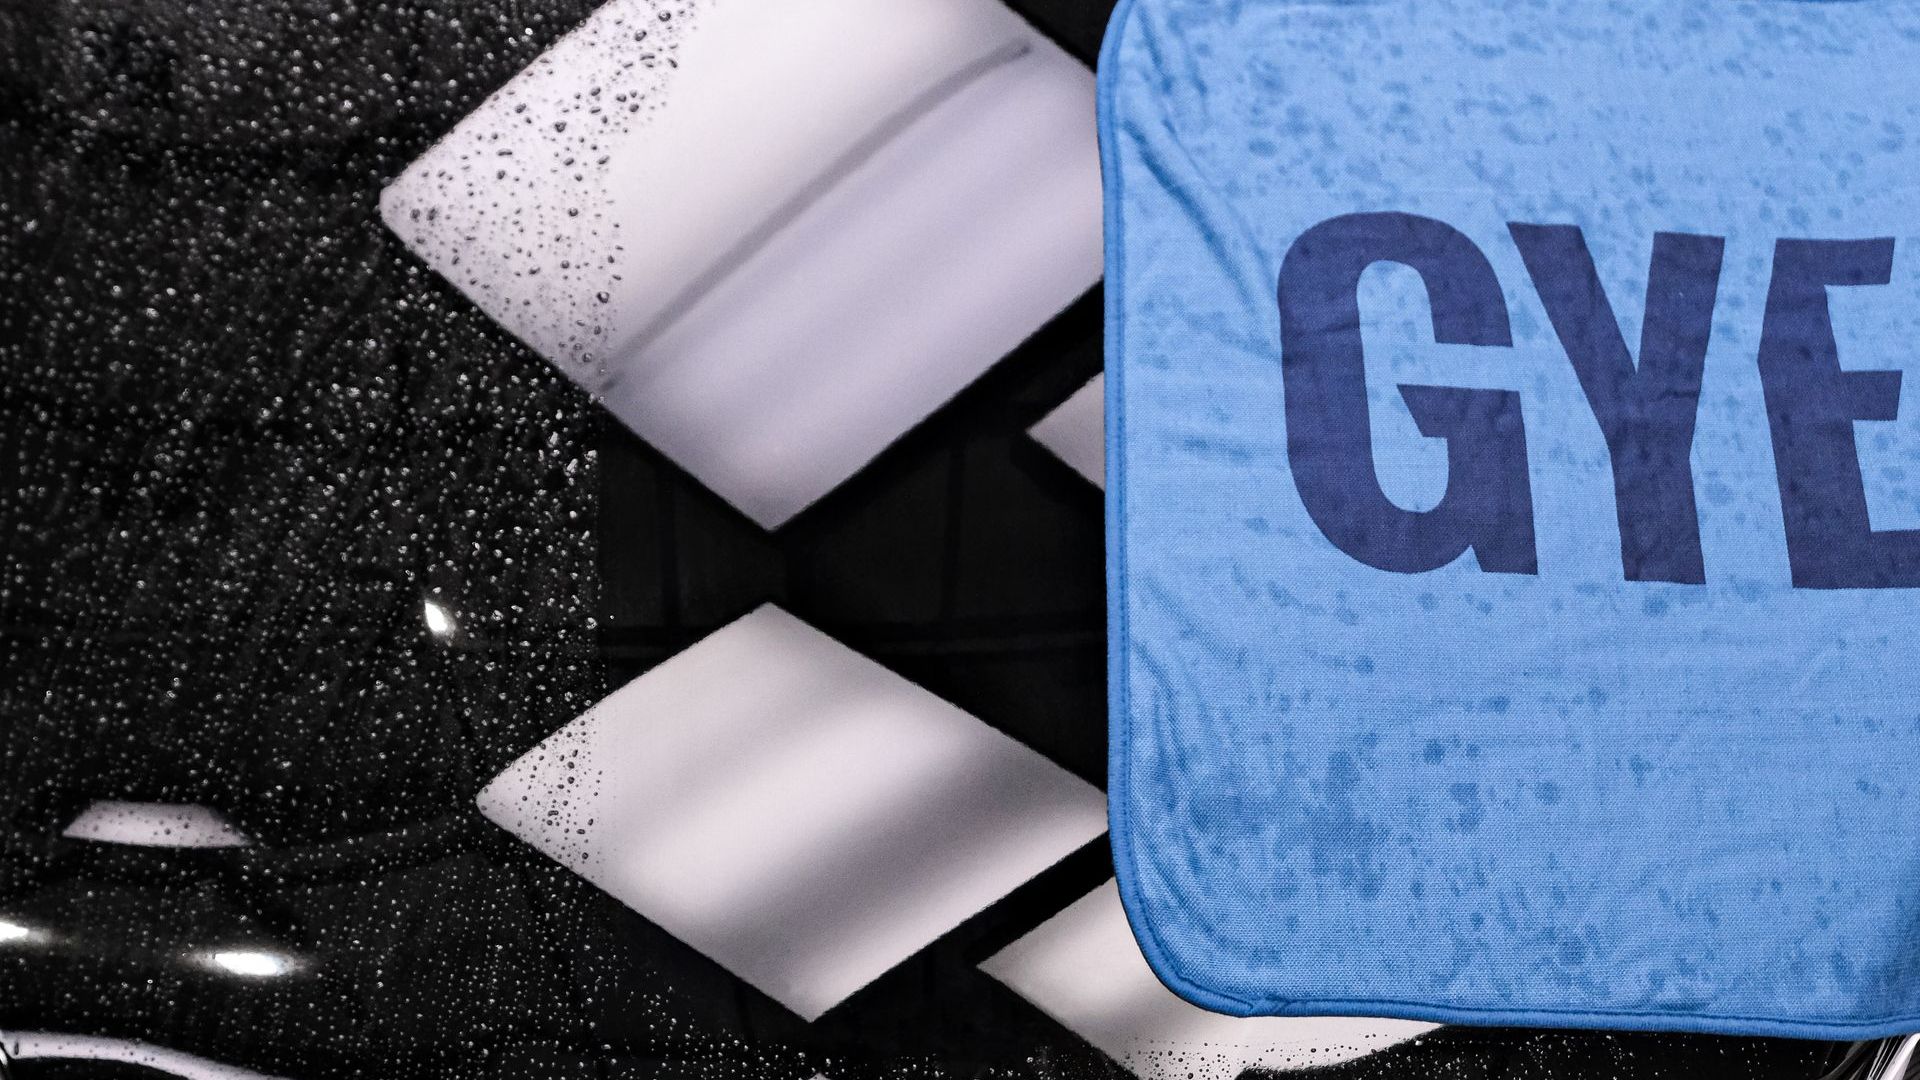
Microfiber towels have become a cleaning essential in countless households and detailing shops thanks to their ultra-fine fibers that lift dirt without scratching. But to get the most life and performance out of these towels, proper laundry practices are crucial.


Follow this comprehensive guide to washing and caring for microfiber towels:


Always Wash with Cold Water
The number one rule for microfiber is to only wash with cold water. Hot water can damage, shrink, and melt the synthetic polymer fibers causing the towels to lose their softness and absorbency. Warm or hot water can also loosen excess dye leading to discoloration issues over time. Stick to cold washes to keep towels intact.


Wash New Towels Before First Use
Brand new microfiber towels contain residual loose fibers, lint, and chemicals left over from manufacturing. Wash them separately before using to remove this debris and maximize cleaning ability. Lint roll towels first to get surface fibers off. Then do an initial wash by themselves to get rid of the rest without contaminating other laundry.


Separate Towels by Color
When washing microfiber, always separate light and dark colored towels. The dyes used for darker colors like black, navy, red, and forest green can bleed into lighter towels over repeated washings. To prevent any dye transfer, keep them separated into light and dark piles from the very first wash.


Categorize Towels by Use
In addition to separating by color, also sort towels into piles based on their intended use - glass, polishing, wax removal, interior, engine, wheels/tires etc. Washing towels together that have been used for different detailing tasks can lead to cross-contamination. Grease and chemicals can transfer between the towels.


Use an Extra Rinse Cycle
After washing microfiber towels, always run an additional rinse cycle to thoroughly flush out all soap residue. Leftover detergents attract dirt particles once the towels are back in use. The extra rinse ensures no chemicals remain embedded in the fibers. For extra softening, add a splash of white vinegar to the final rinse.


Choose a Specialized Microfiber Detergent
Avoid using regular laundry detergent on microfiber towels, as some ingredients are harsh and can shorten the lifespan. Opt for a specialty microfiber wash formulated to deeply clean the fibers without being too abrasive. Brands like PNS Rag to Riches contain no fillers, optical brighteners, or fragrances that leave residue.


Say No to Fabric Softeners and Dryer Sheets
Never use liquid fabric softeners or dryer sheets when washing/drying microfiber. The waxes and chemicals coat the fibers causing the towels to repel water rather than absorb. This significantly reduces their cleaning capabilities. Only use products specifically made for microfiber.


Avoid Using Bleach
While bleach can remove stains, it is too harsh for routine microfiber washing. The high alkalinity degrades the fibers over time, causing them to fray and lose absorbency. Only use bleach occasionally to strip extremely dirty towels. Always rinse thoroughly after to remove all bleach residue.


Dry on Low Heat
High heat from dryers can melt, shrink, and damage microfiber fibers. Always use the lowest heat setting or no heat when machine drying towels. For best results, line dry completely after washing. If machine drying, use the air fluff cycle and remove before fully dry.

By following these microfiber laundry dos and don'ts, you can keep your towels working like new. Taking extra care when washing will extend the life of your towels for hundreds of washes so you can count on professional-grade cleaning performance every time.


a bottle of towel wash is sitting on top of a pile of purple towels .
The logo for c6 ceramics is a red and gray hexagon.
24 Apr, 2024
In the world of automotive detailing, ceramic coatings have become increasingly popular due to their ability to provide long-lasting protection and enhance the appearance of vehicles. However, not all ceramic coatings are created equal. The C6 ceramic coating stands out from the rest, offering a unique blend of advanced materials and innovative technology that takes vehicle protection to the next level.
27 Feb, 2024
Scraping your car against another vehicle or object can leave behind an eyesore known as paint transfer. This occurs when the impact transfers paint from the other car or object onto yours, leaving a blotchy smear of foreign paint on your vehicle's exterior. While paint transfer mishaps are common, amateur removal attempts can make the problem much worse by scratching or stripping your clearcoat. As professional detailers, we recommend a careful, step-by-step approach focused on using the least abrasive method necessary. Patience and proper techniques are key to avoiding damage as you work to erase the paint transfer. Start With a Clean, Prepped Surface Before tackling paint transfer, it’s essential to thoroughly wash the vehicle. Use the two-bucket method and quality car wash soap like Gyeon Bathe to gently clean the affected area and surrounding paint. This prevents grinding in any grit or debris during the removal process, which can mar the finish. During your initial wash, try lightly rubbing the paint transfer with your wash mitt. The microfibers may be able to lift some of the foreign paint if the transfer is relatively fresh and on the surface. But be extremely cautious applying pressure and inspect often. Employ a Clay Towel as the First Line of Attack If washing alone doesn’t take care of the paint transfer, reach for a clay towel next. These are made of ultra-fine fibers that work like clay to grab contaminants and pull them away from the clearcoat. Simply spray the area with a lubricating car soap diluted 1:1 with water. Then gently rub straight over the paint transfer using light pressure with the clay towel. Move the towel frequently to expose a clean clay surface. Check your progress often. While less abrasive than clay bars, clay towels can still potentially instill minor marring requiring polishing afterward. This is why it is important to make sure the surface of the paint is as clean as possible, contamination left on the surface can lead to further marring. Be patient and methodical. Try clay toweling for at least 5-10 minutes before determining if a more aggressive approach is needed. Finish by thoroughly rinsing away all debris and lubricant. When Needed, Use a Clay Bar With Caution If a clay towel proves unsuccessful, a traditional clay bar is the next step up. Comprised of a polymer clay compound, clay bars are more aggressive at bonding to and removing stuck-on contaminants. Again, start with a clean and prepped surface. Prep the paint in the same fashion, generously lubricating the area. Then carefully glide the clay bar over the paint transfer using straight, even motions. Apply consistent pressure as you work, and avoid dropping the bar. While effective, clay bars increase the risk of instilling light marring or swirling in the clearcoat around the paint transfer. Take precautions and follow up with polishing. Try to only go over necessary areas where there is still contamination to avoid marring a larger area. Restore Gloss by Polishing the Area After claying, it’s critical to polish the treated paint, even if marring isn’t visible. This removes any potential clouding while restoring clarity and shine to the clearcoat. Polishing helps to eliminate any remaining scratches or imperfections caused by the paint transfer removal process. (Reasons To Polish Your Car, 2015) For machine polishing, use a dual-action polisher on medium speed along with a polishing pad and compound. Work in small sections, overlapping passes for an even finish. Those polishing by hand should choose a polish formulated for application by hand. Use a foam applicator or microfiber cloth with straight motions. Take time to carefully polish and inspect until achieving your desired level of gloss and smoothness. Remove all residue and re-wash the area when complete. Chemical Solutions As a Last Resort For the most stubborn paint transfer, liquid solutions like mineral spirits, paint thinner, or tar remover become an option. But extreme care must be taken as these chemicals can strip or etch your clearcoat if mishandled. Always test a small, inconspicuous area first. If effective without damage, soak a microfiber with the chemical and very gently wipe the paint transfer, checking constantly. Limit application time and wash immediately when done. Re-polish if needed to remove any hazing. It is important to note that chemical solutions should only be used as a last resort due to their potential to damage the clearcoat. Trust the Professionals for Best Results While this covers the basic process, experience makes a difference in the safe, effective removal of paint transfer. If you are ever unsure or dealing with a delicate surface, trust the paint correction experts at Westchester Auto Detail. Bring your car to a professional detail shop to achieve flawless results without risking your investment. 
13 Feb, 2024
Over time, your car's exterior can become marred with scratches, swirl marks, oxidation, staining, and a faded dull appearance. No matter how gently you care for the paint, normal driving and environmental factors will take their toll. When your once glossy finish starts to lose its luster, paint correction is the detailing solution for restoring your car's beautiful, flawless exterior.
More Posts
Share by: