A Professional Guide to Safely Cleaning and Protecting Automotive Leather

A Professional Guide to Safely Cleaning and Protecting Automotive Leather
Westchester Auto Detail

Jan 26, 2024

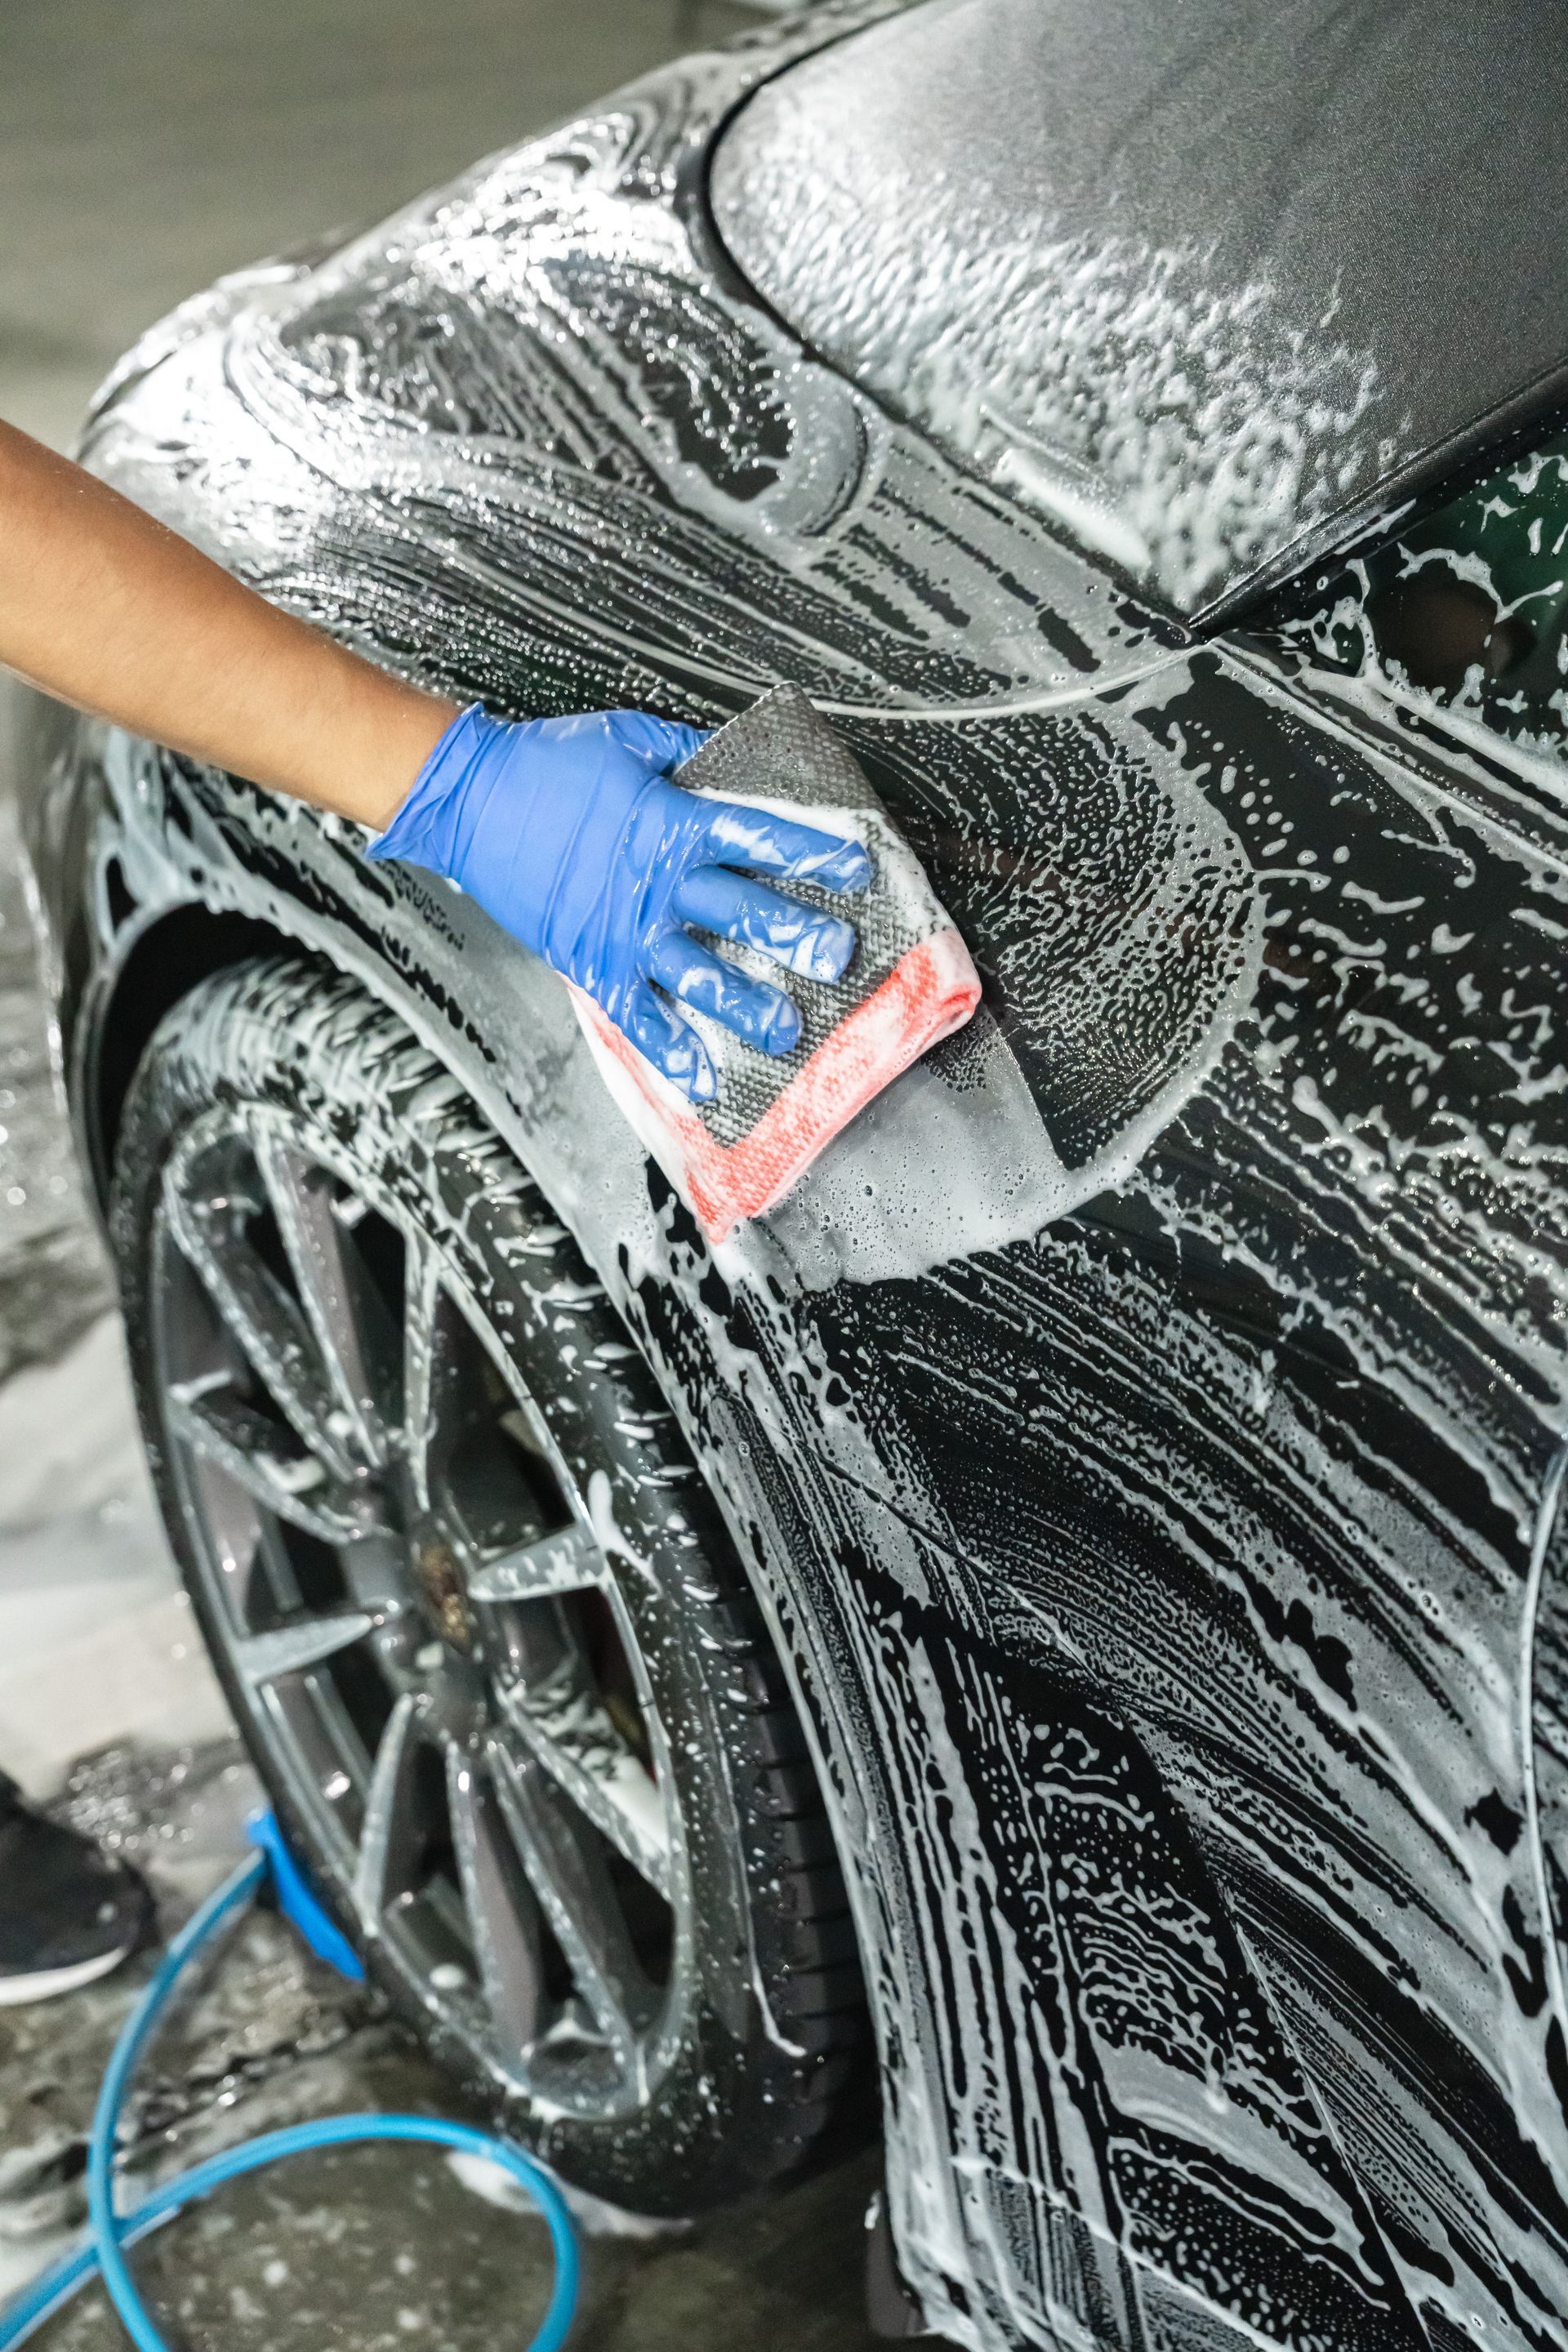
At Westchester Auto Detail, we specialize in premium detailing services for all vehicle types. Our expert team cares meticulously for automotive exteriors and interiors using modern techniques tailored to each car's unique needs. For leather upholstery, we follow strict protocols to clean and condition safely with non-damaging products.


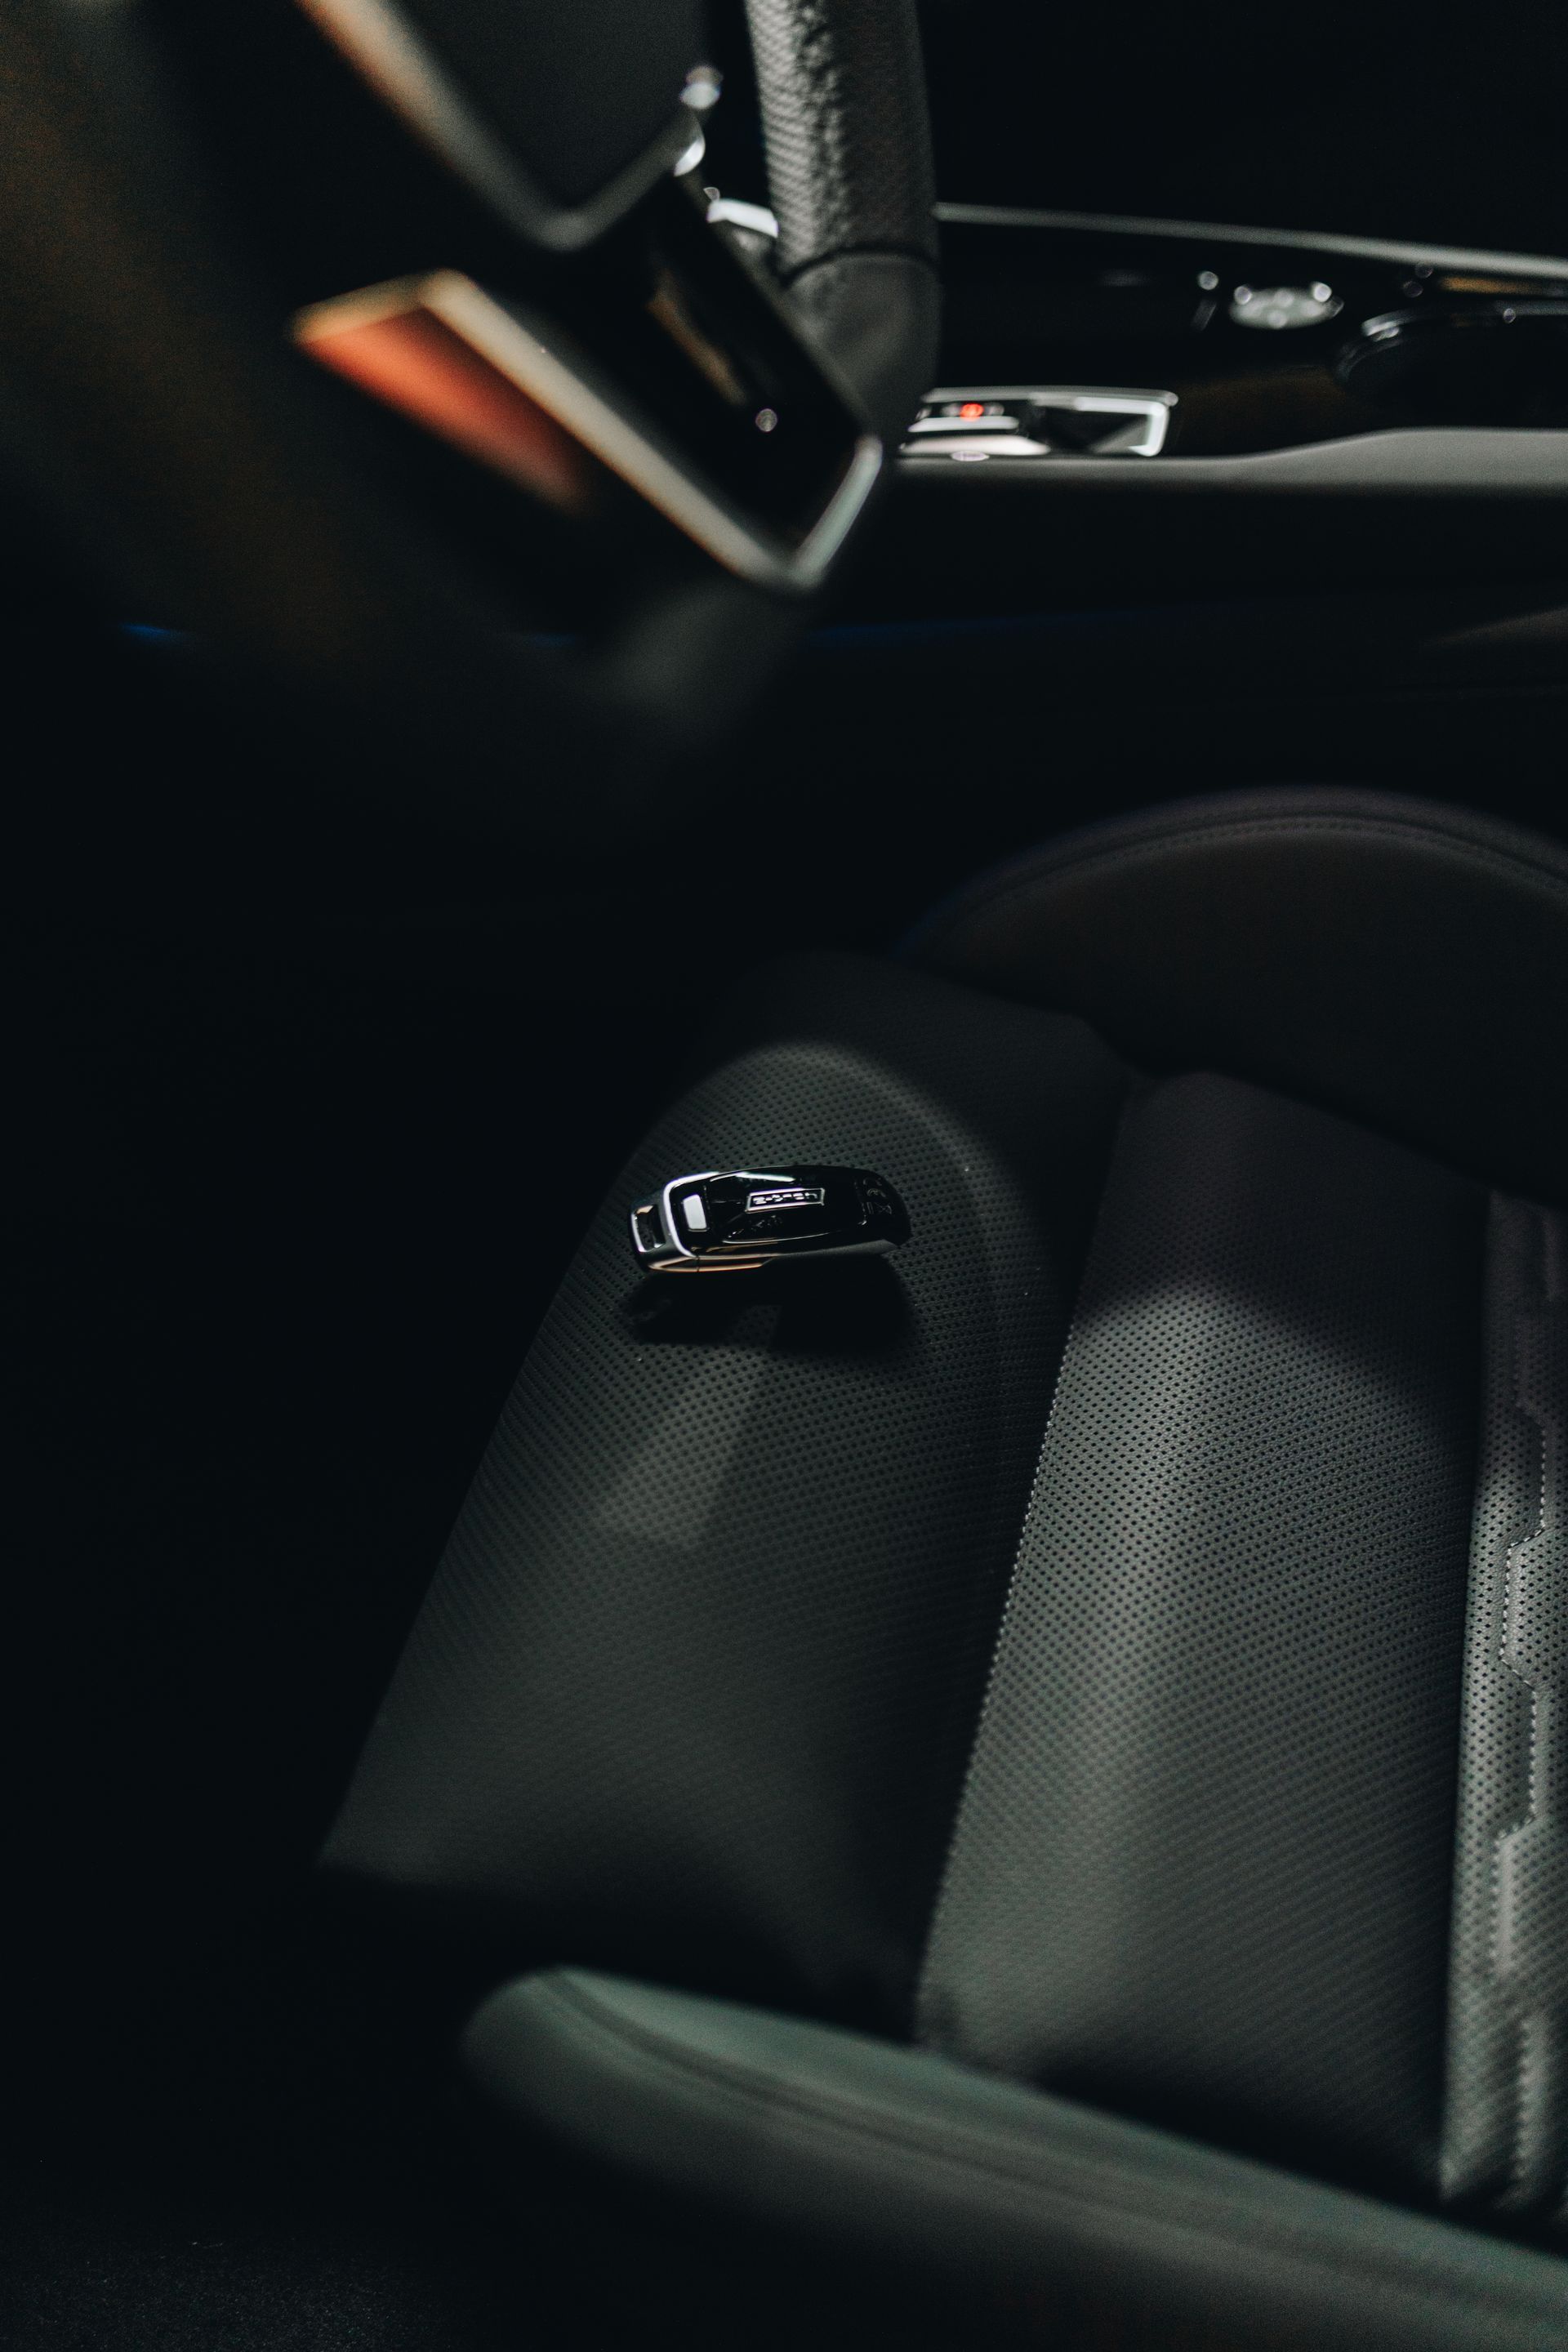
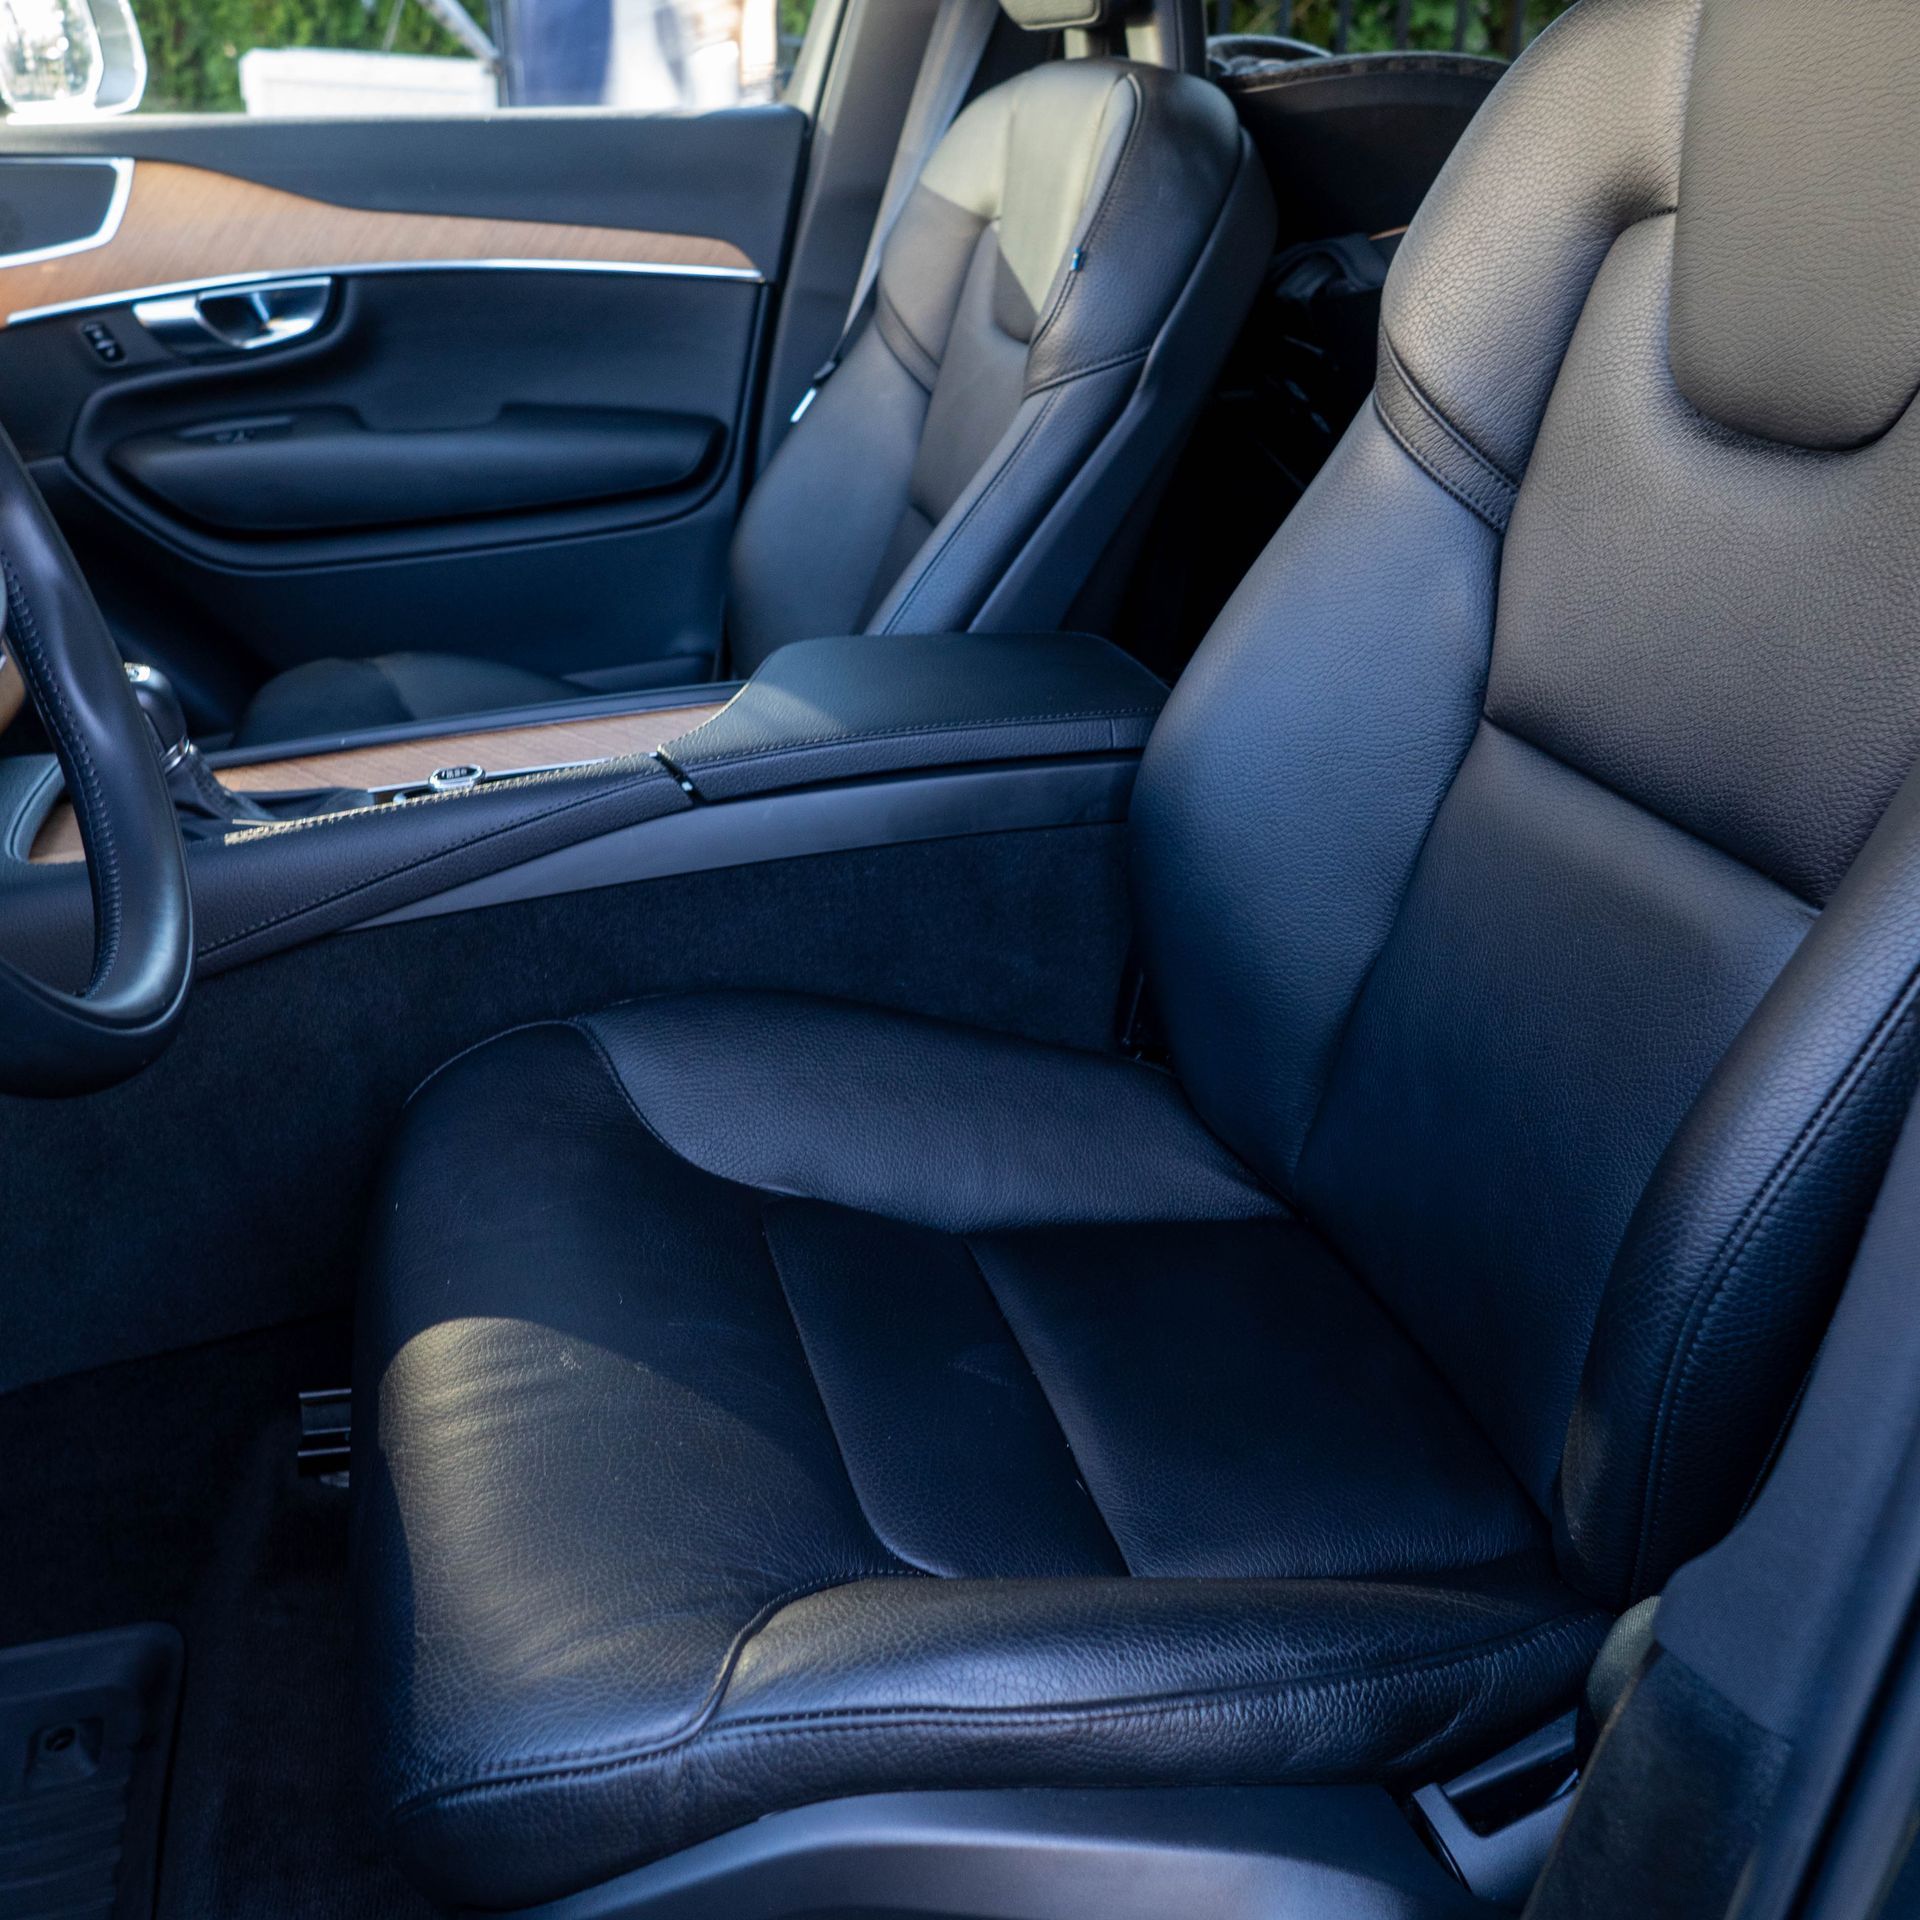
Leather upholstery instantly elevates a car's interior with its supple texture and upscale aesthetic. But keeping leather looking pristine requires gentle care tailored to its delicate nature. Harsh chemicals and improper cleaning can permanently damage leather's surface and protective finish.


Follow this professional guidance to properly care for your vehicle’s leather interior. We'll cover utilizing the right products, tools and techniques to clean leather safely without causing premature wear, drying or cracking over time.

Understand the Types of Leather

Not all leather is the same. Automotive leather can be:

  • Aniline leather - No top coat, exposing the natural hide pores
  • Semi-aniline leather - Light top layer over the dyed hide
  • Pigmented leather - Thick top coat obscuring the hide
  • Synthetic leather - Manmade materials mimicking real leather


At Westchester Auto Detail, our mobile detailers are trained to identify leather types and tailor our techniques accordingly for safe, damage-free cleaning.


Identify what type of leather your vehicle has, if possible, to determine the gentlest cleaning approach. When uncertain, use methods safe for ultra-delicate aniline leather. Synthetic “leathers” mimic textures and performance of real hides using man-made materials like polyurethane combined with oils or plant extracts. They require similarly gentle care as the delicate tanned hides.  With so many leather formulations used across vehicle interiors, identifying exact type by eye is nearly impossible. Testing products directly on your leather risks damage. Your best bet is using universally safe cleaners and techniques appropriate for even the most sensitive finishes - the approach we follow for all our detailing clients.

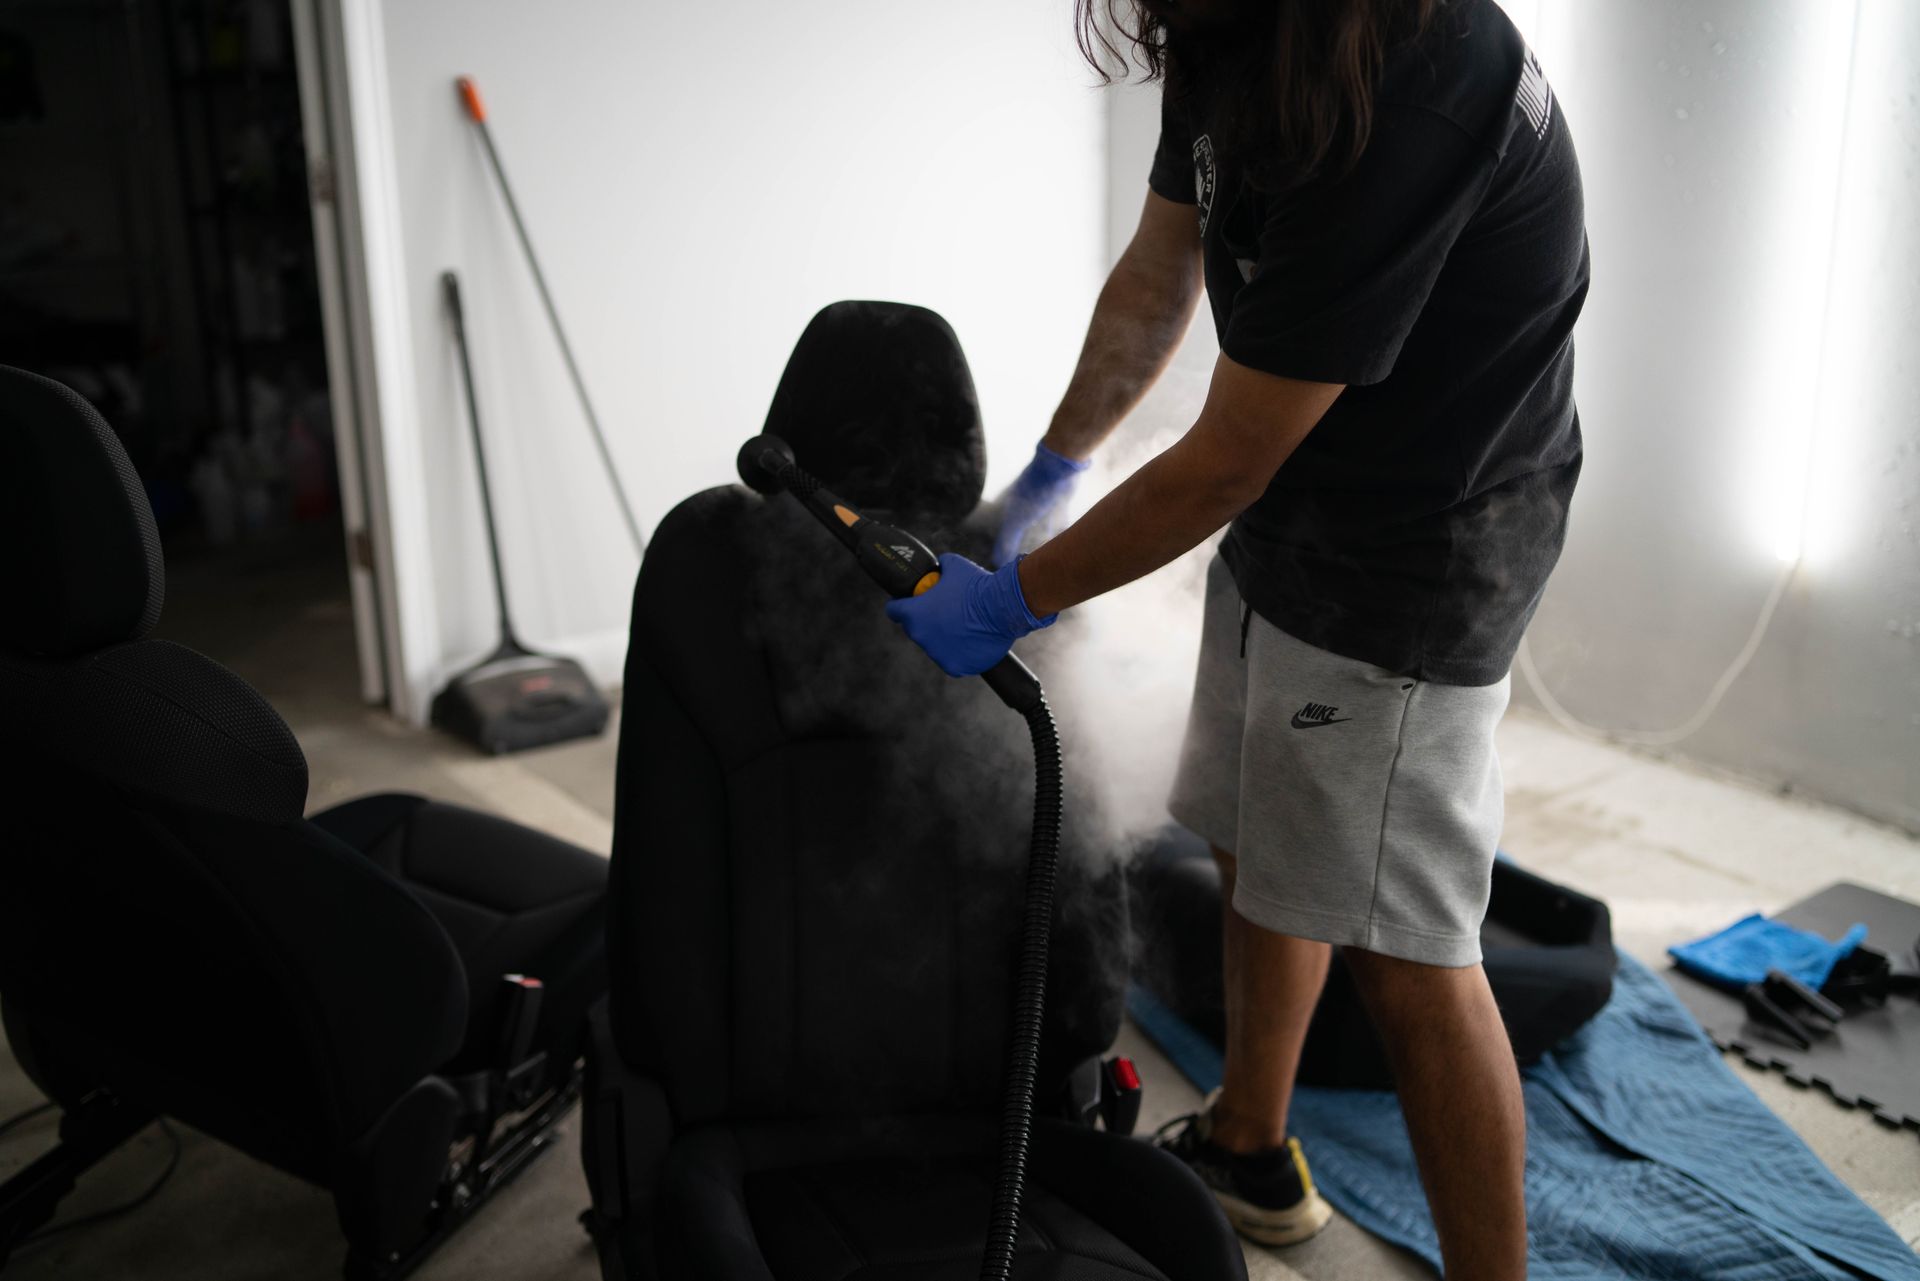
Start with Dry Cleaning

Before wet cleaning, use dry techniques to lift out dirt:

  • Vacuum textured leather gently using soft brush attachments
  • Blot smooth leather carefully with a microfiber towel


At Westchester Auto Detail, we forego wet cleaning methods without first thoroughly vacuuming leather to remove dry particulates. This prevents them grinding into the surface when liquids are introduced. 

Choose a Gentle Leather Cleaner

Avoid harsh chemicals or cleaners with extreme pH levels that can alter leather. Instead:

  • Use a dedicated, pH-neutral leather cleaner
  • Avoid household cleaners not meant for auto interiors
  • Test cleaners first in an inconspicuous spot


Look for a gentle leather cleaner like:

  • Gyeon LeatherCleaner 
  • COLORLOCK Leather Cleaner   
  • Chemical Guys ® Leather Cleaner & Conditioner 


Always do a test to see if the cleaner is compatible with your kind of leather.

Use Soft Tools & Minimal Pressure

Harsh tools like stiff brushes or magic erasers scratch leather's protective finish. Instead use:

  • Soft terry towels
  • Microfiber cloths
  • Foam swabs
  • Soft detailing brushes
  • Dedicated leather brushes

Let the cleaner do the work, not excess rubbing. Work in small sections with light pressure and frequent towel/swab changes.

Condition and Protect Leather Periodically

While optional for synthetic leather, real leather hides benefit greatly from regular conditioning. This nourishes the hide, maintains suppleness, and protects against premature cracking or fading over time.

However, avoid conditioners containing heavy oils, waxes or known gloss-enhancing ingredients. These can leave behind greasy buildup and residues on the leather.

Instead, opt for lighter, non-oily conditioning formulas that fully absorb into the leather without altering its appearance or leaving residue. Some good options include:

  • Gyeon Leather Coat
  • Chemical Guys Leather Conditioner Complete
  • P&s Leather Conditioner

Apply a thin, even layer of conditioner to the leather after cleaning. Allow it to fully absorb without leaving any excess residue on the surface. Wipe away any leftover residue using a clean, dry microfiber cloth.

Prevention and Maintenance

  • Wipe away spills immediately before they set using a barely-damp soft cloth. Avoid saturating leather.
  • To limit dirt buildup, vacuum textured leather routinely every few weeks.
  • Aim to clean seats every 1-3 months using proper products and gentle techniques to prevent ingrained stains or damage.

Routine vacuuming paired with proper professional cleaning every 6 months helps leather withstand years of use without losing its supple feel. Don’t take shortcuts - even in a hurry, always default to gentle methods safe for delicate automotive leather.

With customized techniques and high-quality products, our Westchester Auto Detail team restores and protects our clients’ leather impeccably clean yet soft as the day vehicles drove off the showroom floor. Contact us to spruce up your car's interior and upholstery appearance with outstanding service guaranteed to never damage your leather.


a close up of a car seat with a key on it .
The logo for c6 ceramics is a red and gray hexagon.
24 Apr, 2024
In the world of automotive detailing, ceramic coatings have become increasingly popular due to their ability to provide long-lasting protection and enhance the appearance of vehicles. However, not all ceramic coatings are created equal. The C6 ceramic coating stands out from the rest, offering a unique blend of advanced materials and innovative technology that takes vehicle protection to the next level.
27 Feb, 2024
Scraping your car against another vehicle or object can leave behind an eyesore known as paint transfer. This occurs when the impact transfers paint from the other car or object onto yours, leaving a blotchy smear of foreign paint on your vehicle's exterior. While paint transfer mishaps are common, amateur removal attempts can make the problem much worse by scratching or stripping your clearcoat. As professional detailers, we recommend a careful, step-by-step approach focused on using the least abrasive method necessary. Patience and proper techniques are key to avoiding damage as you work to erase the paint transfer. Start With a Clean, Prepped Surface Before tackling paint transfer, it’s essential to thoroughly wash the vehicle. Use the two-bucket method and quality car wash soap like Gyeon Bathe to gently clean the affected area and surrounding paint. This prevents grinding in any grit or debris during the removal process, which can mar the finish. During your initial wash, try lightly rubbing the paint transfer with your wash mitt. The microfibers may be able to lift some of the foreign paint if the transfer is relatively fresh and on the surface. But be extremely cautious applying pressure and inspect often. Employ a Clay Towel as the First Line of Attack If washing alone doesn’t take care of the paint transfer, reach for a clay towel next. These are made of ultra-fine fibers that work like clay to grab contaminants and pull them away from the clearcoat. Simply spray the area with a lubricating car soap diluted 1:1 with water. Then gently rub straight over the paint transfer using light pressure with the clay towel. Move the towel frequently to expose a clean clay surface. Check your progress often. While less abrasive than clay bars, clay towels can still potentially instill minor marring requiring polishing afterward. This is why it is important to make sure the surface of the paint is as clean as possible, contamination left on the surface can lead to further marring. Be patient and methodical. Try clay toweling for at least 5-10 minutes before determining if a more aggressive approach is needed. Finish by thoroughly rinsing away all debris and lubricant. When Needed, Use a Clay Bar With Caution If a clay towel proves unsuccessful, a traditional clay bar is the next step up. Comprised of a polymer clay compound, clay bars are more aggressive at bonding to and removing stuck-on contaminants. Again, start with a clean and prepped surface. Prep the paint in the same fashion, generously lubricating the area. Then carefully glide the clay bar over the paint transfer using straight, even motions. Apply consistent pressure as you work, and avoid dropping the bar. While effective, clay bars increase the risk of instilling light marring or swirling in the clearcoat around the paint transfer. Take precautions and follow up with polishing. Try to only go over necessary areas where there is still contamination to avoid marring a larger area. Restore Gloss by Polishing the Area After claying, it’s critical to polish the treated paint, even if marring isn’t visible. This removes any potential clouding while restoring clarity and shine to the clearcoat. Polishing helps to eliminate any remaining scratches or imperfections caused by the paint transfer removal process. (Reasons To Polish Your Car, 2015) For machine polishing, use a dual-action polisher on medium speed along with a polishing pad and compound. Work in small sections, overlapping passes for an even finish. Those polishing by hand should choose a polish formulated for application by hand. Use a foam applicator or microfiber cloth with straight motions. Take time to carefully polish and inspect until achieving your desired level of gloss and smoothness. Remove all residue and re-wash the area when complete. Chemical Solutions As a Last Resort For the most stubborn paint transfer, liquid solutions like mineral spirits, paint thinner, or tar remover become an option. But extreme care must be taken as these chemicals can strip or etch your clearcoat if mishandled. Always test a small, inconspicuous area first. If effective without damage, soak a microfiber with the chemical and very gently wipe the paint transfer, checking constantly. Limit application time and wash immediately when done. Re-polish if needed to remove any hazing. It is important to note that chemical solutions should only be used as a last resort due to their potential to damage the clearcoat. Trust the Professionals for Best Results While this covers the basic process, experience makes a difference in the safe, effective removal of paint transfer. If you are ever unsure or dealing with a delicate surface, trust the paint correction experts at Westchester Auto Detail. Bring your car to a professional detail shop to achieve flawless results without risking your investment. 
13 Feb, 2024
Over time, your car's exterior can become marred with scratches, swirl marks, oxidation, staining, and a faded dull appearance. No matter how gently you care for the paint, normal driving and environmental factors will take their toll. When your once glossy finish starts to lose its luster, paint correction is the detailing solution for restoring your car's beautiful, flawless exterior.
More Posts
Share by: