January 17, 2026
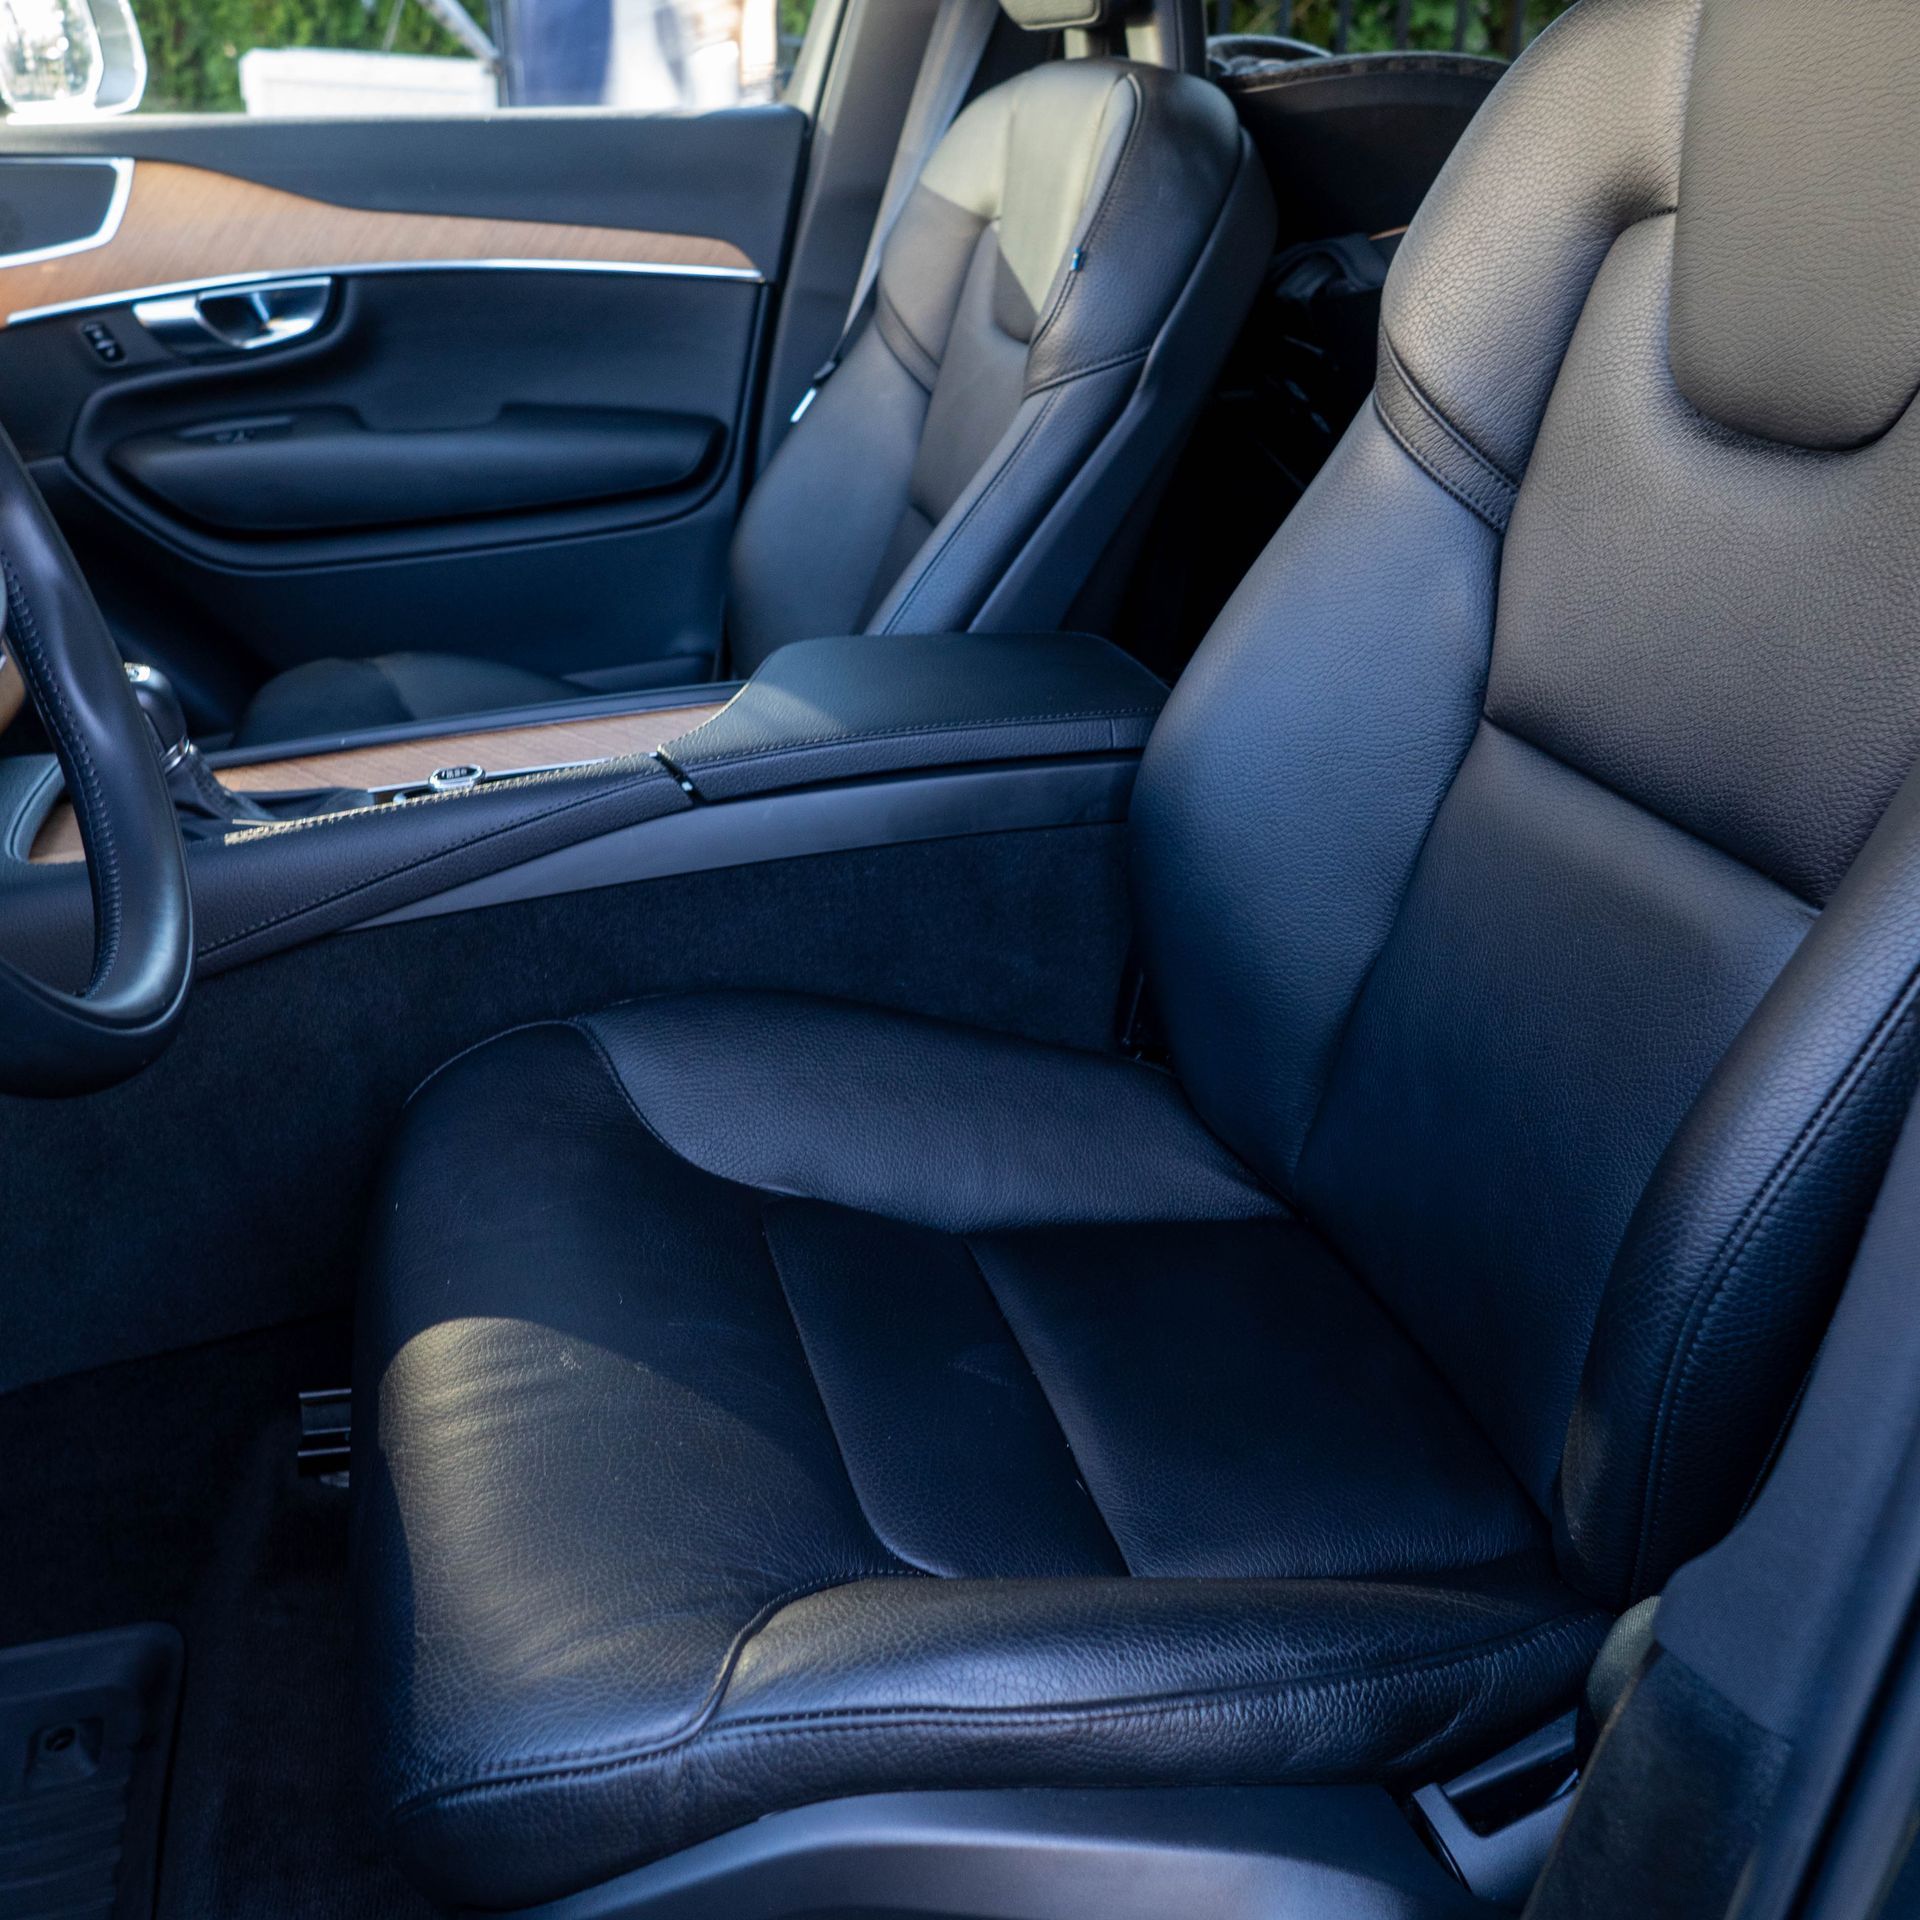
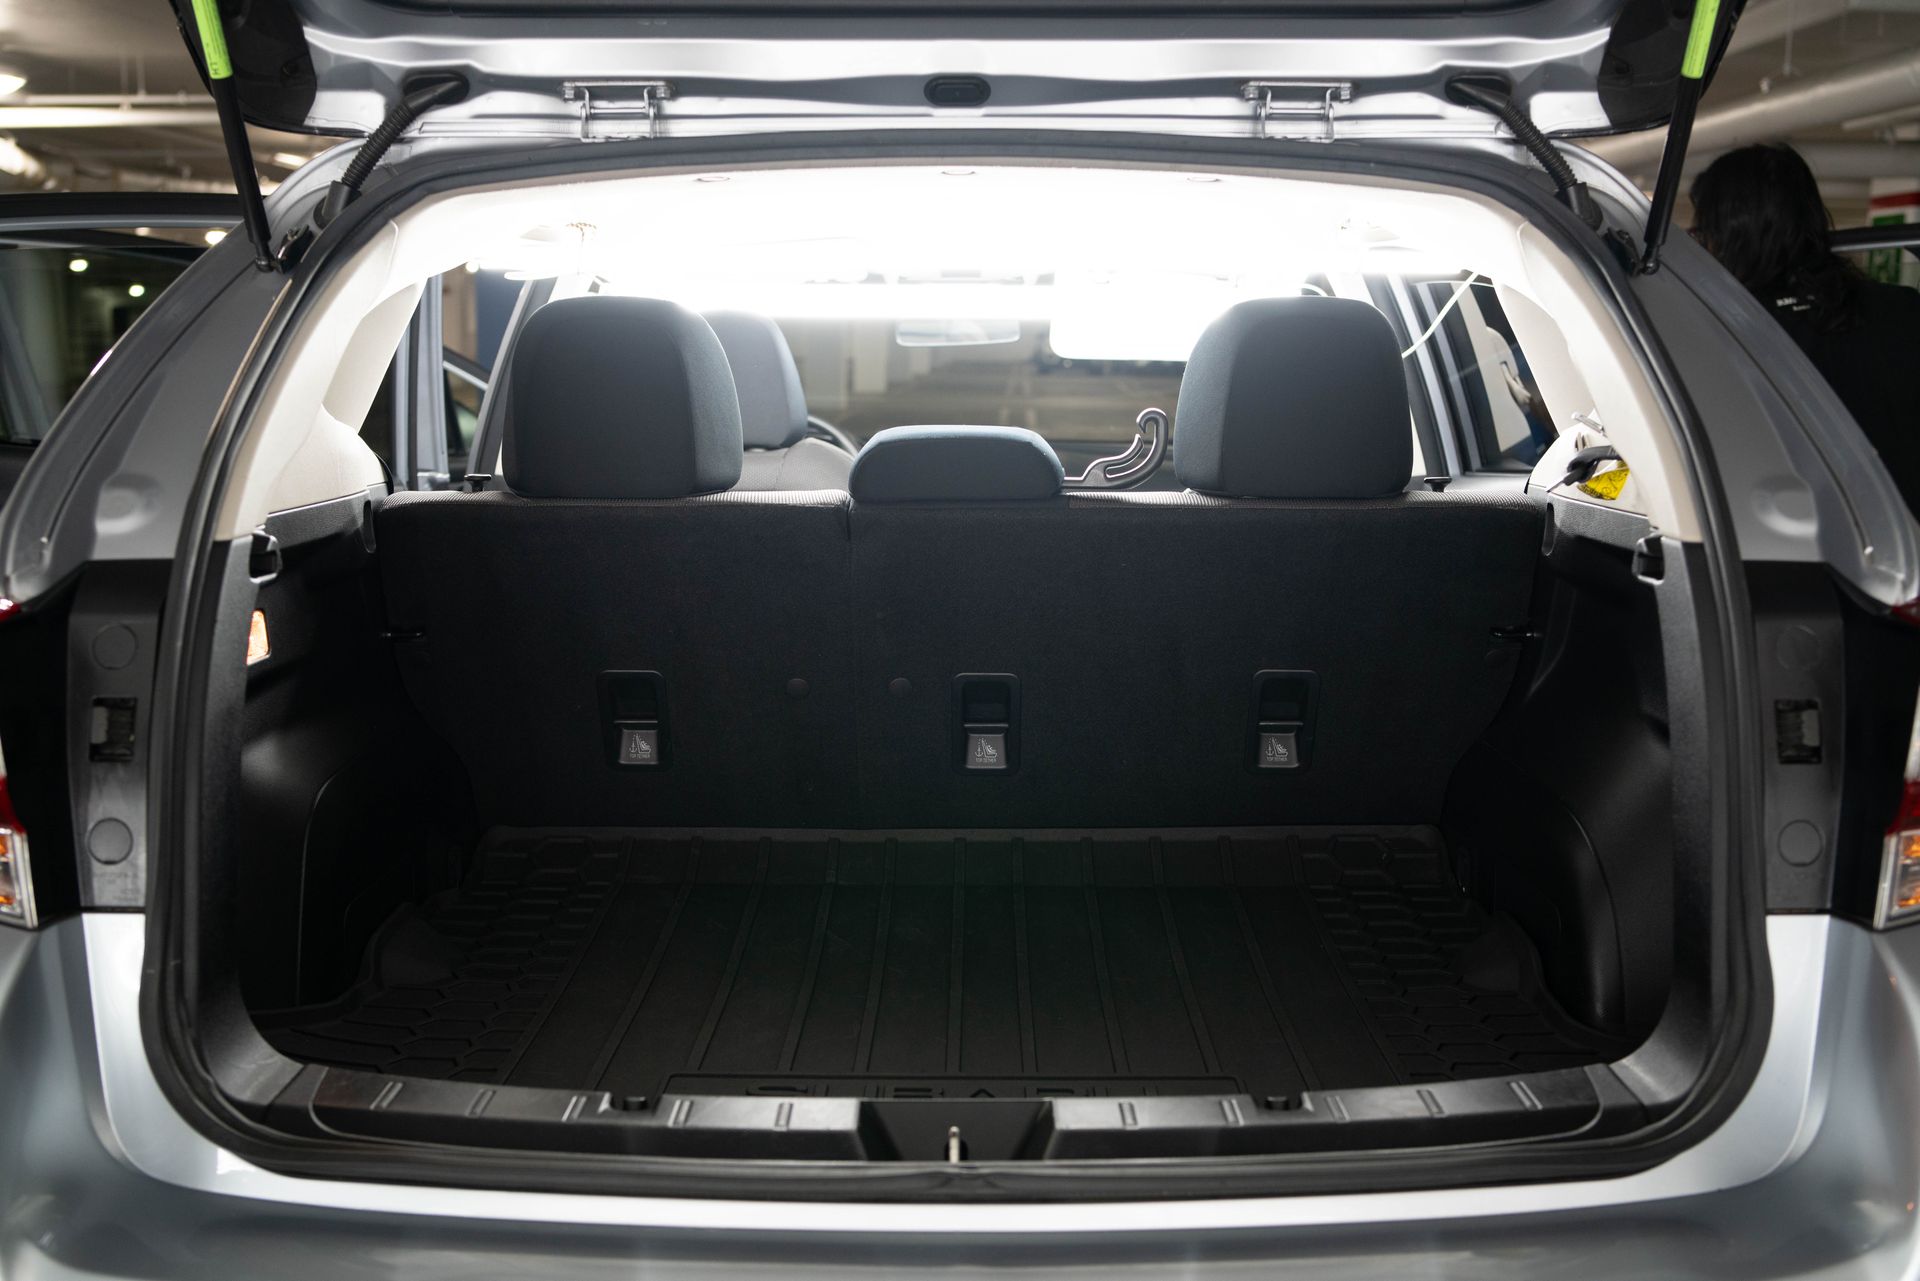
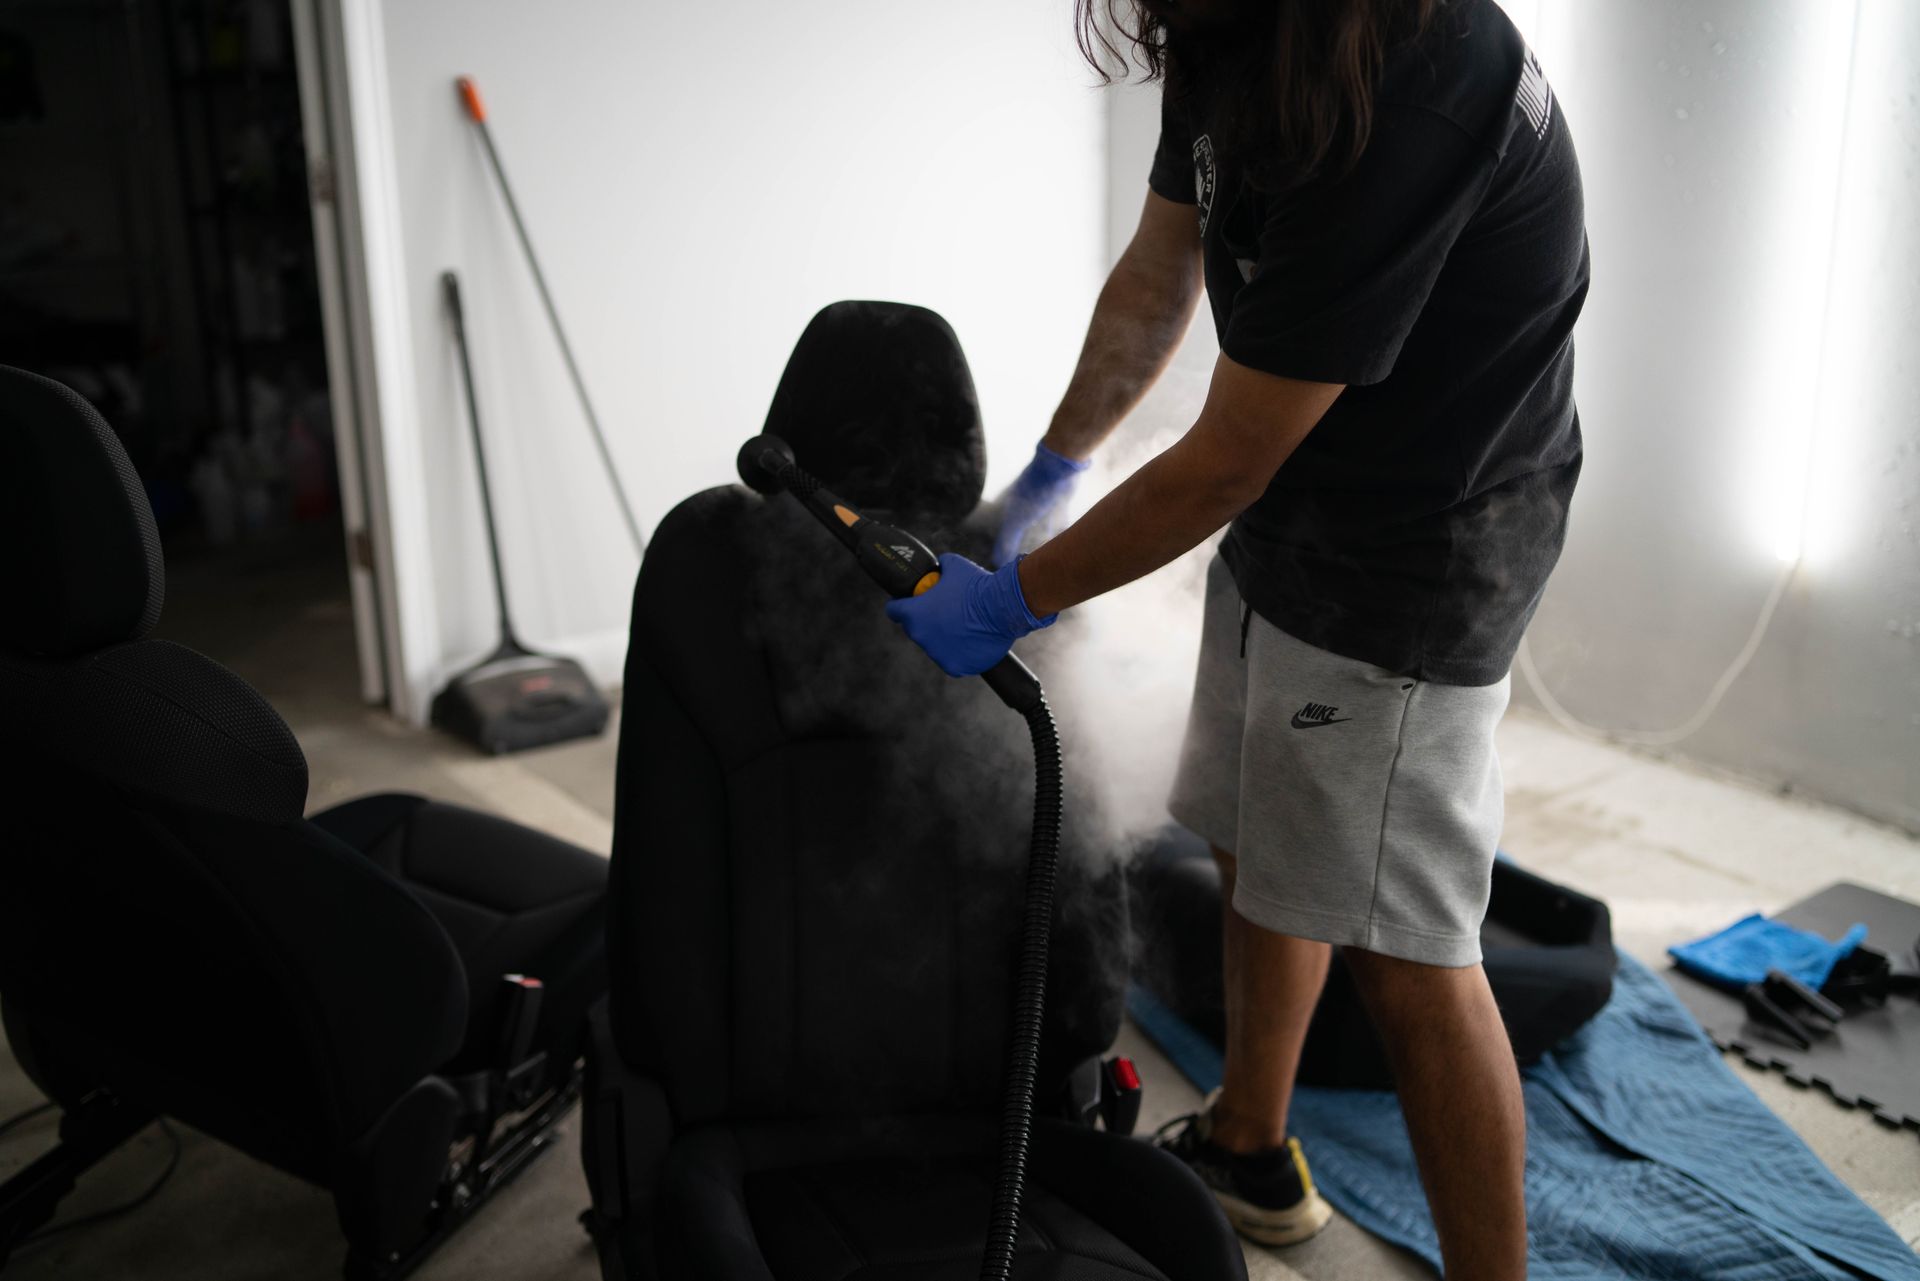
Preventing mold in a car during storage or after flooding is often misunderstood as a cleaning issue. In practice, it comes down to moisture control. Mold develops when moisture remains trapped inside interior materials long enough to support growth, usually when airflow is limited. The important distinction is this: most vehicles do not continue to have mold problems once moisture intrusion is corrected, the vehicle has been treated for mold and the interior is properly dried. Ongoing issues are typically linked to unresolved leaks, incomplete drying, or storage conditions that allow moisture to build back up. What the Process Actually Is Preventing mold during storage or after flooding is not about aggressive cleaning or constant intervention. The goal is to remove moisture, confirm interior materials are dry beneath the surface, and prevent new moisture from entering. In storage situations, this means managing humidity and circulation over time. After flooding or water intrusion, the focus is on how quickly moisture was removed and which materials absorbed it. When drying is thorough and the source of water is addressed, interiors usually stabilize and remain problem-free. This is why prevention looks different for a vehicle that sat unused for months versus one that experienced direct water exposure. Why Mold Develops in Stored or Flood-Affected Vehicles Mold needs moisture, organic material, and time. Modern vehicle interiors contain foam, padding, insulation, and fabrics that can absorb and hold moisture longer than most owners expect. During long-term storage, temperature changes create condensation. Moist air enters through normal seals and ventilation points, condenses on cooler surfaces, and becomes trapped when airflow stops. Even a small amount of existing moisture can worsen under these conditions. In many cases, minor water intrusion is already present before a vehicle is stored. Once circulation stops, that moisture has no opportunity to dissipate. Vehicles stored outdoors face a similar issue, where small leaks at door seals, sunroof drains, or windshield cowls allow moisture to enter while the vehicle sits. After flooding, moisture intrusion is more direct. Carpet padding, insulation, seat foam, and HVAC components can retain water long after surfaces appear dry. If those materials are not dried fully, odor or mold may appear later. When moisture is removed properly and the vehicle returns to normal use, ongoing airflow and regular operation typically prevent these conditions from returning. Decision Points That Change the Outcome Not all moisture situations behave the same way, and outcomes depend on several practical factors. Storage-related risk depends on the environment. Indoor storage without airflow can be just as challenging as outdoor storage in humid climates. Desiccants help manage moisture in the air, but they do not remove water already trapped in interior materials. Flood-related risk depends on how much water entered, how long it remained, and how quickly drying began. Water that reaches seat foam, padding, or insulation changes how the interior responds and how long moisture persists. It is also common for owners to assume a vehicle is no longer viable based on how much water entered or how long it remained wet. While those factors matter, they do not tell the full story. Interior materials respond differently depending on construction and how moisture moved through the vehicle. Determining whether components can stabilize requires inspection of padding, foam, and hidden areas rather than estimates based on time or water level alone. In practice, most vehicles fall into a middle category where moisture intrusion is identifiable, drying is achievable, and no long-term issues remain once conditions are corrected. Common Misconceptions Storage covers prevent mold. Covers reduce dust but often trap humidity when airflow is limited. If a car dries once, it will stay dry. Stored vehicles experience changing humidity levels that can reintroduce moisture if conditions are not managed. Desiccants alone prevent mold. Desiccants help control air moisture but do not address water retained in foam, padding, or insulation. What Determines Whether Issues Return Sealing a vehicle too tightly during storage can trap humidity and encourage condensation. Partial drying can make an interior appear stable while moisture remains below the surface. After flooding, how quickly drying began and how deeply materials were affected matters more than the initial appearance. Carpet padding and insulation release moisture slowly, while seat foam can remain damp even when surfaces feel dry. When carpets are affected, the most viable method for removing moisture is peeling up carpets and ensuring the insulation underneath is getting proper airflow. When moisture sources are corrected and interior materials are fully dried, additional intervention is rarely needed. When Preservation Matters More Than Results Interior materials are not unlimited. Carpet padding, insulation, and seat foam can degrade when repeatedly exposed to moisture. In some more severe cases, replacing affected components provides a more stable long-term result than repeated drying attempts. Experienced professionals prioritize stability over cosmetic perfection. A vehicle that is dry, ventilated, and returned to normal use will outperform one that looks clean but retains hidden moisture. Frequently Asked Questions Can a stored car grow mold without flooding? Yes. Condensation, lack of airflow, and minor leaks can be enough. How long after flooding does mold appear? Often weeks or months later if moisture remains trapped. Are desiccants enough during storage? They help, but only as part of a broader moisture-management approach. Do most cars continue to have problems after proper drying? No. Once moisture intrusion is corrected and interiors are dry, most vehicles remain stable. Practical Takeaway Preventing mold during vehicle storage or after flooding comes down to one core principle: moisture must be removed and kept from returning. In most cases, once water intrusion is corrected and interior materials are fully dried and treated for mold, vehicles do not continue to experience mold issues. Normal use, airflow, and basic moisture awareness are usually enough to keep the interior stable. At Westchester Auto Detail, we routinely evaluate and remediate mold-related issues in vehicles, from minor contamination to more involved cases following water intrusion. Through that work, we are familiar with common vehicle-specific areas where moisture intrusion occurs and how those conditions affect interior materials over time. Our focus is on treating existing mold, confirming that interiors are properly dried, and recognizing when underlying issues may need further attention. If you have questions about mold in your vehicle or want guidance on how to address it, our team can review your situation and help outline practical next steps based on inspection and experience.