


Getting Rid of Mildew in Your Car's Interior
February 4, 2024

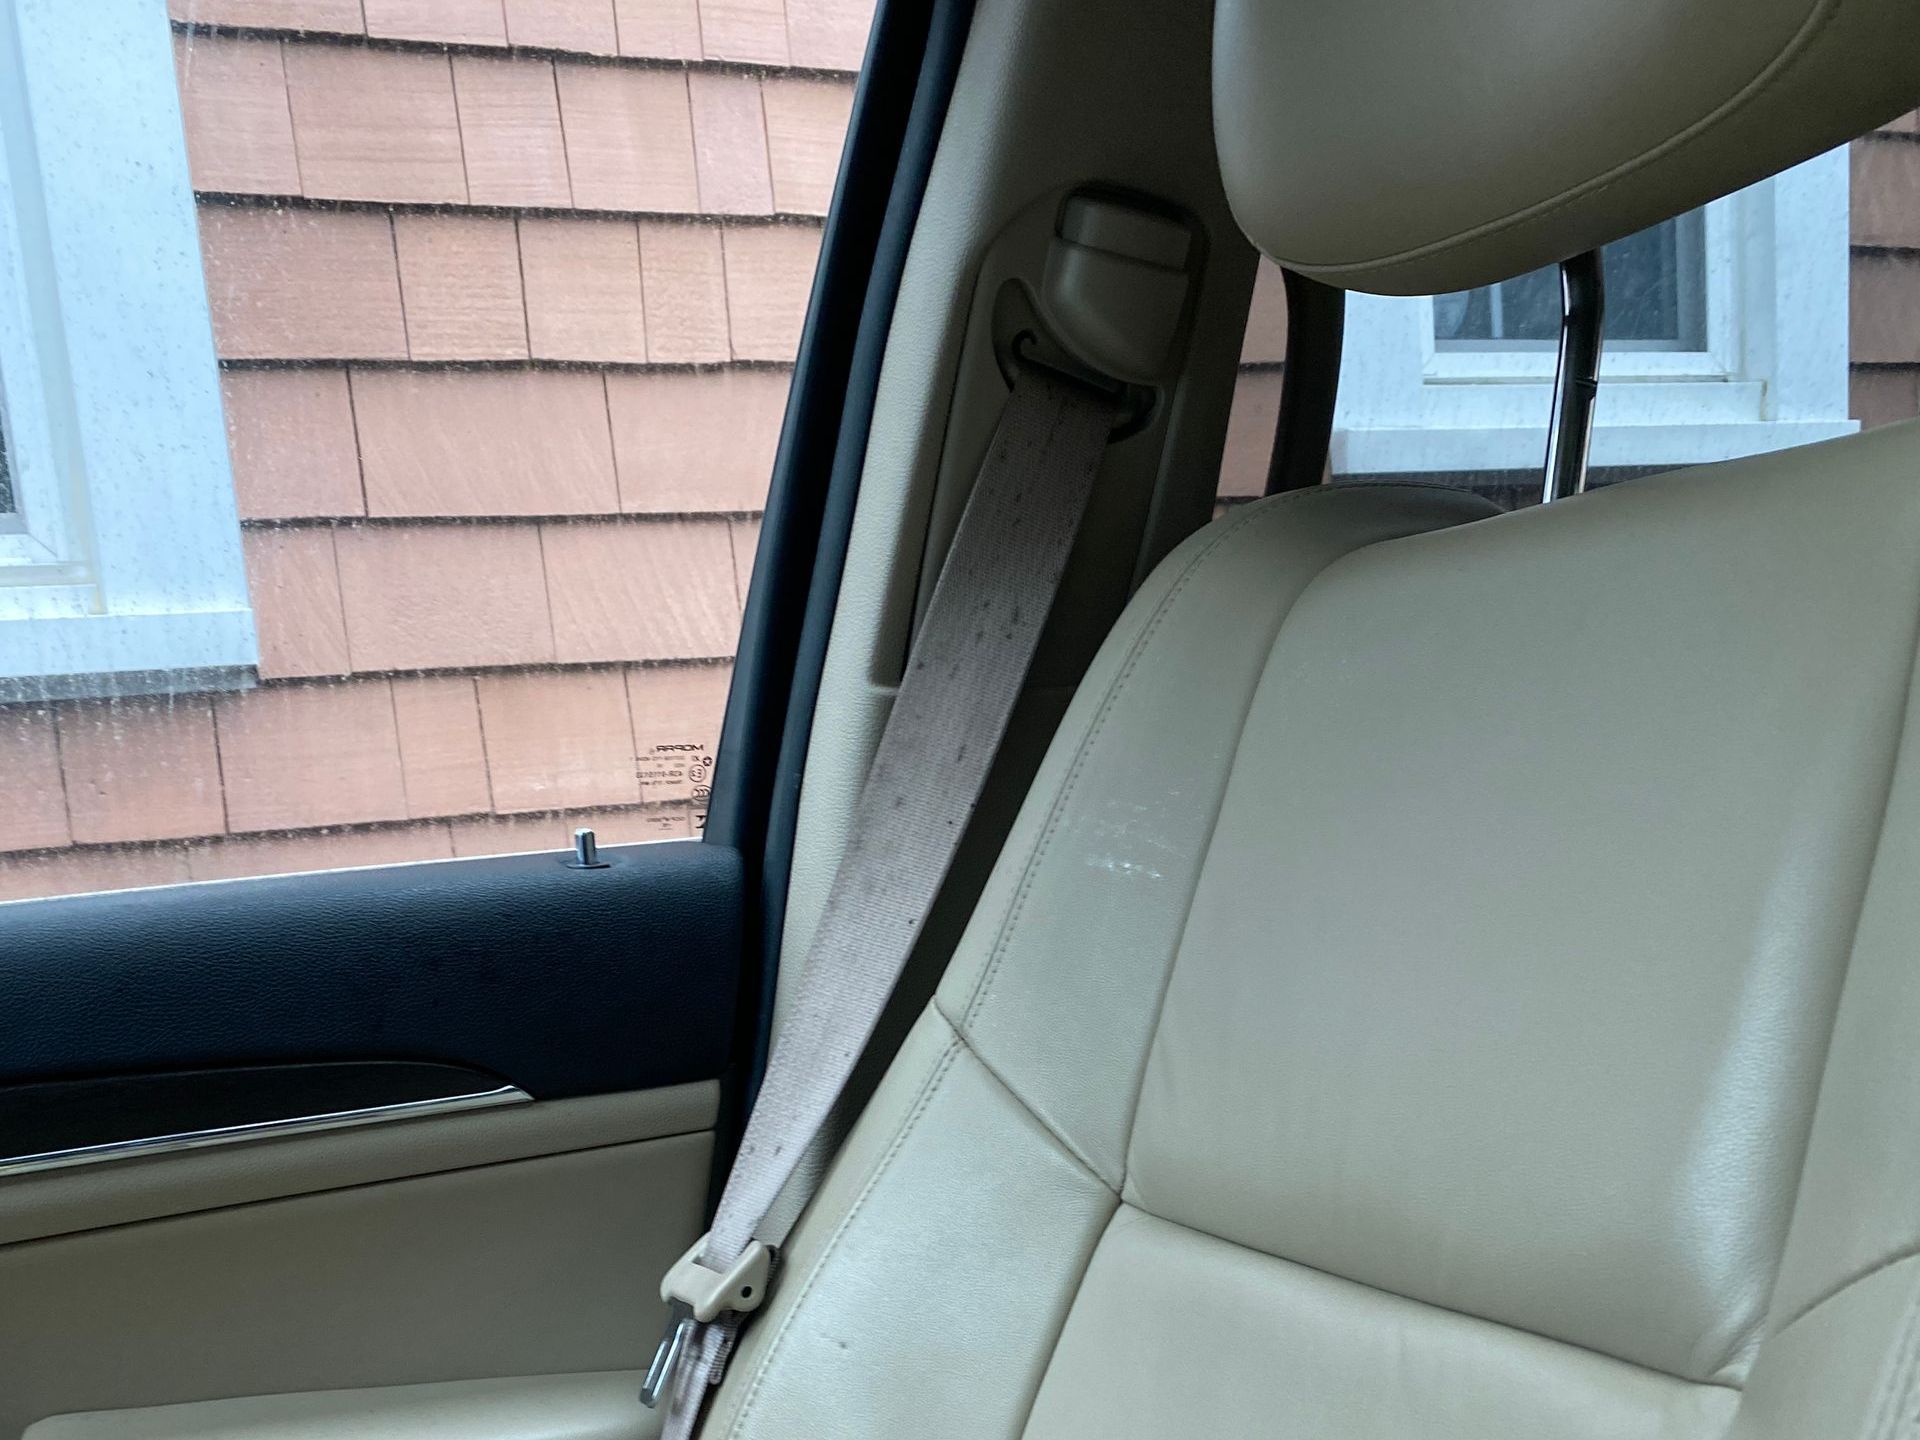
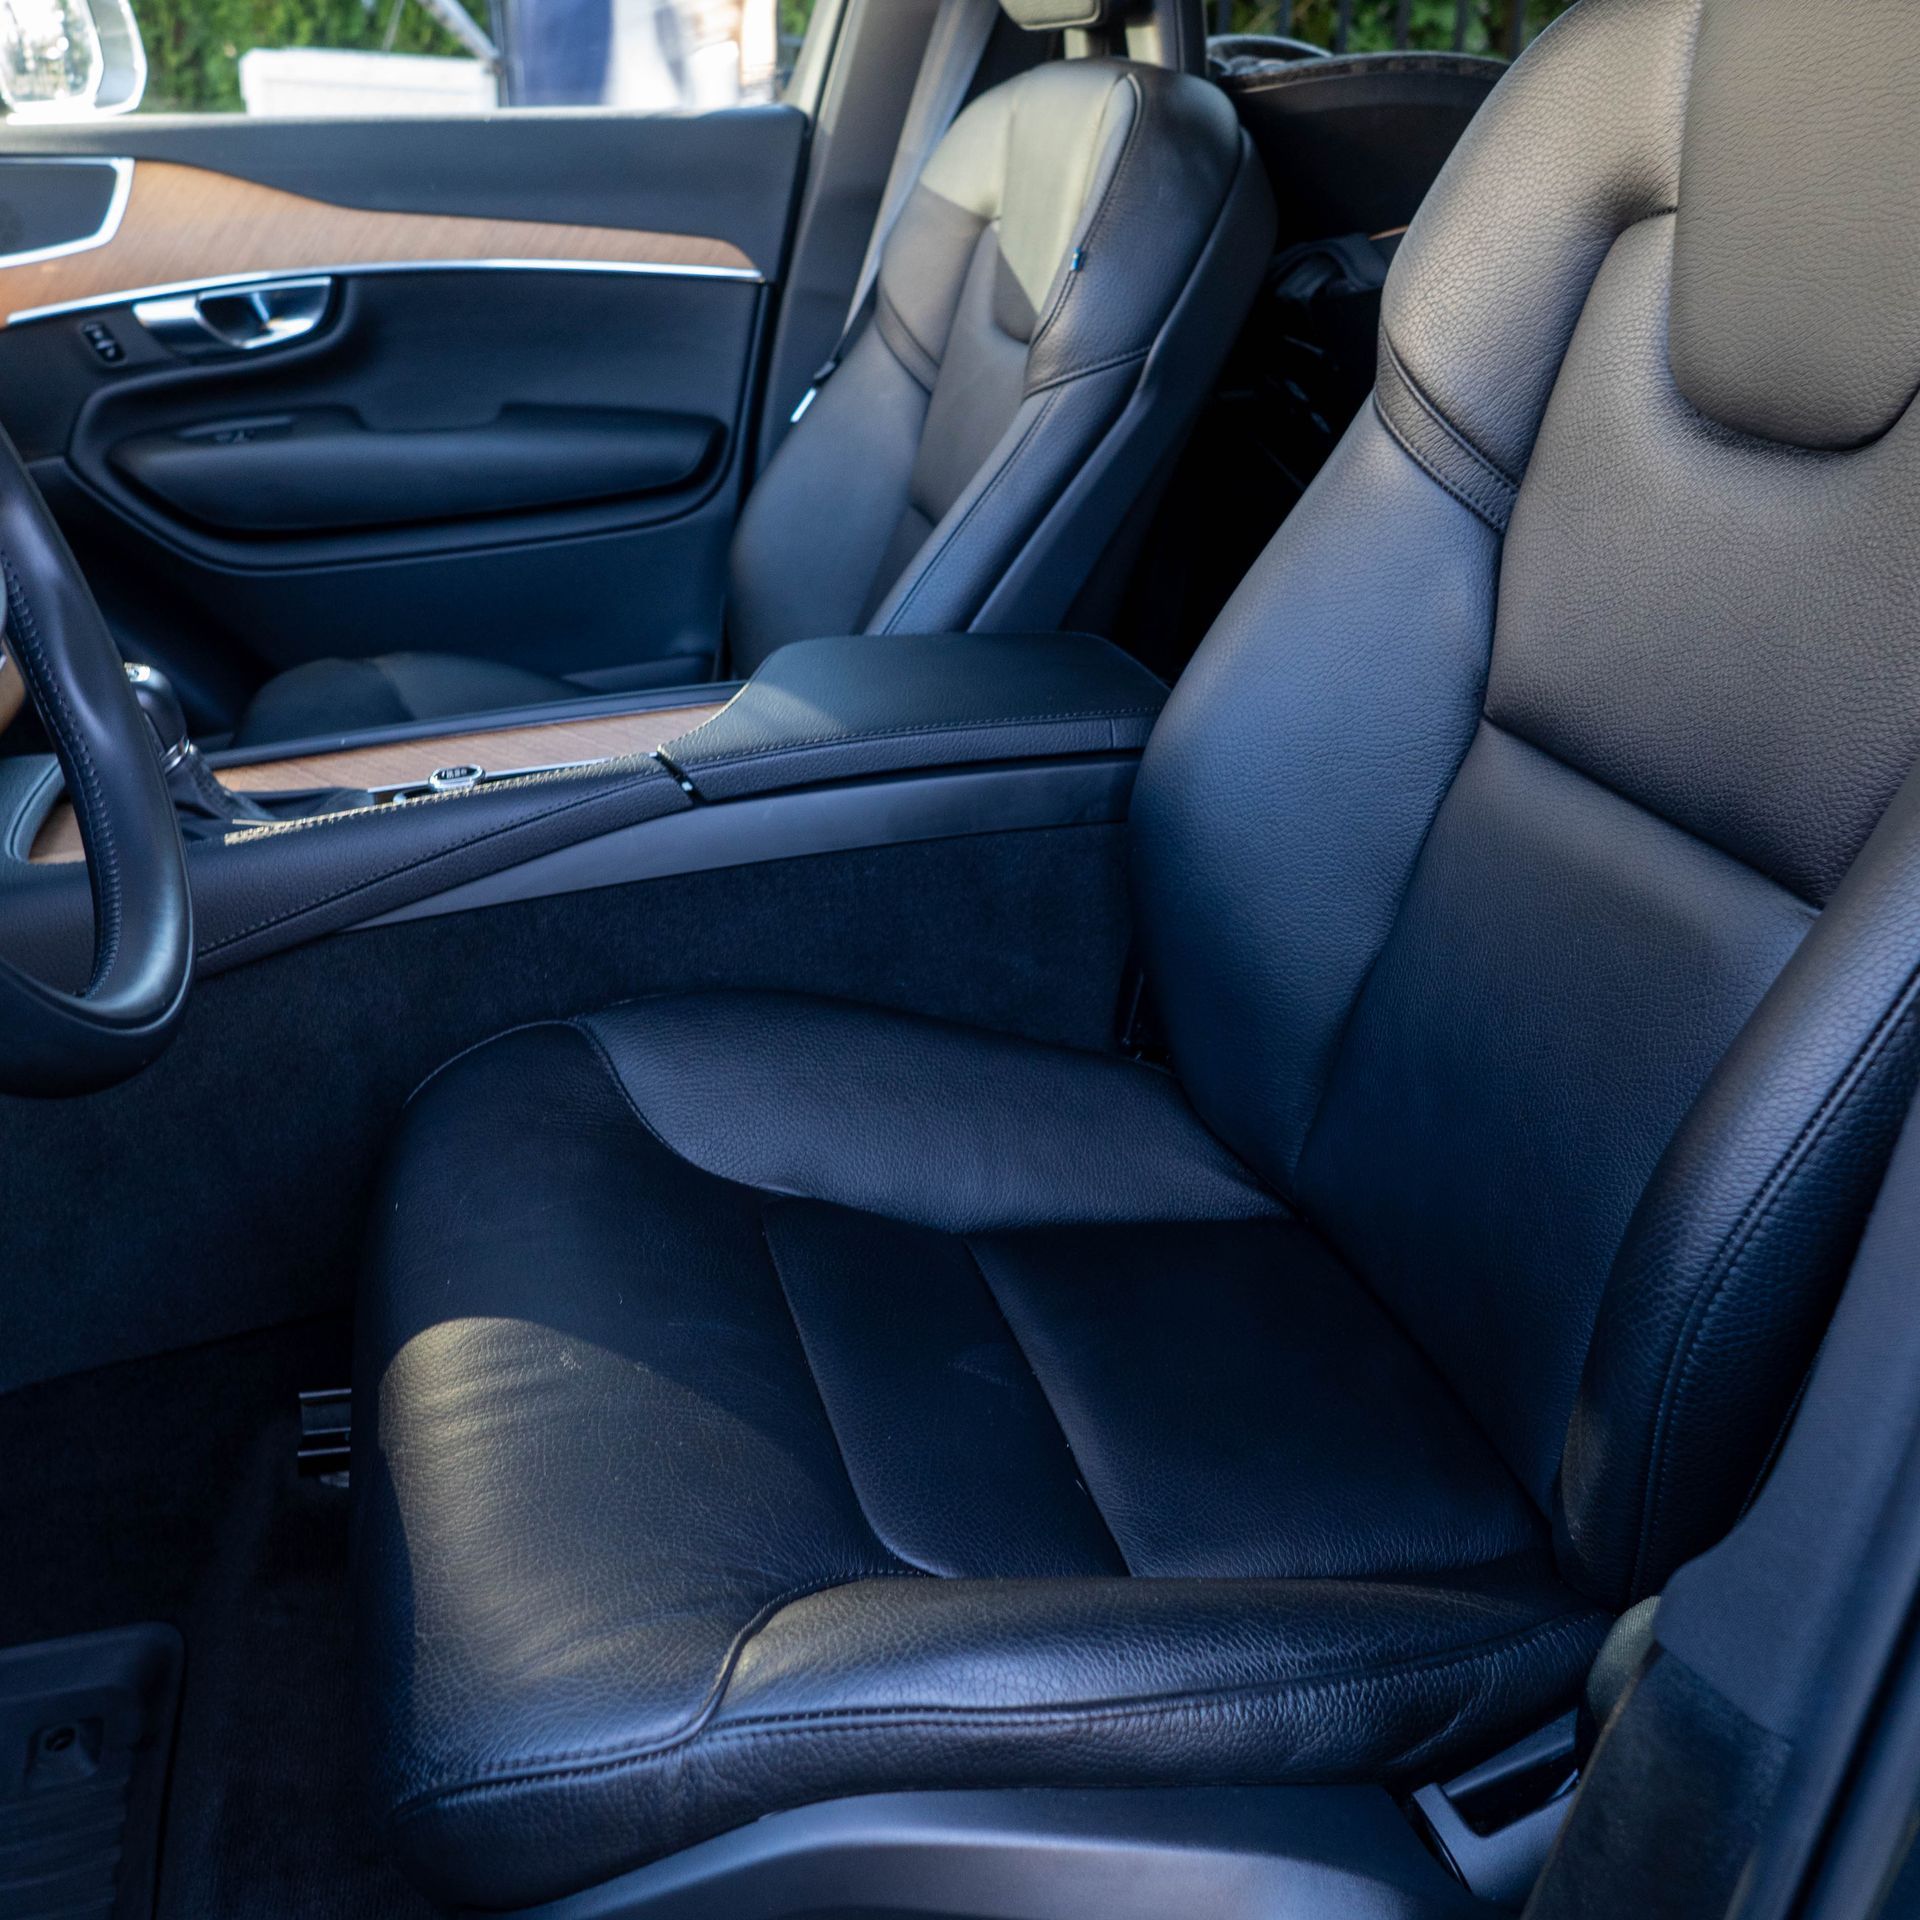
Opening the door to your car and being hit with a musty, moldy smell is never pleasant. Mildew and mold spores thrive in the warm, damp environment inside a car, especially if water has leaked in or condensation has built up. Getting rid of that mildew odor and stopping regrowth requires thorough cleaning and drying of the car's interior. According to the US EPA, "There is no practical way to eliminate all mold and mold spores in the indoor environment; the way to control indoor mold growth is to control moisture." With some work, you can banish mildew and restore your car’s cabin to a fresh, clean state.
In this article, we’ll cover how to effectively remove mildew and its associated smells from your car’s upholstery, carpets, and hard surfaces. We’ll go over key steps like vacuuming, using antimicrobial cleaners, steam cleaning, and thoroughly drying the car afterwards. While this process takes time and effort, it’s well worth it to erase unpleasant mildew and odors from your vehicle’s interior.
Vacuum Interior Thoroughly
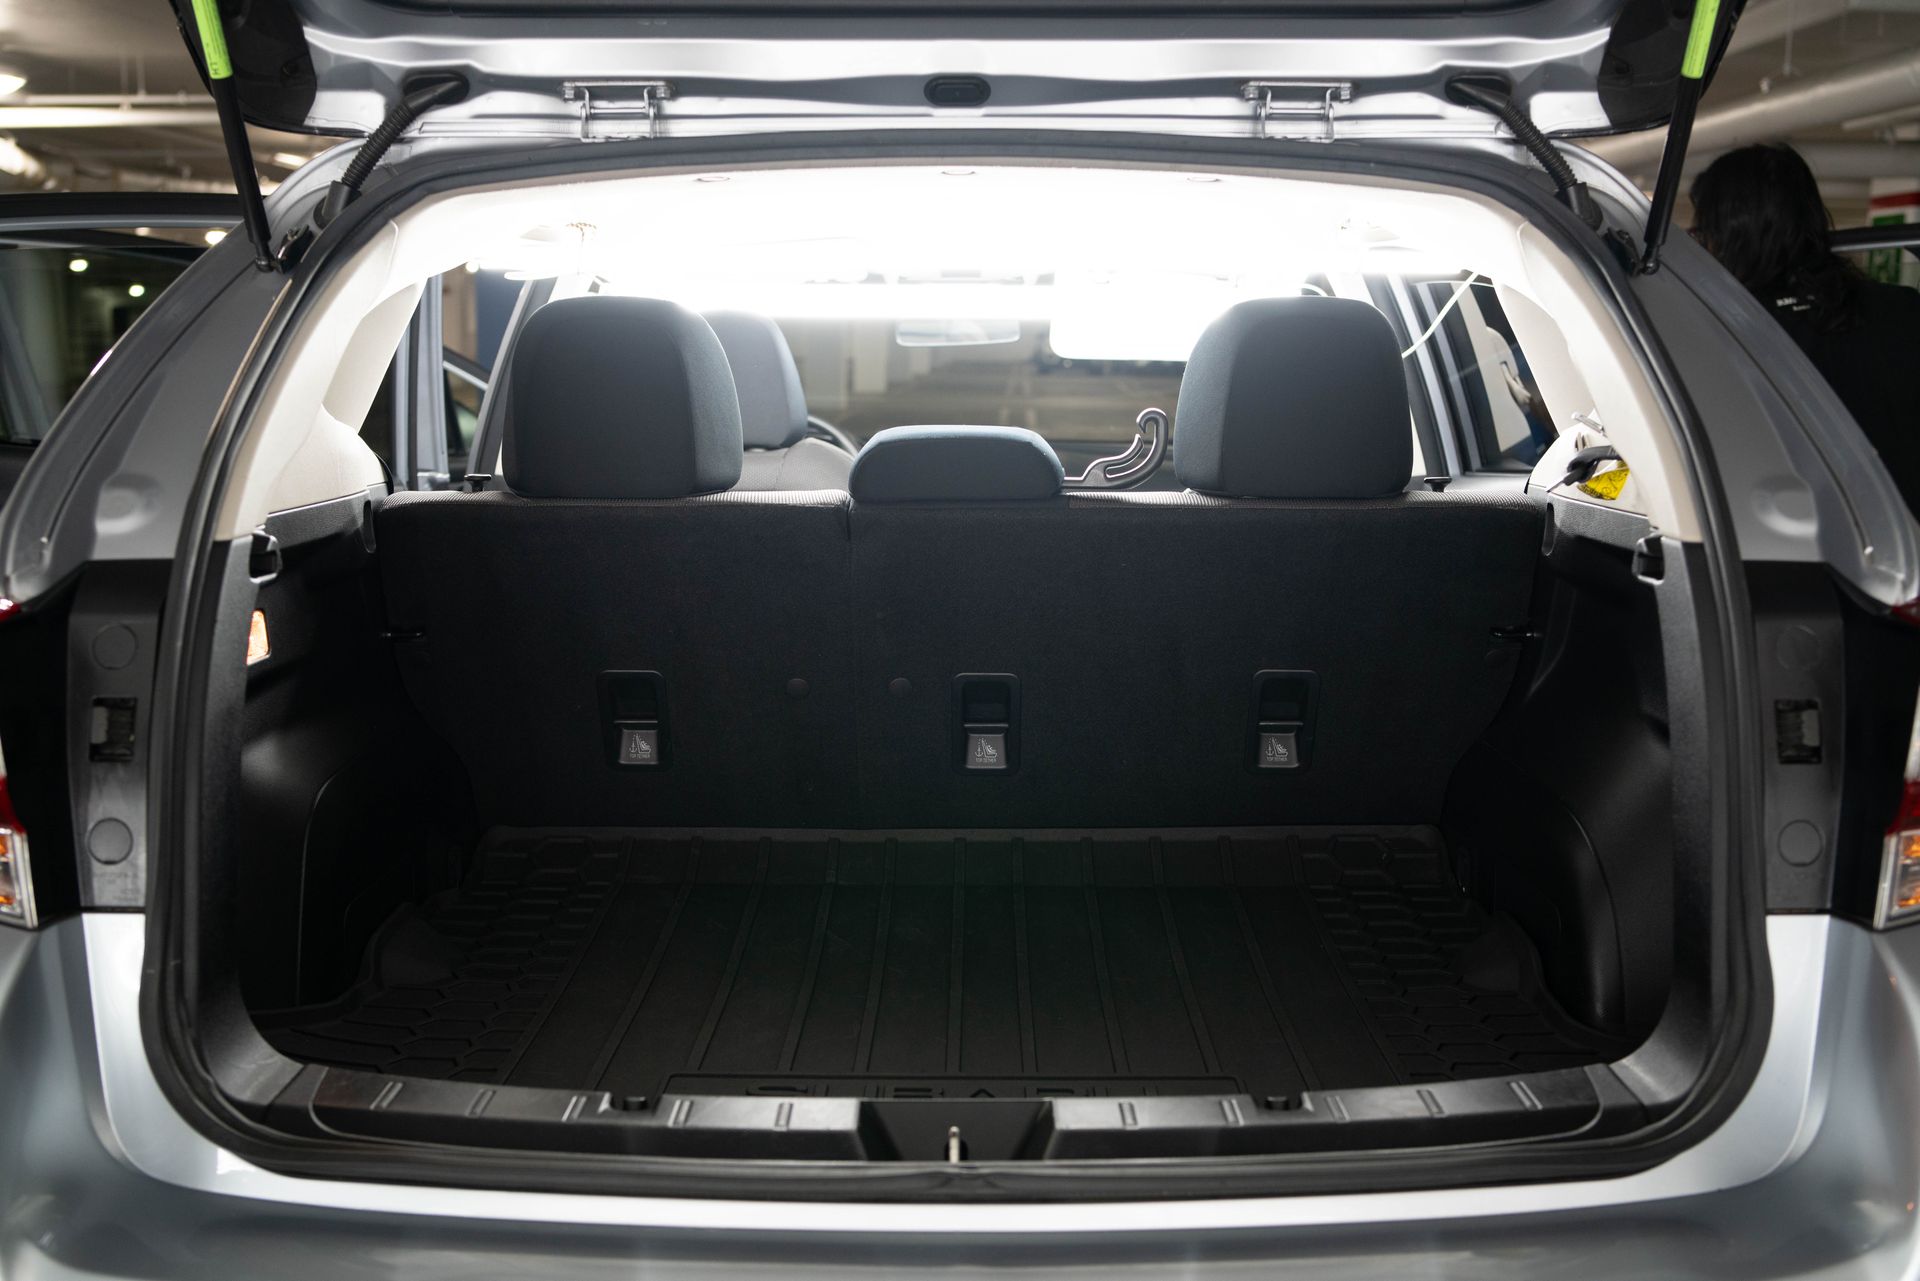
The first step is to thoroughly vacuum all upholstery, carpeting, crevices and any visible mildew spots. This removes loose spores and dirt that harbor mold. Make sure to use a vacuum with good suction power and concentrate on areas like the floor mats, carpets, seats, door panels and any cracks or hard-to-reach spots. Vacuuming up the initial debris makes the deeper cleaning more effective.
If you need help with this first vacuuming step, professional mobile detailers like Westchester Auto Detail offer full interior detailing services, including thorough vacuuming. Their trained staff know how to methodically vacuum every inch of the car's interior to lift dirt and debris before deeper mildew removal.
Use a Commercial Anti Microbial Cleaner
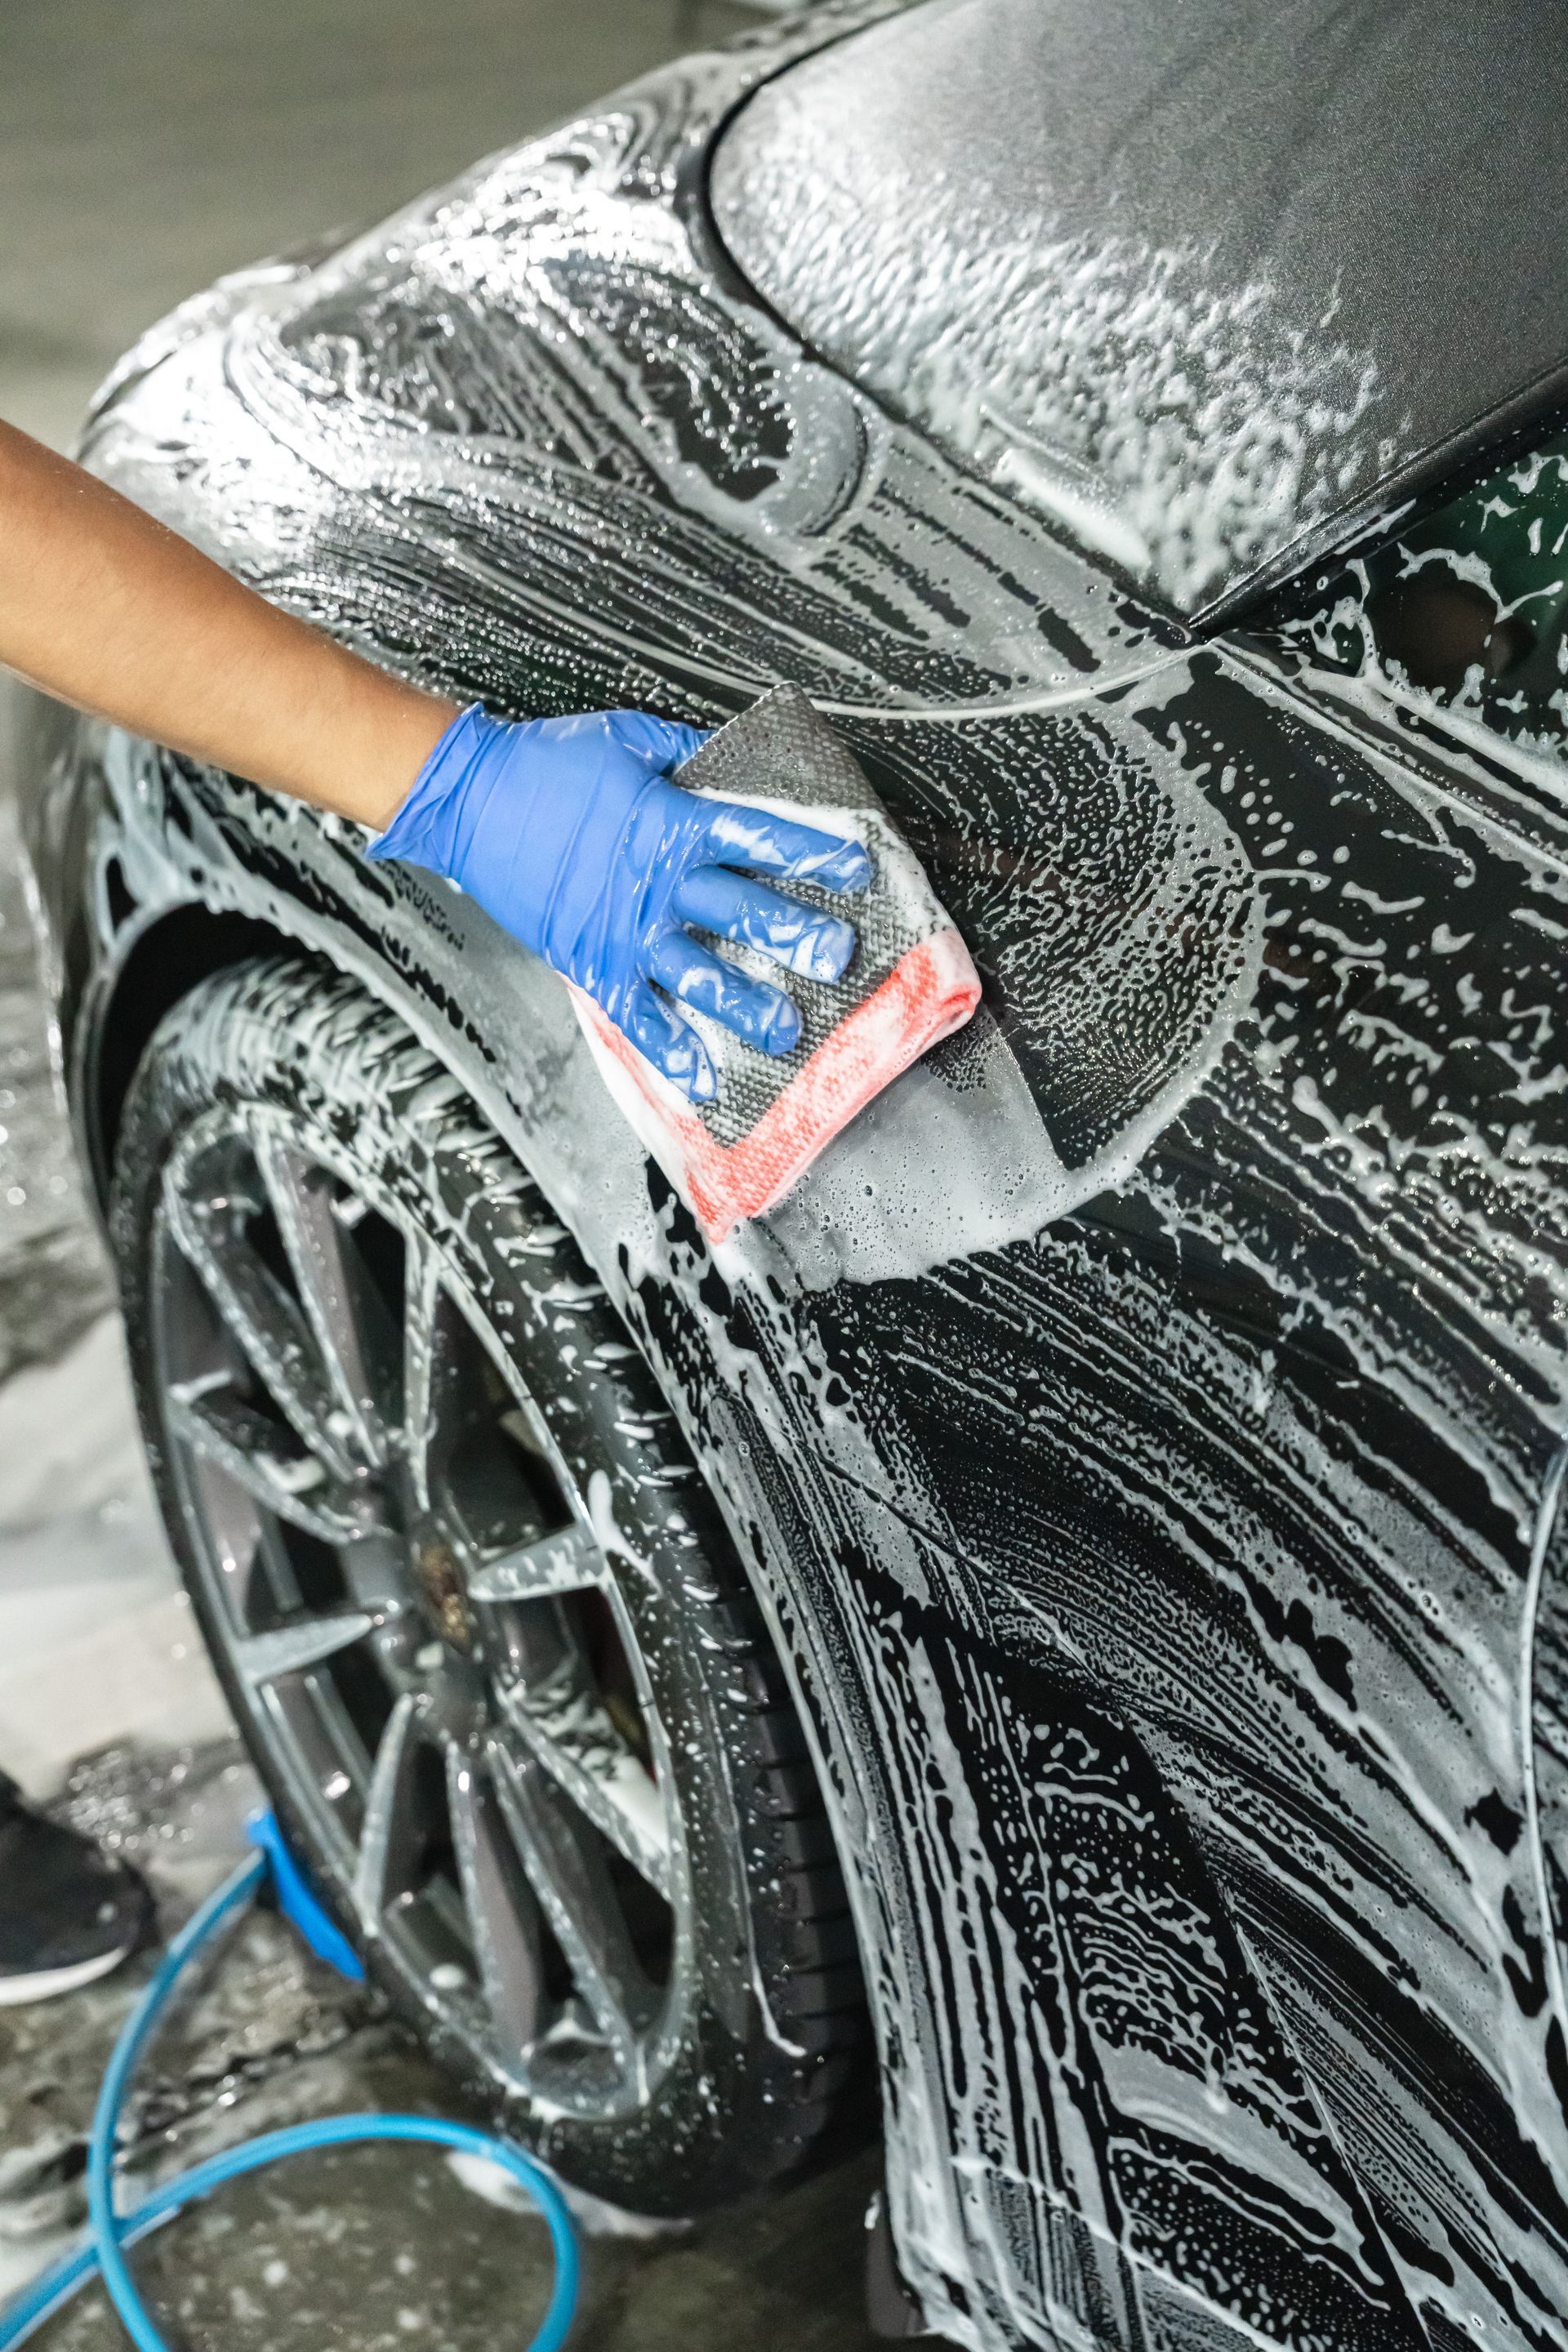
After vacuuming, it’s time to use a strong commercial antimicrobial cleaner formulated to kill mold and mildew. Look for auto interior cleaners that contain ingredients like bleach, peroxide or vinegar. These chemical agents effectively attack mold and disinfect surfaces. Make sure the cleaner is specifically designed for auto interiors.
Spray or scrub the mildew-killing cleaner over all upholstery, carpets, crevices and any visible mildew spots. Be sure to open the trunk and hood and clean those areas too. Let it soak for 5-10 minutes then scrub with a stiff brush to lift deeply embedded mildew and stains.
Professional auto detailers frequently use strong antimicrobial cleaners and brushes to thoroughly attack mold in a car's interior. The experts at Westchester Auto Detail use effective cleaners coupled with diligent scrubbing and extraction as part of their mold removal service. This combination of products and technique helps remove contamination and odors.
Extract the Cleaner
After scrubbing the upholstery and carpet with cleaner, extract it using a wet/dry shop vacuum or carpet cleaning machine. This pulls out the dissolved mildew, spores and any musty odor from deep in the fabric. Thorough extraction prevents residue being left behind. Make sure to fully vacuum and extract all areas that were cleaned.
Some homeowners or DIY detailers rent carpet cleaning machines to effectively extract interior cleaners after scrubbing the mildew. For professional-grade extraction, the mobile detailing experts at Westchester Auto Detail use powerful suction to remove as much water as possible.
Steam Clean the Interior
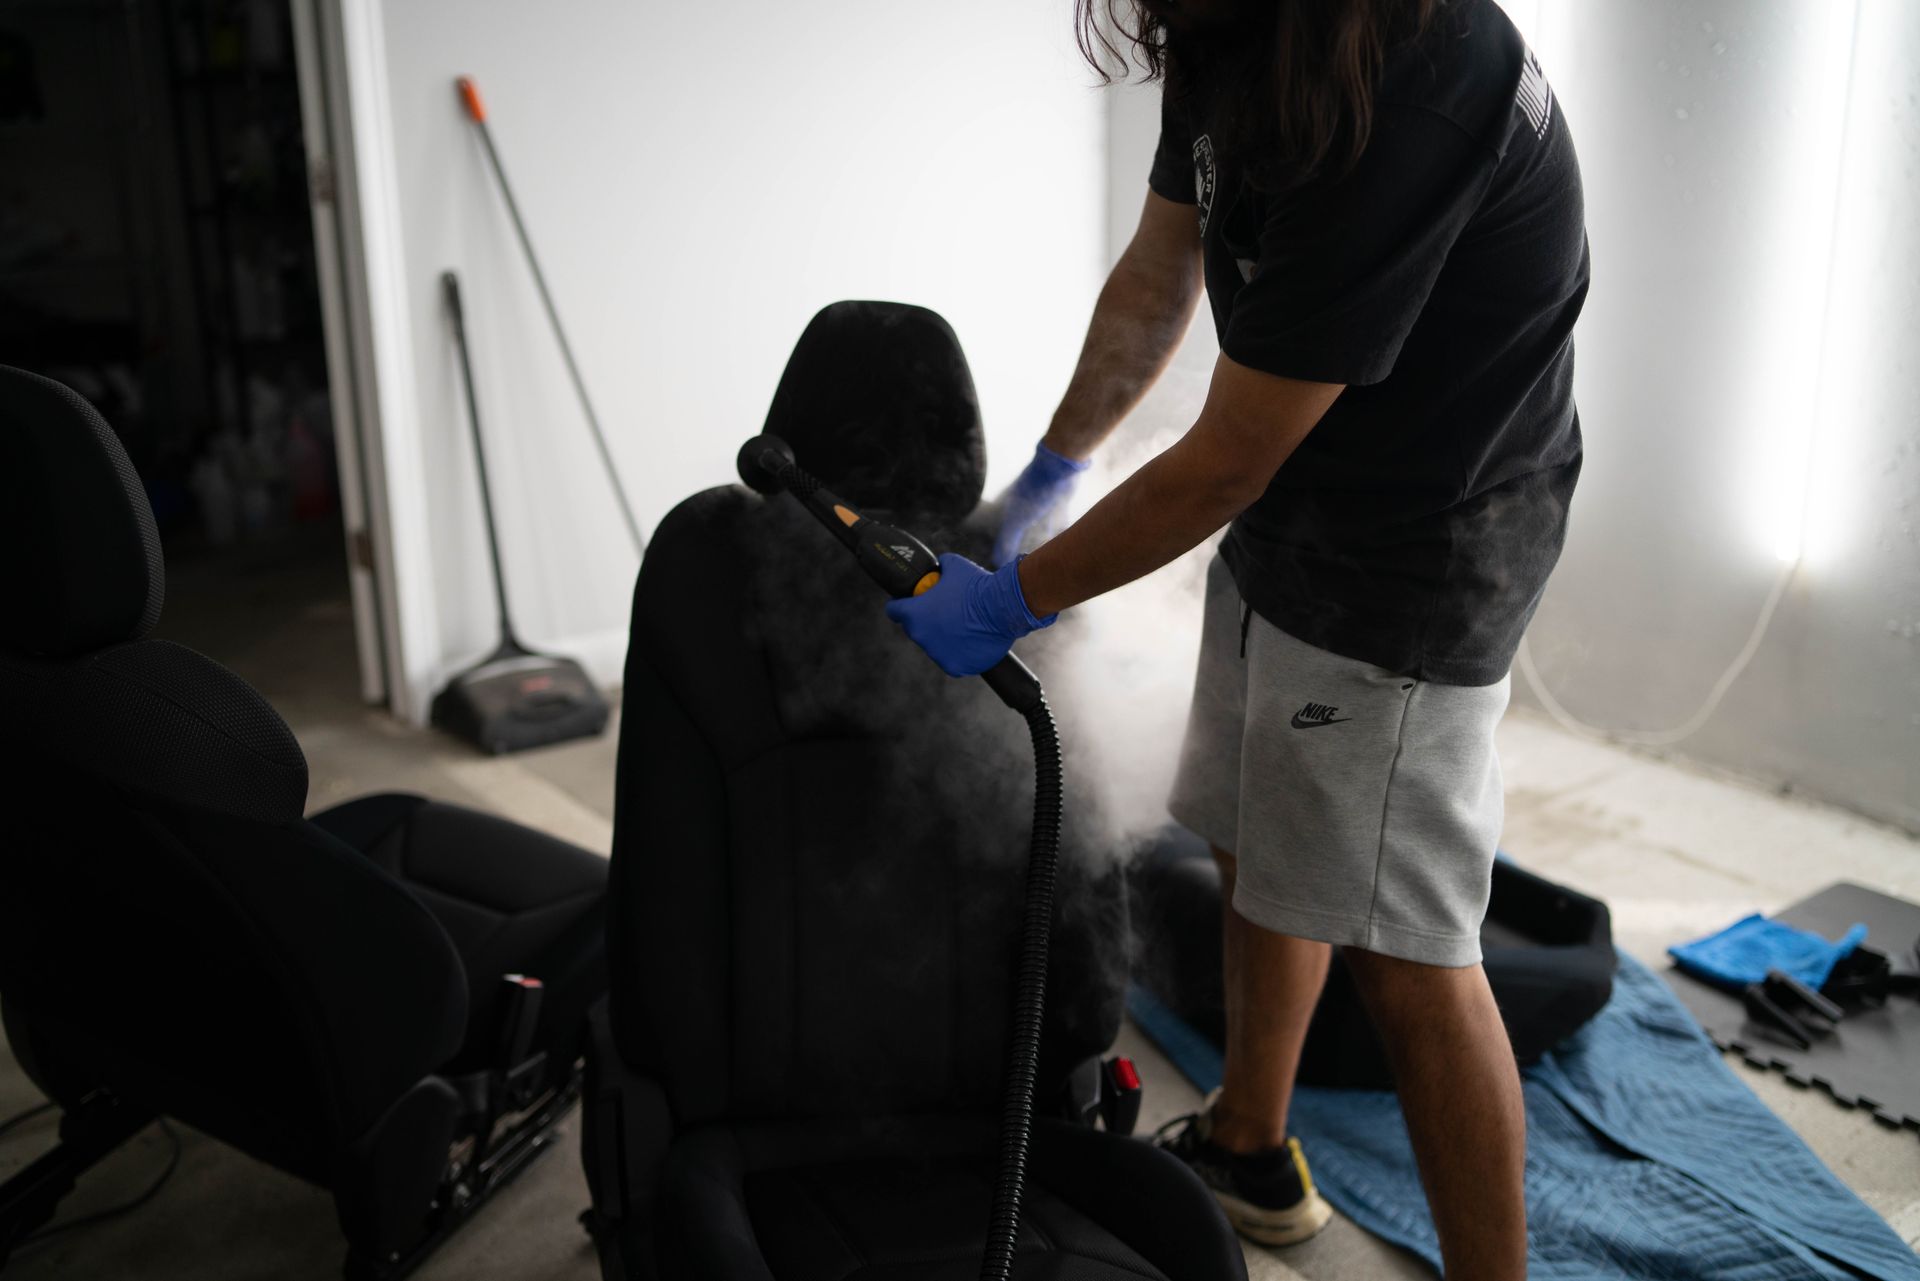
For an even deeper clean, use a handheld steam cleaner after vacuuming and cleaning with an antimicrobial agent. The pressurized, high heat steam helps sanitize and remove odors. Carefully steam clean all upholstery, roof lining, door panels, gaps and crevices. The combination of heat, pressure and moisture flushes out contaminants.
Westchester Auto Detail frequently uses steam cleaning in their interior detailing process. It's an important step in eliminating tough odors like mildew. The heat and vapor of their professional steam cleaners disinfect the car's cabin.
Dry Thoroughly
This vital last step prevents mildew from recurring. Use towels, fans, heaters or even leave car doors open on a hot day to fully dry the interior. Dampness allows mildew to regrow rapidly, so dry all upholstery, carpets and crevices thoroughly.
Westchester Auto Detail's auto detailing experts always take care to thoroughly dry vehicles after deep cleaning interiors. They use fans, microfiber towels and other drying tools to eliminate all moisture. This drying process locks in the fresh, clean results after mildew removal.
Preventing Mildew Growth and Other FAQs
Here are some tips to help prevent mildew growth in your car's interior:
- Keep the cabin clean and vacuum regularly. Don't allow dirt or debris to accumulate.
- Fix any water leaks immediately and extract excess moisture right away.
- Allow the interior to dry fully after steam cleaning or shampooing.
- Use moisture absorbing products or leave baking soda inside to keep air dry.
- Park in sunlight when possible and open windows to air it out.
Some other common questions about mildew in car interiors include:
How did the mildew get there?
Mildew spores are everywhere and will grow given the right conditions of darkness, warmth and moisture. Condensation, spills, leaks or flooding provide prime conditions for mildew to take hold in a car's fabrics and corners.
Is the mildew harmful?
Inhaling mold spores can potentially cause allergy or asthma symptoms in some people. Mold and mildew can also damage surfaces over time. Keeping your car mildew-free improves air quality and preserves upholstery.
Does mildew stain?
Yes, mildew can leave behind stubborn stains as the mold digs into materials. Thorough cleaning is required to lift out both stains and spores. Severely stained areas may need replacing.
With some work, you can remove mildew spores and their musty smell from your car. Focus on vacuuming, scrubbing with commercial cleaners, extracting, steam cleaning and drying thoroughly. For optimal results without the effort, contact a professional auto detailing service specializing in deep interior cleaning and odor removal. Keep your car’s cabin fresh and mold-free with vigilant cleaning.