

The Complete Guide to Paint Correction: Processes, Tools, Tips
February 13, 2024
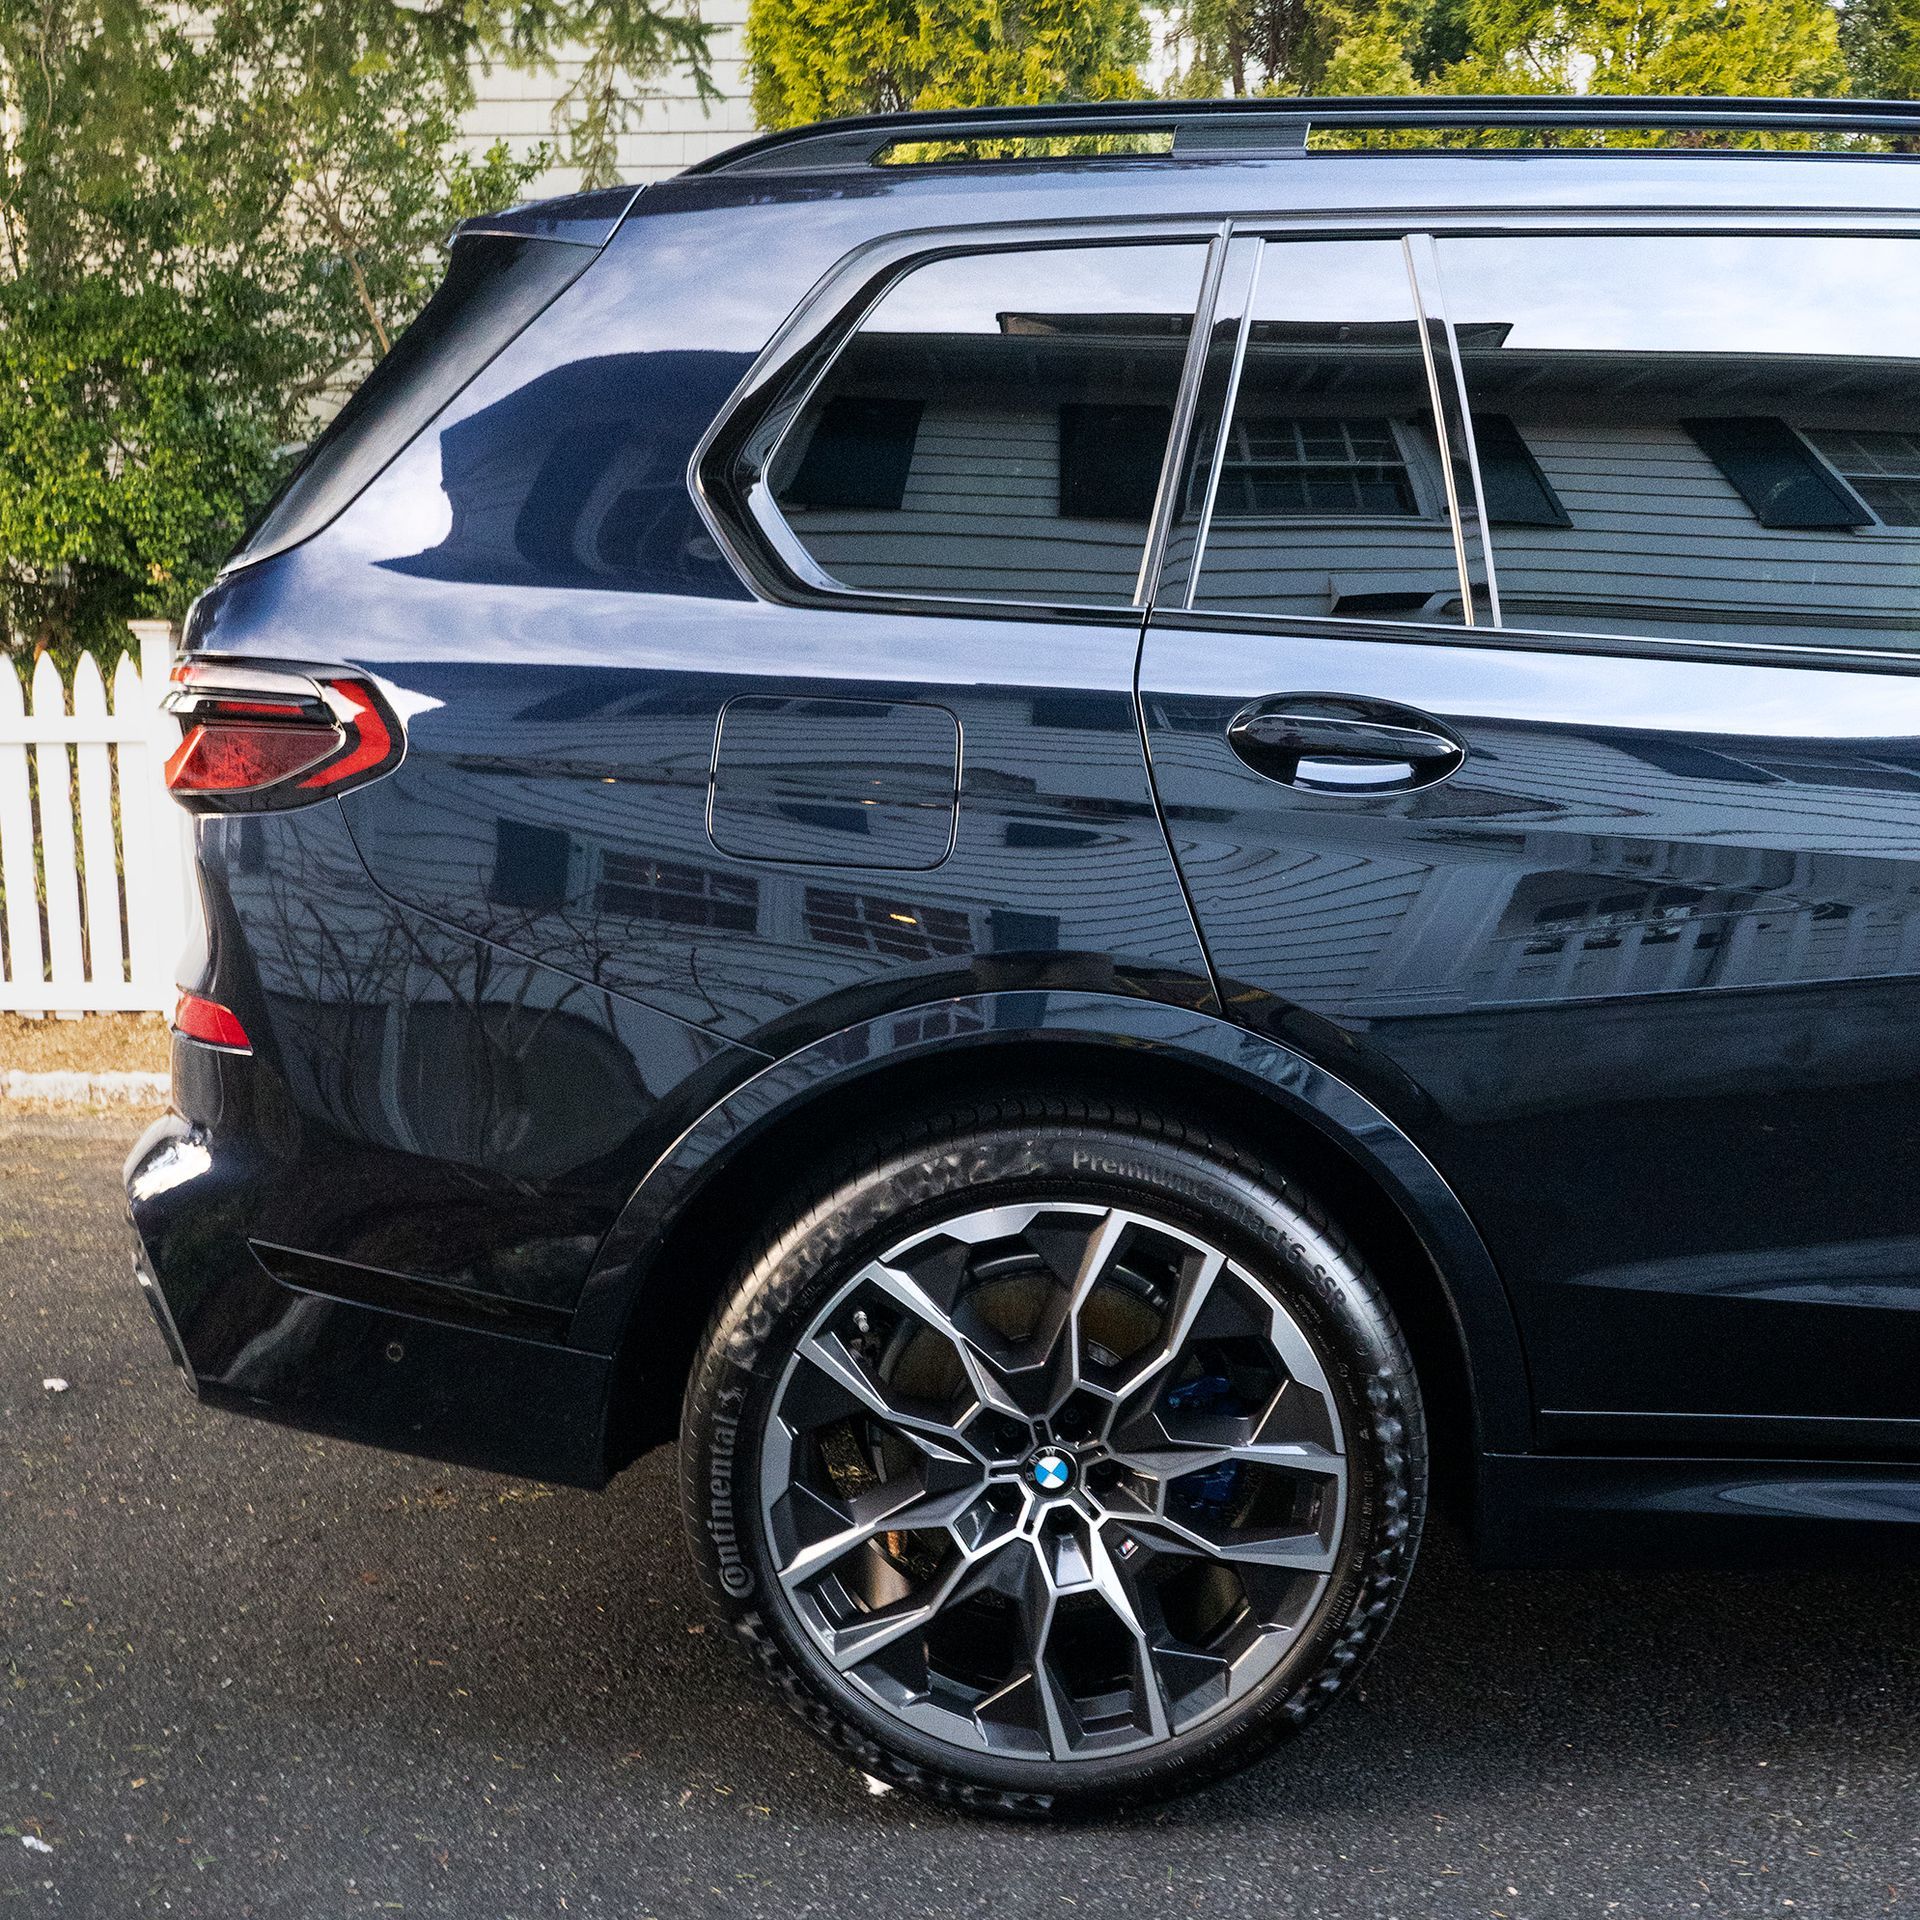
Over time, your car's exterior can become marred with scratches, swirl marks, oxidation, staining, and a faded dull appearance. No matter how gently you care for the paint, normal driving and environmental factors will take their toll. When your once glossy finish starts to lose its luster, paint correction is the detailing solution for restoring your car's beautiful, flawless exterior.
What is Paint Correction?
Paint correction is the process of mechanically removing surface defects from a vehicle’s clear coat to restore clarity and gloss. Unlike waxing or coatings, paint correction permanently removes a controlled amount of damaged clear coat rather than masking imperfections.
Professional detailers use specialized tools, compounds, and techniques to level out the top micro layer of clear coat where defects occur. This abrasion removes and evens the surface while permanently removing swirls, fine scratches under 1 mm deep, and other clear coat issues.
Paint correction can fix defects in the clear coat but cannot repair deeper scratches penetrating the base paint layer. However, it can dramatically improve the appearance of scratched or weathered paint.
Why Paint Correction is Necessary
Why exactly does your car's exterior degrade over time, necessitating paint correction? There are a few key culprits:
- Swirl Marks - Circular micro-scratches in the clear coat caused by washing, brush car washes, improper drying techniques, and driving debris.
- Surface Scratches - Fine scratches less than a millimeter deep penetrating just the clear coat. Causes include car washes, blowing grit, rings, poor washing, and day-to-day driving.
- Water Spots - Mineral deposits left behind when water evaporates. Dull white splotches form on the paint.
- Oxidation - Sun exposure breaks down the clear coat causing fading, yellowing, and loss of gloss.
- Etching - Damage from environmental fallout like bird droppings, tree sap, pollution, and acid rain chemically eat away the clear coat.
While you can minimize damage with good maintenance, some accumulation of defects is inevitable. Paint correction is the solution for reversing this damage.
What are the Layers of Car Paint?
To understand how correcting the clear coat transforms the appearance, it helps to first look at the layers that make up automotive paint:
- Primer - Provides a uniform surface for paint to adhere to and prevents rust
- Base Coat -The colored paint that determines the vehicle color. Modern base coats are very thin.
- Clear Coat - A transparent, protective layer over the base providing gloss and depth. It takes the brunt of damage.
Paint correction focuses solely on removing issues in the clear coat to avoid burning through to lower layers. By targeting just the top damaged layer, the color coat remains untouched.
Paint Correction Process Steps
Professional paint correction follows a meticulous multi-step process tailored to your vehicle's specific defects:
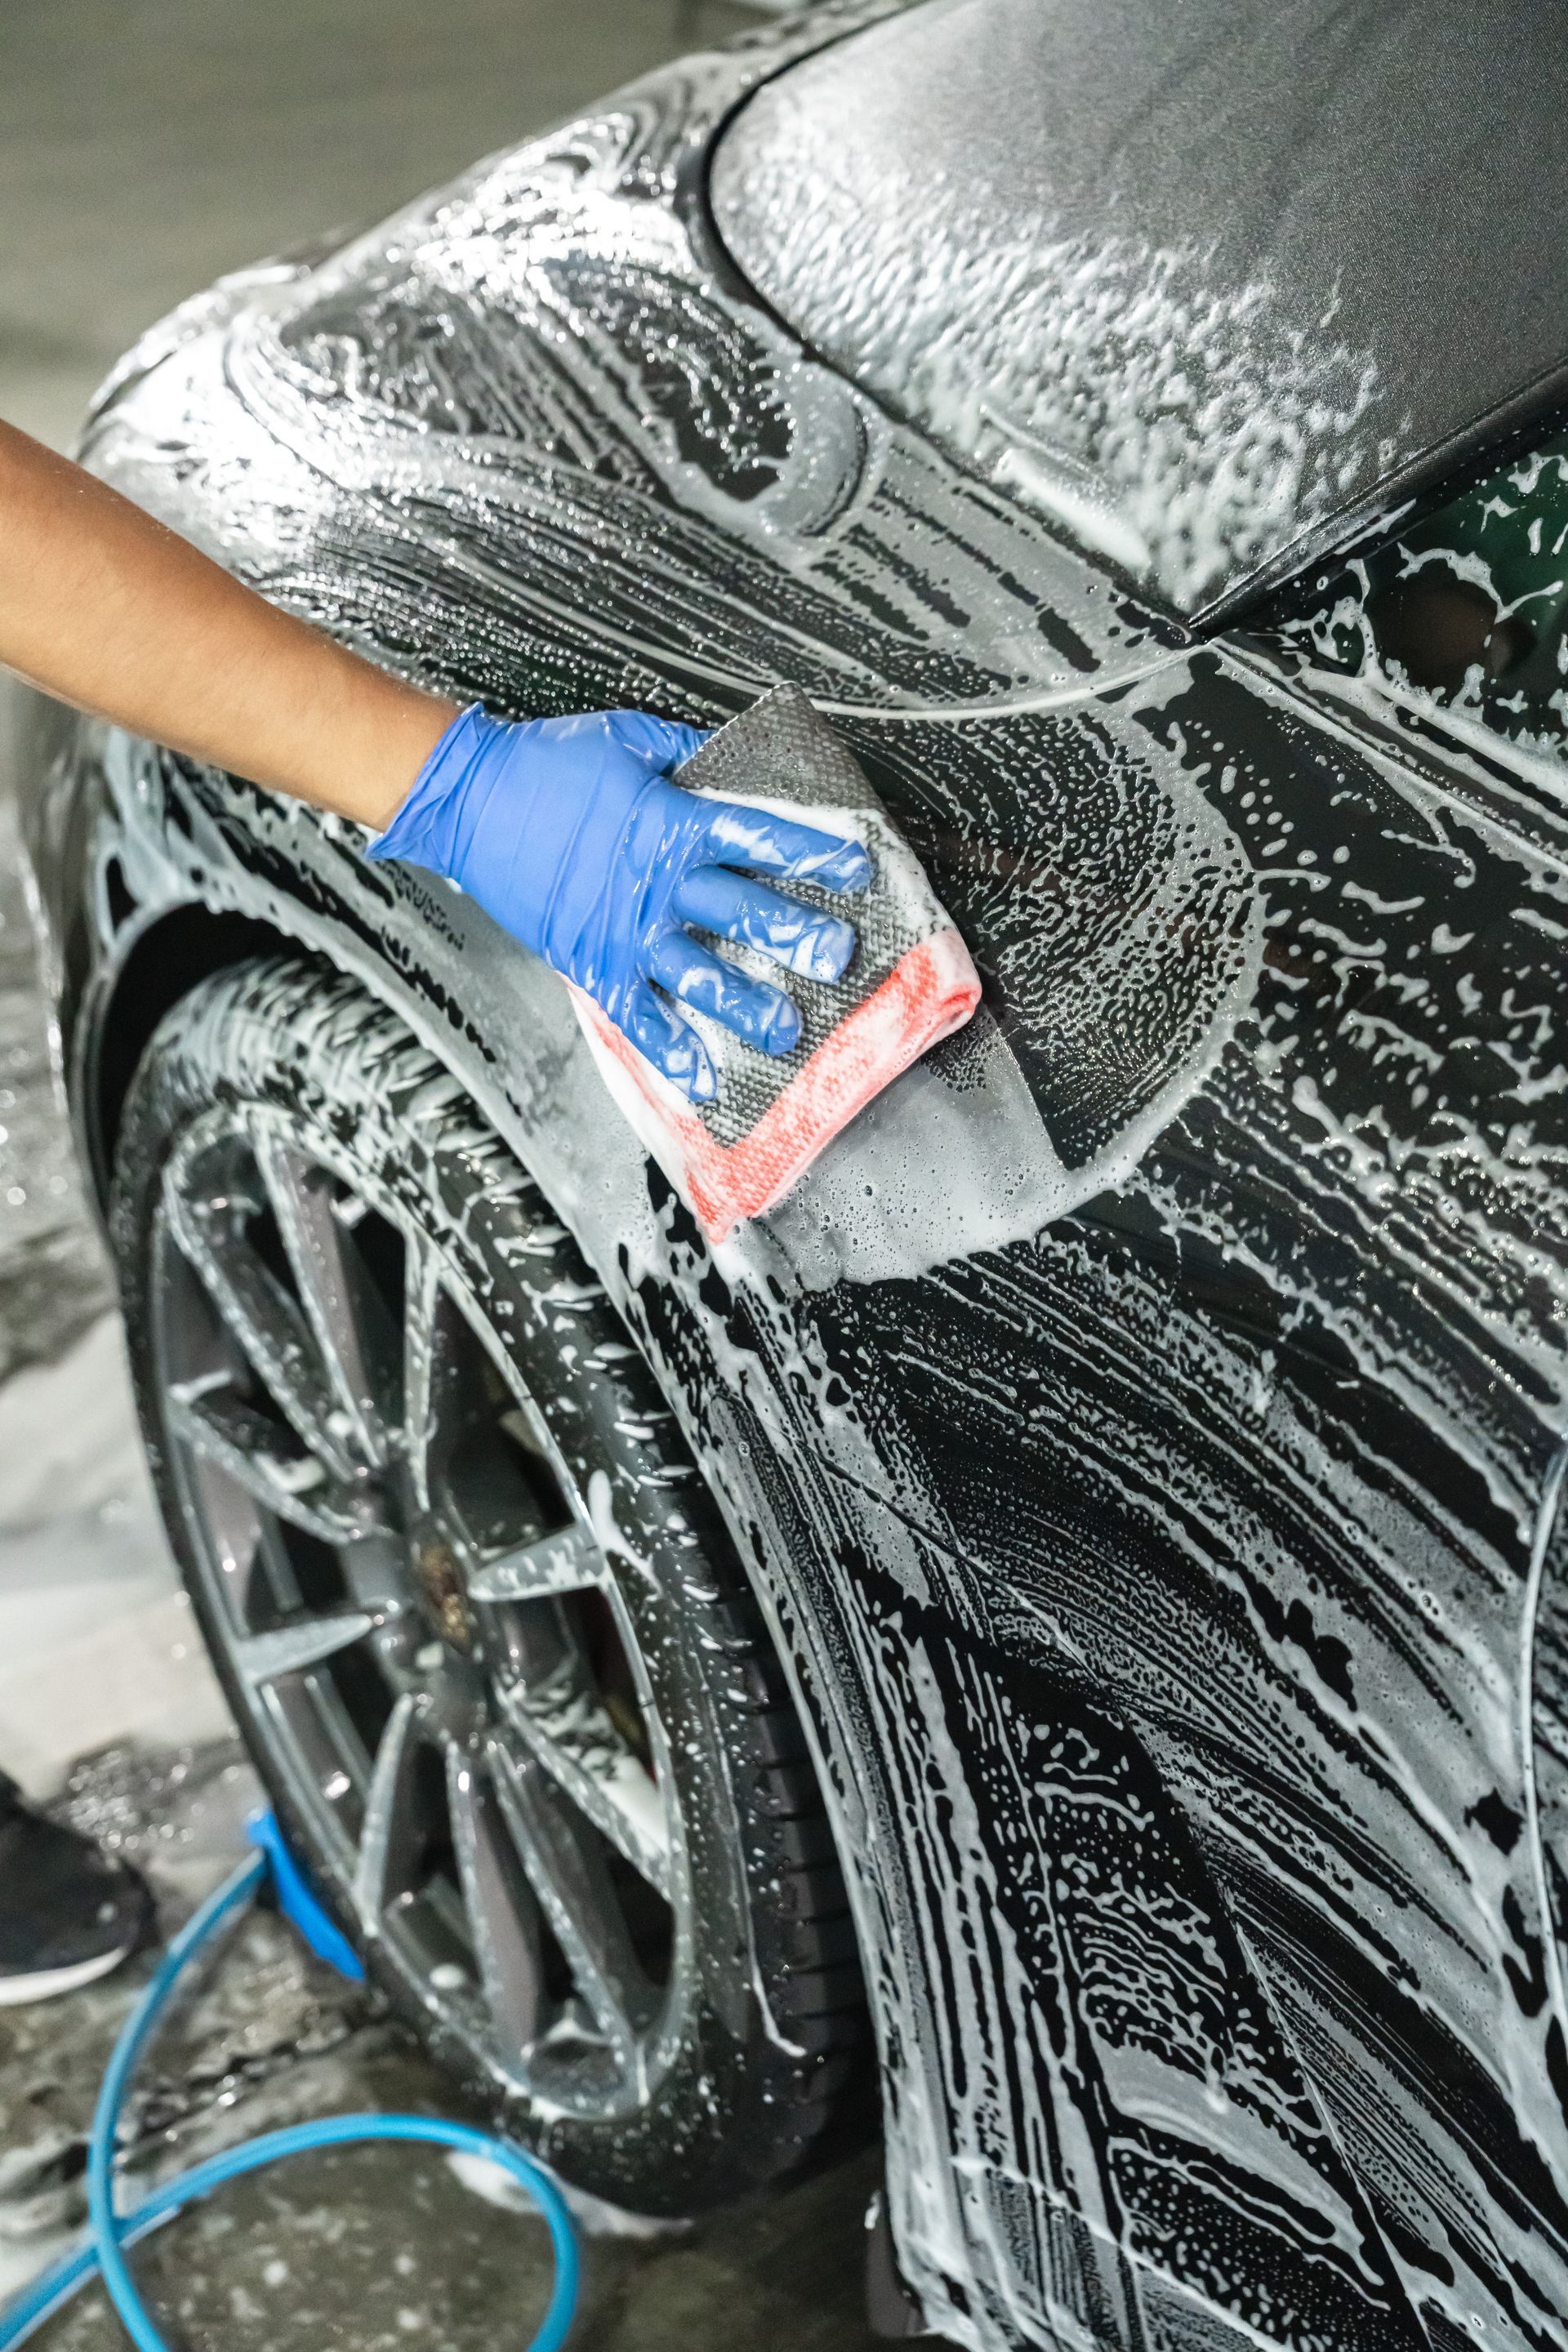
- Wash - The first step is a thorough wash and rinse to remove surface dirt. This prevents the polisher from spreading contaminants causing additional scratches. Wheel wells and door jambs also get cleaned.
- Clay Bar - Next, a lubricated clay bar lifts and removes bonded contaminants like industrial fallout, rail dust, and tar. The clay pulls out embedded grime the wash couldn't touch. Just polishing over bonded contamination without claying increases friction and can introduce new defects. Proper decontamination allows polishing pads to glide smoothly across the surface instead of dragging abrasive particles through the clear coat.
- Inspect Paint - All paint is closely inspected under lights to identify defect types, depth, and severity. Inspection determines how aggressive the correction should be. Without it, material removal becomes guesswork rather than a controlled process. Professional detailers use different methods depending on paint hardness, how resistant a clear coat is to abrasion the determine the best tools to use for the job.
- Tape and Mask - Any adjacent panels or trim pieces are taped off to isolate the area being corrected. This prevents over-correction or accidental damage.
- Correct Paint - Specialized compounds break down the clear coat's damaged top layer to smooth and level the surface, permanently removing fine defects.
- Polish - Fine polishes are used to clarify the clear coat between compound stages while eliminating haze and swirls. This brings back gloss.
- Inspect Again - The corrected paint is reinspected to ensure total defect removal and check for any isolated spots needing touch up work.
- Protect Paint - Wax, sealant, or ceramic coating is applied to protect the corrected paint from new damage and environmental factors.
While this provides a basic overview, paint correction is a nuanced process requiring extensive training and experience for proper techniques.
Professional correction always begins with the least aggressive method capable of producing meaningful improvement. This preserves clear coat and maintains future correction options.
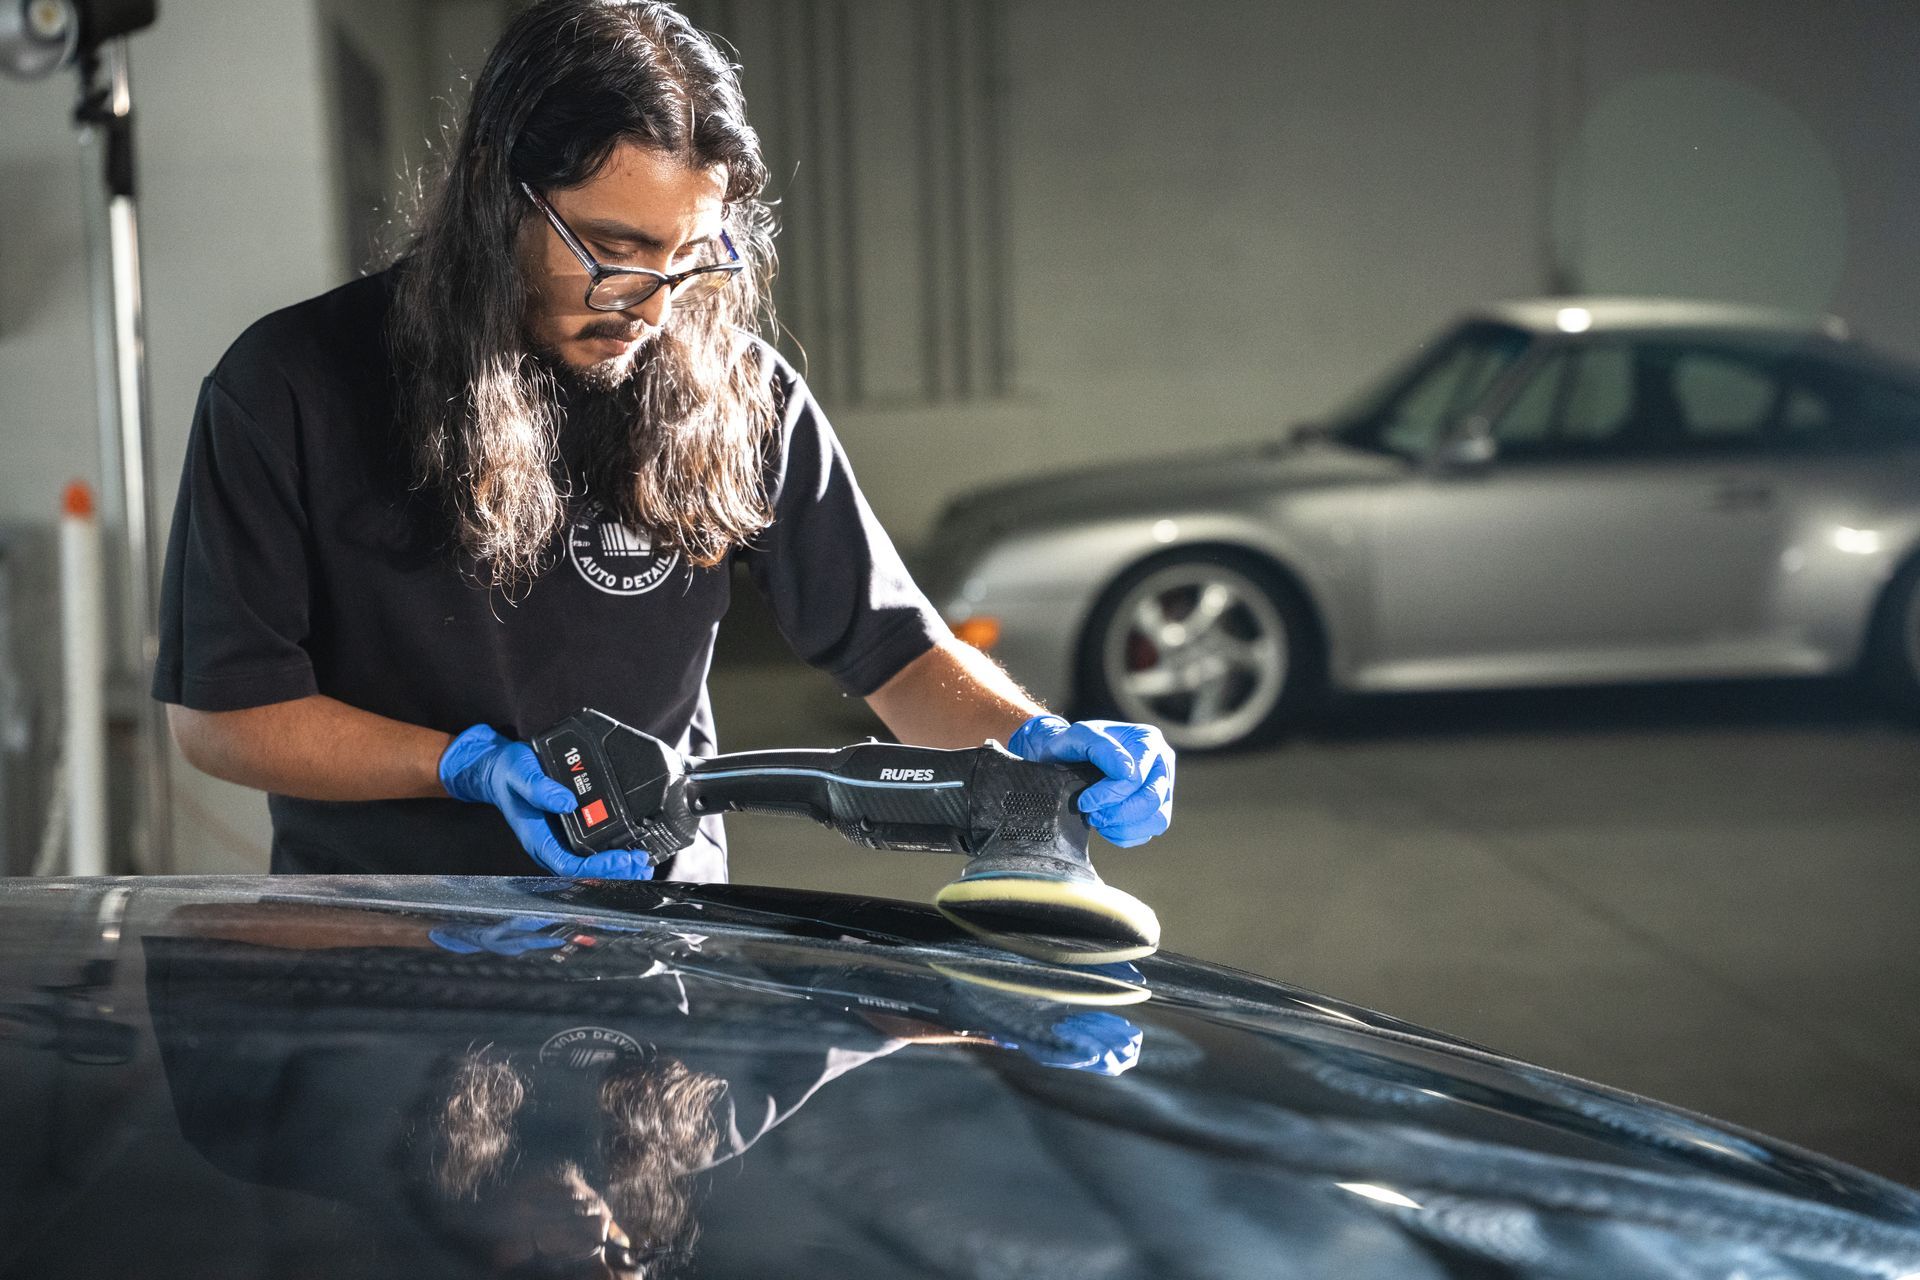
Paint Correction Tools and Materials
In addition to skill, paint correction requires specialized equipment and compounds to safely smooth the clear coat without damaging lower layers. Compounds and pads are selected based on their level of cut, not brand or color.
- Dual Action Polishers - Provide the power and pad oscillation needed to level paint without burning through. Flexible backing plates further minimize risk on curved panels.
- Foam Polishing Pads - Soft foam pads attach to the polisher for applying compounds and polishes. Multi-pad systems are used through the correction stages.
- Microfiber Cutting Pads - More aggressive microfiber pads remove deeper imperfections. The fibers cut into the clear coat faster than foam.
- Compounds - Specially formulated abrasives that chemically "sand" away the top micro layer of clear coat. Multi-grade compounds start aggressive and get finer.
- Polishes - Used between compound stages, fine polishes clean up haze and swirl marks from the abrasives while generating brilliant gloss.
- Paint Gauges - Used to determine clear coat thickness before and during the process. This avoids removing too much material on previously corrected vehicles or extensive jobs.
- Lights - High intensity lights show imperfections not visible under normal lighting. Used for inspection before, during, and after.
High-end detailers invest thousands in professional gear, since the polisher, pads, and compounds do the actual correction work.
Tips for DIY Paint Correction
With the right products and techniques, it is possible for car owners to correct minor clear coat defects themselves. Here are some key tips:
- Work in small sections and take your time - Avoid trying to correct everything at once. Work on areas like a hood or door to master technique.
- Use a DA polisher - Skip orbital buffers which can burn paint if used without the correct level of experience. Dual-action polishers are easier to control for beginners.
- Minimize pressure - Keep the polisher moving constantly and let the products do the work. Excess pressure risks burning through clear coat.
- Follow product instructions - Don't leave compounds or polish on too long before buffing off. Stick to recommended procedures.
- Change pads often - Old pads lose cut and can get clogged with removed paint, causing deeper scratches if used too long.
- Inspect as you work - Frequently stop to wipe and inspect areas under bright light to monitor progress.
- Apply a ceramic coating - A glass-like ceramic coating helps lock in correction results and protect the paint.
Even attempting DIY paint correction requires hundreds invested in a good dual-action polisher and compounds. We don't recommend trying paint correction without prior detailing experience as improper methods can cost thousands of dollars to repair.
Should I Get a Full Paint Job or Paint Correction?
While paint correction can restore shine and smoothness to oxidized, weathered paint, it cannot fix issues in the base paint layer. Deep scratches exposing the color coat, cracked or peeling clear coat, and extensive paint damage require more intensive solutions:
- Scratches through to metal require body work and repainting damaged panels.
- Peeling or heavily clouded clear coat means a full sand and respray of the clear is needed.
- Paint fade and oxidation advanced beyond correction may need the whole vehicle repainted.
Many factors determine whether your car needs paint correction or a full repaint. Our auto body and paint shop can evaluate damage and recommend the right solution.
In less extensive cases, paint correction is a budget-friendly way to restore vibrancy and remove unsightly imperfections from faded, scratched paint. It extends the life of your existing paint rather than incurring the cost of a respray.
While paint correction can seem like magic, attempting it with amateur tools and products produces underwhelming results at best and risks damaging the finish at worst. Our auto detailing pros have the skills, techniques, and professional equipment to truly correct paint for a flawless, show-quality finish.
We offer full-service paint correction tailored to your car's unique defects, current condition, and your goals whether you want a complete overhaul or quick touch up. To discuss your best options, contact us today for a free expert consultation. Our passion is paint perfection!