



Top 7 Car Detailing Tips Every PCO Driver Should Know

June 25, 2025
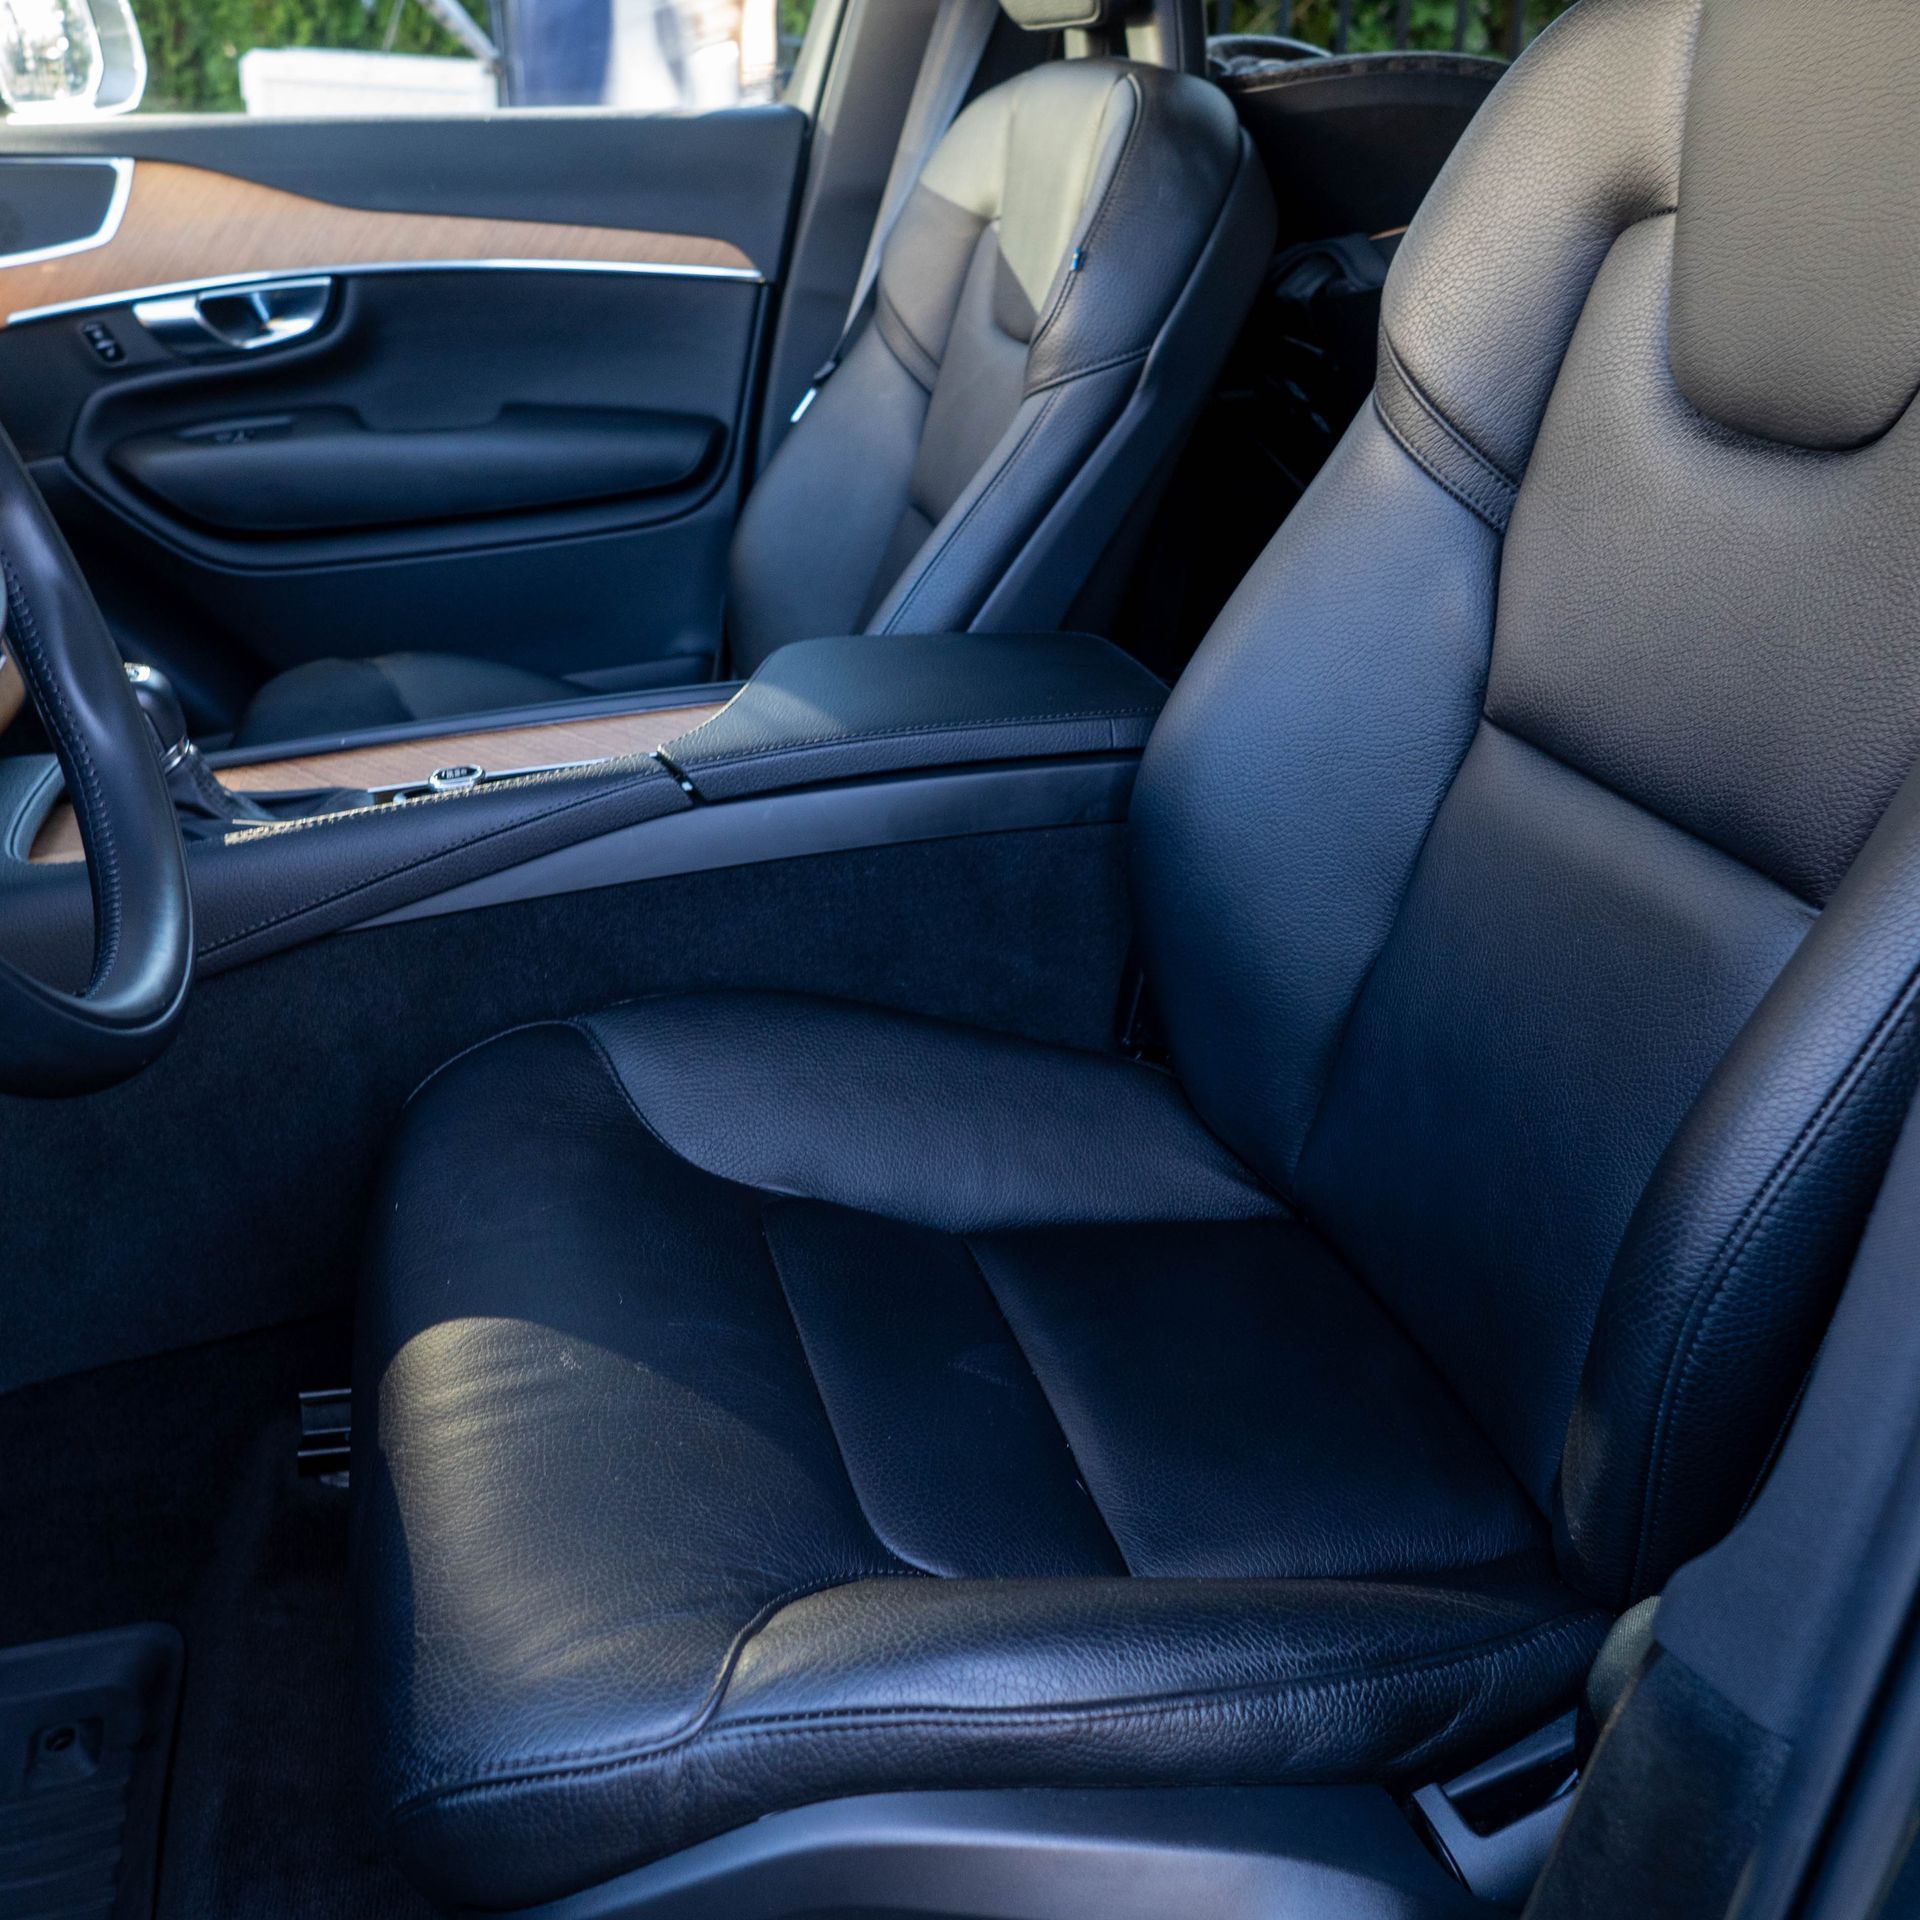
Your PCO car is your business, and just like any business, first impressions matter. A clean, well-detailed car instantly impresses passengers and improves their overall ride experience, leading to positive feedback and ratings.

Imagine driving a car with sticky windows, coffee stains on the seats, or dirt accumulated in corners. The passengers will be instantly put off. Some may even consider cancelling the ride, which can directly affect your daily earnings.

With car detailing, you can keep these issues at bay.

Detailing is different from the standard car wash as it is a thorough process to improve your vehicle’s appearance and preserve its condition. 

If you are using PCO car hire, then your car provider will handle the detailing process. However, if you drive your own car, then you should know the following tips to keep your car well-detailed.


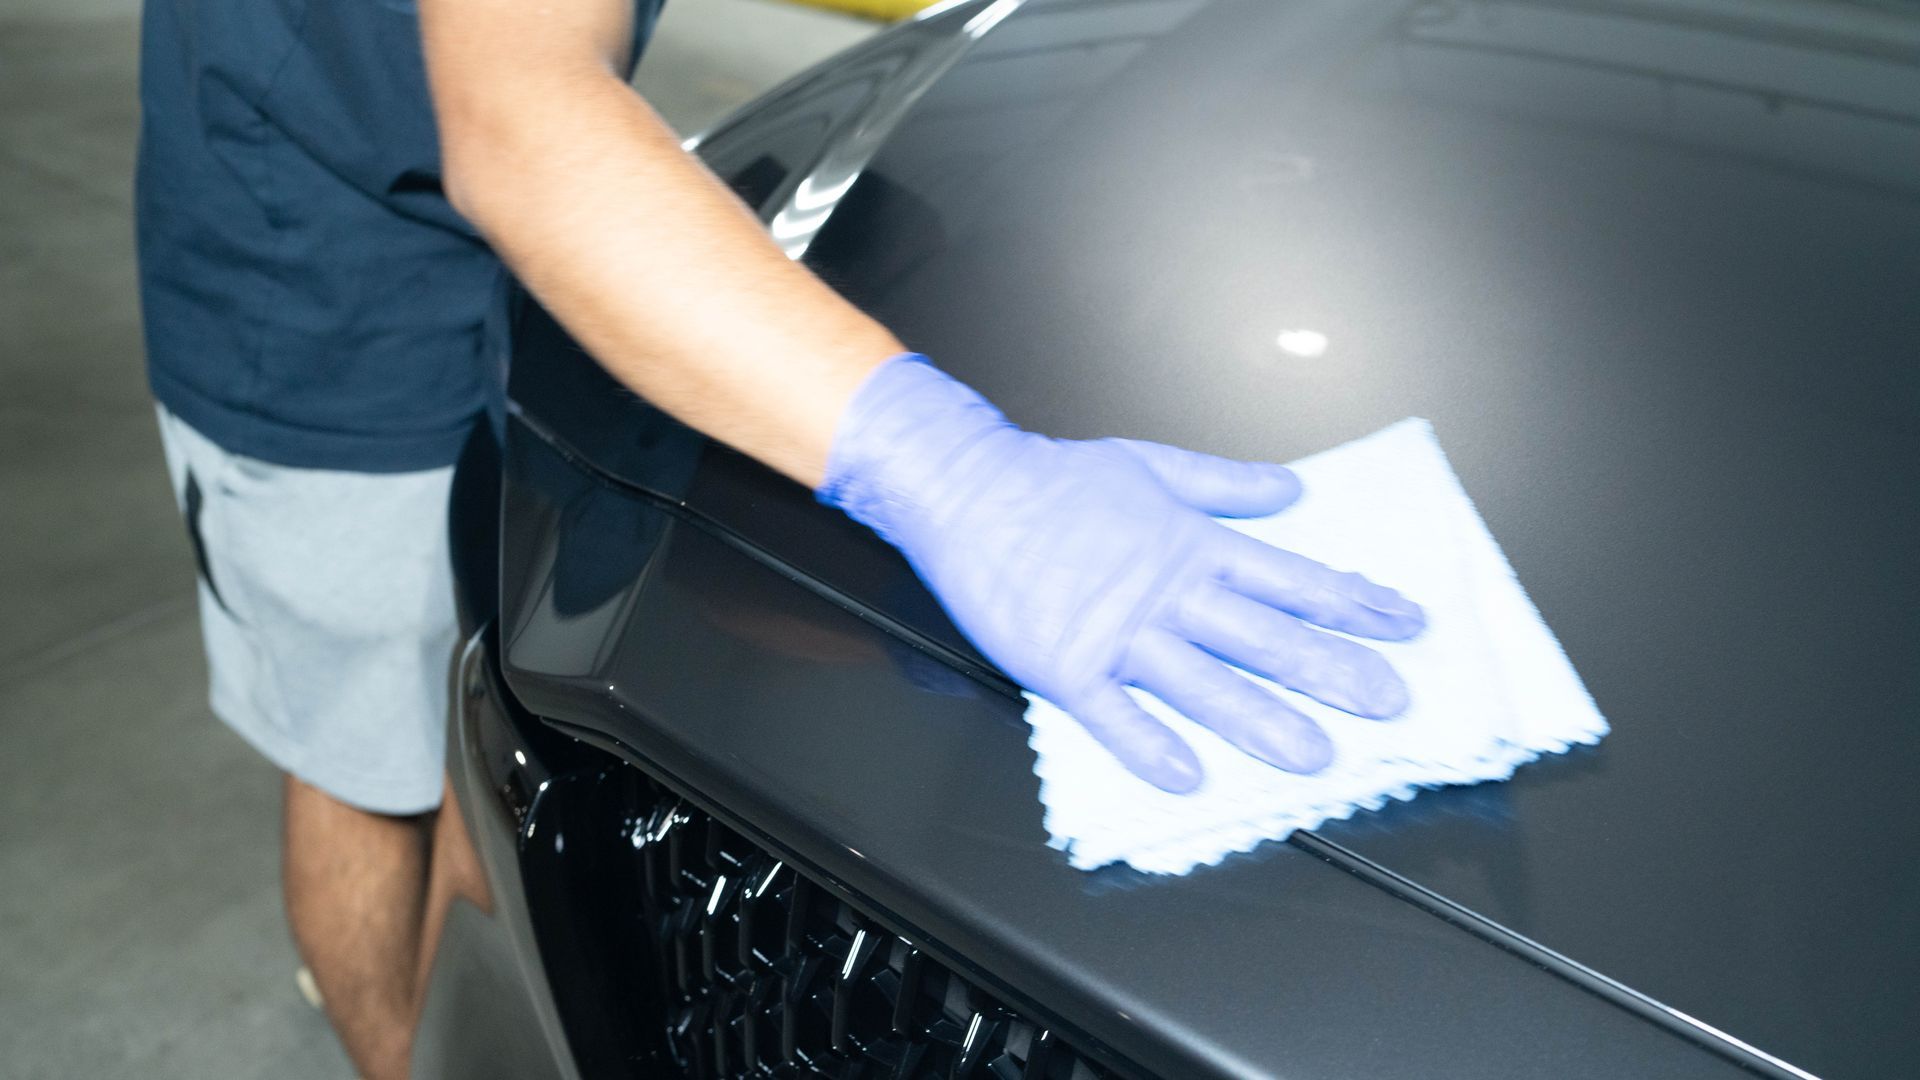
Use the Two Bucket Wash Method

Some drivers use a single bucket to wash their cars. This is not an ideal approach as every time you dip the wash mitt into the dirty water and rub it on the surface, you grind dirt and grit right into it, resulting in swirl marks, dullness, or micro-scratches. Over time, this could make your sleek vehicle look neglected, and you will need a paint correction service to restore its original look.


That’s why smart drivers use the two-bucket wash method. One bucket contains clean, soapy water while the other bucket is for rinsing your mitt. This prevents the dirt and grit from damaging the vehicle surface and helps you get better results.


It’s a small step with a huge impact.


Invest in a Quality Interior Cleaner


A cheap cleaner may save you money upfront, but it can cost you more in the long run. This is because many cheap interior cleaners leave behind a strong smell, fade fast, and could damage materials. Some even soak into fabric seats and turn them into odour traps.


Some passengers are allergic to strong smells, and if your car smells like chemicals, they will consider other options. Now, imagine losing rides because of that. You will end up losing more money than you had saved by buying a cheap product.


So, always use a quality interior cleaner, one that doesn’t have a lingering smell, doesn’t damage materials, and works on various surfaces such as dashboards, leather, vinyl, and plastic. Bonus points if it’s safe to use around sensitive areas like infotainment screens.


Vacuum the Car Regularly


Dust and crumbs can build up under the seats, in footwells, and between the seat cushions. Sometimes, regular cleaning is not enough to remove them from your car. You need to vacuum it to properly get rid of them.


So, get yourself a cordless vacuum and use it at least twice a week, particularly if you are doing long shifts, because the more passengers you pick up, the faster the mess builds up. 


However, there’s no hard and fast rule as to how often you should vacuum the car. Watch for passengers who eat food during a ride. If any crumbs are left behind, vacuum the car immediately to provide the next passengers with a clean environment.


Don’t Forget the Headliner


Headliner is the ceiling of the car. Many drivers ignore it, thinking it’s not as important as other parts of the car. However, this is a big mistake. Like any other area, the headliner can accumulate dust, grease, odours, and airborne grime.


In fact, most
smells in the car stick to the headliner. The food you ate during a break, the coffee a passenger just drank in your car, or even the sweat from riders - those smells all cling to the headliner.


Once these smells settle, no amount of air freshener will hide them. That’s why you should regularly clean the headliner as well.


Remember to use a microfibre cloth with a gentle cleaner and lightly wipe the surface. Don’t scrub too hard, as it can loosen the glue underneath.


Keep Microfibre Cloths in Your Glovebox


Whether you drive your own vehicle or PCO rental cars,  you should always have microfibre cloths within arm’s reach during your shifts because you may need them at any time. Let’s suppose someone touches your car's windows and leaves behind oily fingerprints, sneezes near the dashboard, or spills coffee. A microfibre cloth will help you clean the surface immediately.


These cloths are designed to remove dirt, dust, and oil at microscopic level without scratching the surface. Keep at least four sets of microfibre cloths in your car: one for glass surfaces, one for interior plastics, one for emergency spills, and one for wet cleaning.


Use a Detailing Brush for Vents and Buttons


Vents and buttons are among the most-used parts of PCO cars. Dirt and grime could quickly build up in these areas and negatively impact the appearance of your car’s interior.


Many PCO drivers use a detailing brush for vents and buttons. Remember that a detailing brush is different from a toothbrush or a paintbrush. It comes with soft-bristles specially designed for narrow and delicate surfaces.


It’s gentle enough to prevent scratches, but strong enough to pull out dirt, hair, crumbs, and other mess from areas where microfibre cloths don’t work. The best part is that it’s affordable and takes just a few minutes to clean.


Schedule a Monthly Deep Clean


Despite the regular DIY cleaning, you should book a monthly deep clean with a professional company as well. Make sure every inch of your vehicle gets attention during that session.


Get the carpets shampooed to remove the buildup of dirt, salt, and spilt takeaways. The seats, especially if they’re made of fabric, should be steam-cleaned, while the vents and even cupholders need to be scrubbed spotless.


The same goes for the outside. Get your car body properly polished and waxed. Make sure the scratches are fixed with a
scratch removal and repair service, and the tyres should get some treatment as well. The cleaner the car, the better the passenger experience.


Conclusion


The way you present your car matters a lot. A clean, well-detailed vehicle sets the tone for a pleasant passenger experience that ultimately results in five-star ratings. On the other hand, a car that looks dull and neglected could leave a negative impression on the passengers. Start following the tips we mentioned above, and you will instantly notice a difference in how the riders respond.


April 29, 2026
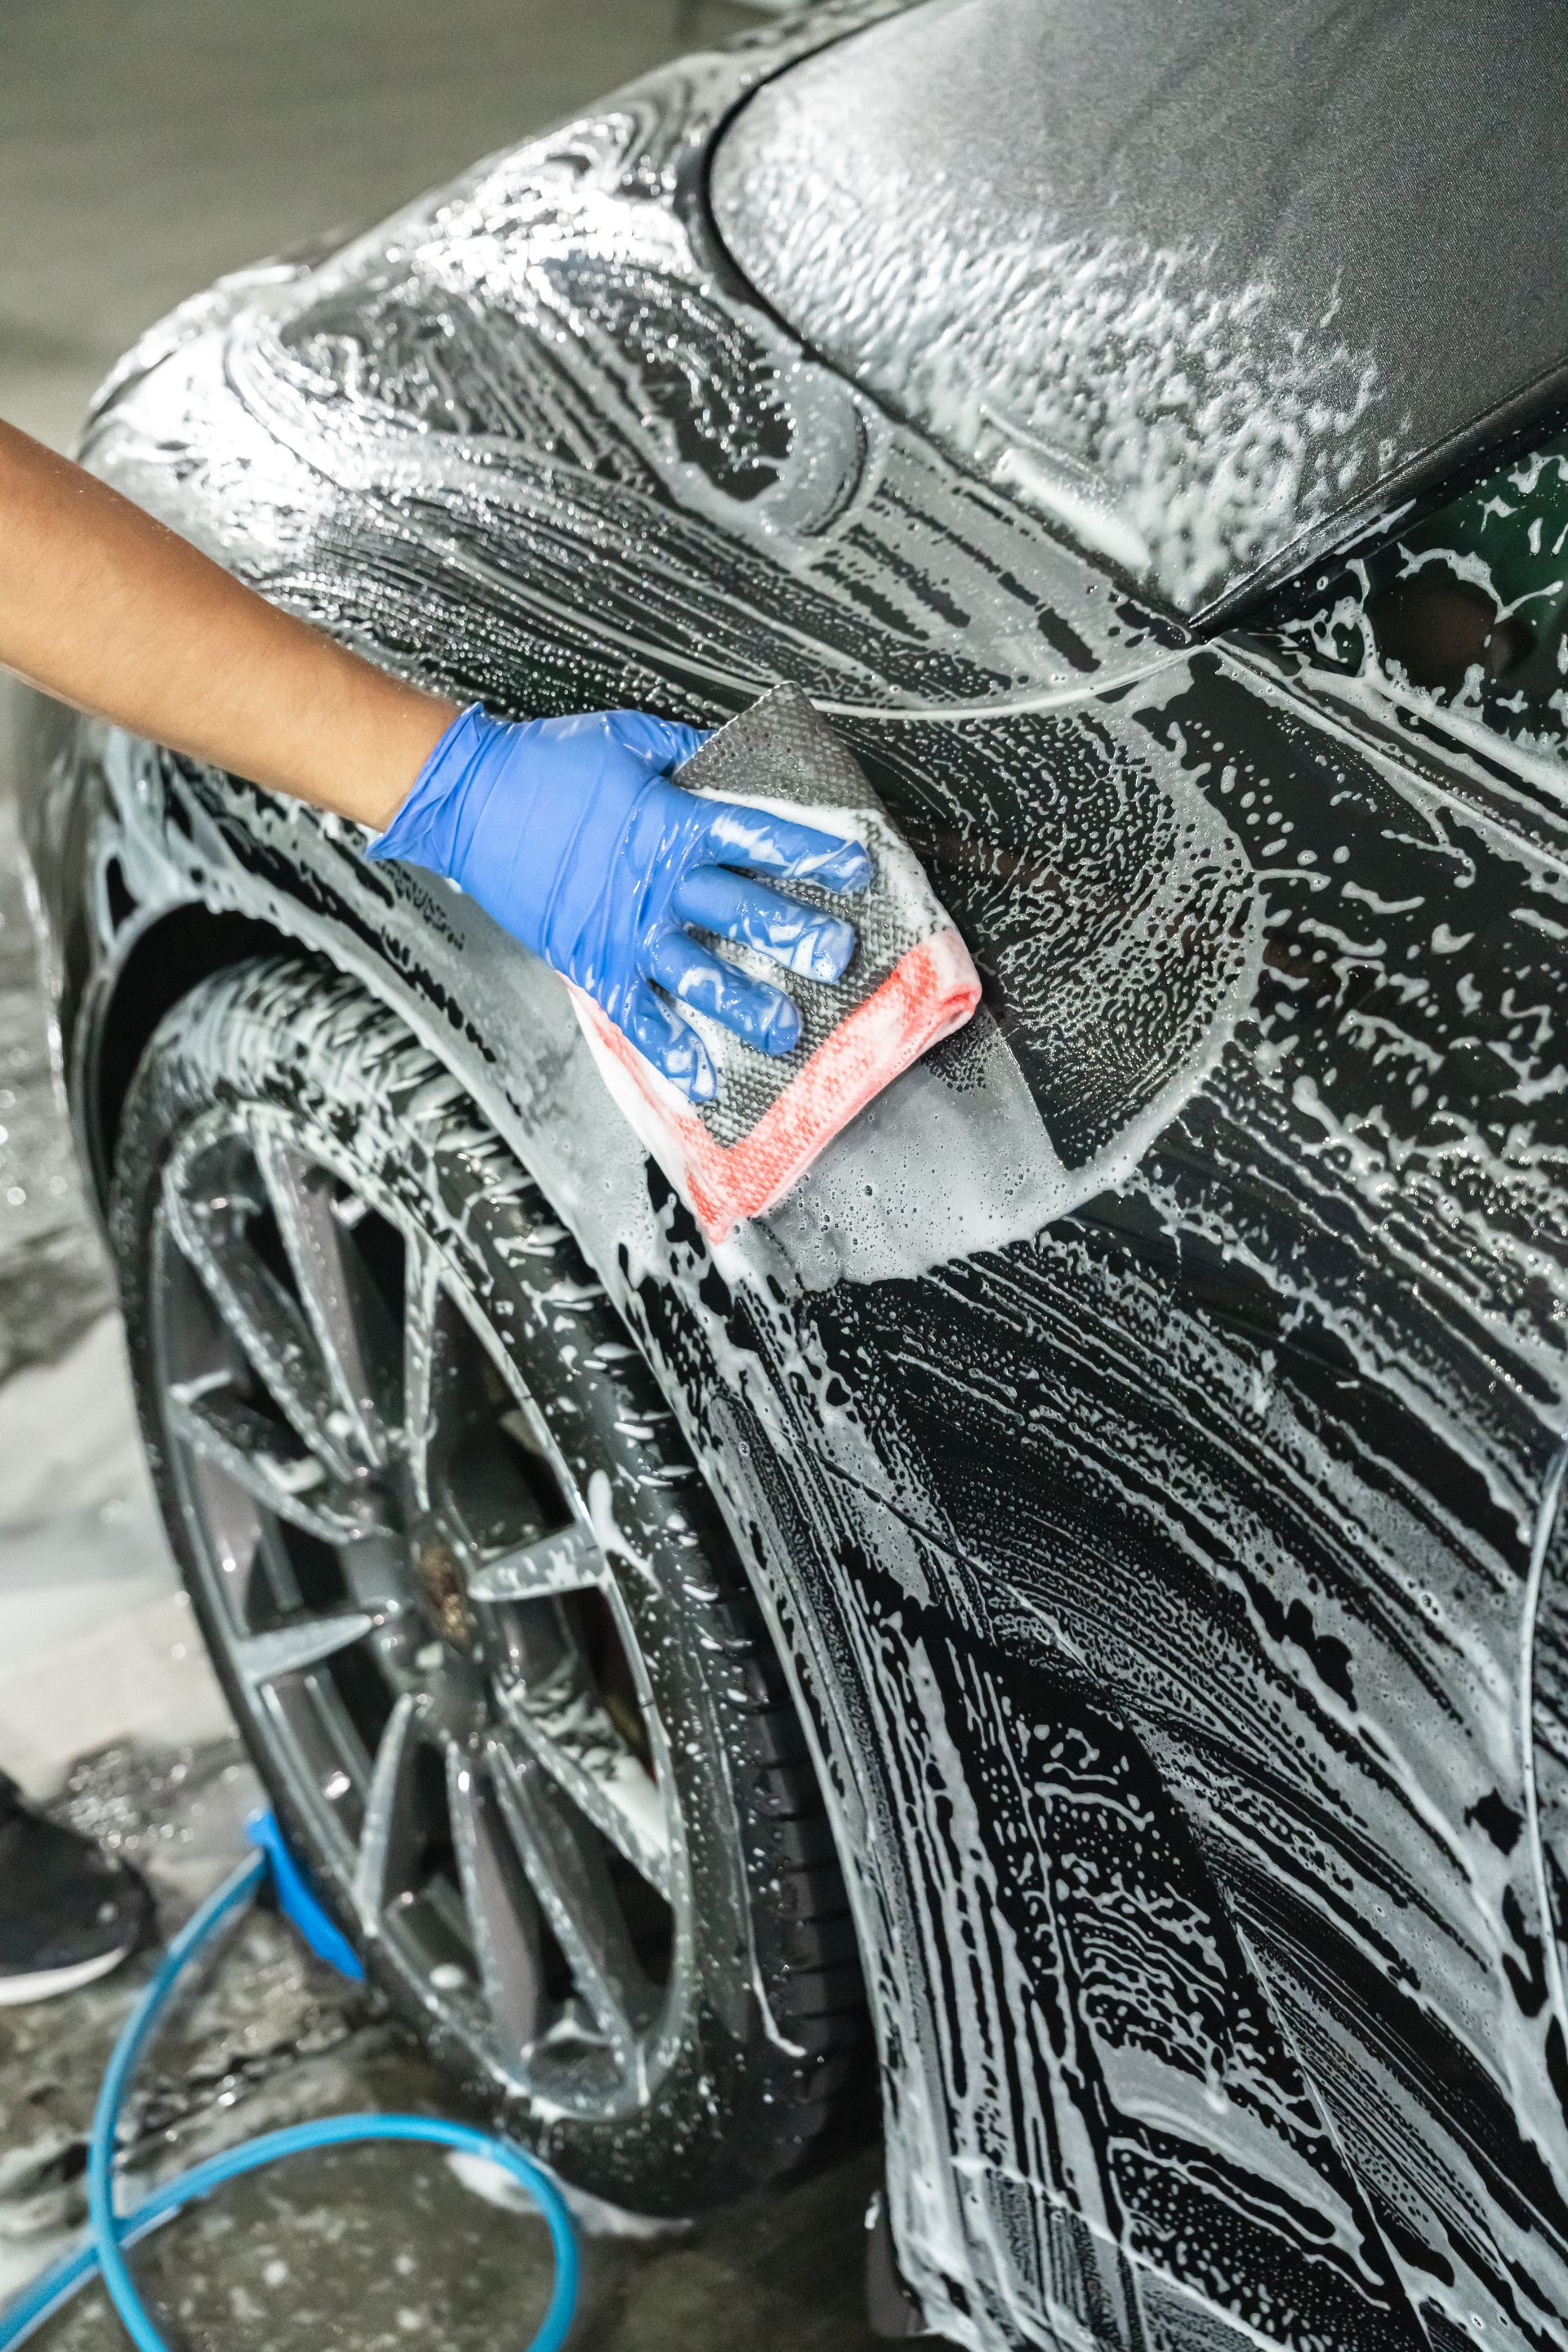
Your ceramic coating is one of the smartest investments you can make for your vehicle — but in the Northeast, it's not "set it and forget it." I'm the owner of Westchester Auto Detail in Westchester County, New York. We've been protecting Tri-State vehicles since 2020 and, for the past two years, have operated our dedicated facility, The Ceramic Lab by Westchester Auto Detail, inside the Westchester Mall. In that time we've applied and maintained hundreds of professional ceramic coatings for clients across the region. The cars that still look showroom-fresh after five or six brutal winters are the ones whose owners follow a disciplined, climate-smart maintenance plan. If you're in Westchester County, Fairfield County, or anywhere in NY, CT, NJ, or PA and you want your coating to deliver maximum hydrophobicity, gloss, and paint protection for five or more years, this guide is written for you. We'll cover the exact routines I give my local clients, the products that actually work in 2026, and the Northeast-specific challenges most California-focused guides completely ignore. What Exactly Is a Ceramic Coating and Why Does It Still Need Year-Round Maintenance? A ceramic coating is a liquid SiO₂ (silicon dioxide) or graphene-infused polymer that chemically bonds to your paint, creating a hard, hydrophobic, UV-resistant layer. It's not paint protection film — it won't stop rock chips — but it makes water, dirt, bird droppings, and road grime bead up and slide off far more easily than untreated paint. The big myth? "Once it's on, you never have to wash again." Reality: the coating still gets dirty, and contaminants — especially road salt — can etch into microscopic pores over time. In the Northeast, temperature swings, freeze-thaw cycles, and heavy de-icing chemicals accelerate this wear. Proper maintenance keeps the majority of original performance intact for years instead of months. How Does the Northeast Climate Uniquely Challenge Your Ceramic Coating? Most generic guides assume mild weather. Here in Westchester County and along the I-95 corridor, four very different enemies rotate through every year: Winter: Road salt (sodium chloride and magnesium chloride mixes used throughout NY and CT) doesn't just sit on the surface — freeze-thaw cycles drive it into micro-pores. Spring: Pollen bombs from oak, maple, and pine trees create a sticky film that bakes on in the sun. Summer: Intense UV exposure, tree sap, and bug acids. Fall: Construction tar, leaf tannins, and early frost. From our shop data, vehicles in the Tri-State that skip proactive winter care lose hydrophobicity noticeably faster than those following a consistent cold-weather protocol. The good news: a ceramic coating still makes salt removal dramatically easier — it just requires proactive steps to stay performing at its best. What's the Ideal Year-Round Washing Routine for a Ceramic-Coated Car? Frequency: Every 7–14 days year-round. In winter, aim for weekly or every 10 days if you're driving on treated roads. The Two-Bucket Method — non-negotiable: Pre-rinse thoroughly with a pressure washer or strong hose. Bucket 1: pH-neutral shampoo with a grit guard. Bucket 2: Plain rinse water for your mitt. Microfiber wash mitts only — never sponges or brushes. Drying: Use a blower or clean microfiber towels. Air drying in humid Northeast conditions leaves water spots that etch over time. Touchless option for light days: A quick high-pressure rinse at a self-serve bay removes loose salt without contact — a legitimate maintenance step in a pinch. How Should You Wash and Protect Your Ceramic Coating in Northeast Winters? This is where most owners drop the ball. Winter Decon Protocol — every 4–6 weeks: High-pressure pre-rinse, with extra attention to the undercarriage, rockers, and wheel wells — salt accumulates heavily in those areas. Alkaline snow-foam pre-wash if available. pH-neutral contact wash. Iron remover — essential for dissolving embedded brake dust and road salt. Cold-weather notes: Wash in a heated garage when possible, or use warm (not hot) water in a portable foam cannon. Soft-bristle snow brush only — no plastic scrapers, never metal. Monthly undercarriage rinse. This single step prevents more rust and coating wear than almost anything else a daily driver can do. Case Study: A client's 2022 Tesla Model Y — a daily I-95 commuter right here in Westchester County — went through three winters with no rust on rockers or doors. The owner committed to weekly rinses and monthly undercarriage flushes. Hydrophobicity held up well past the three-year mark. What Changes in Spring, Summer, and Fall for Maximum Longevity? Spring: Pollen decon followed by a light clay bar treatment if needed, after the final salt wash of the season. Summer: Park in shade when possible. Apply a UV-boosting ceramic spray every 60 days. Fall: Tar remover for construction season residue, followed by a tannin rinse after leaf storms.
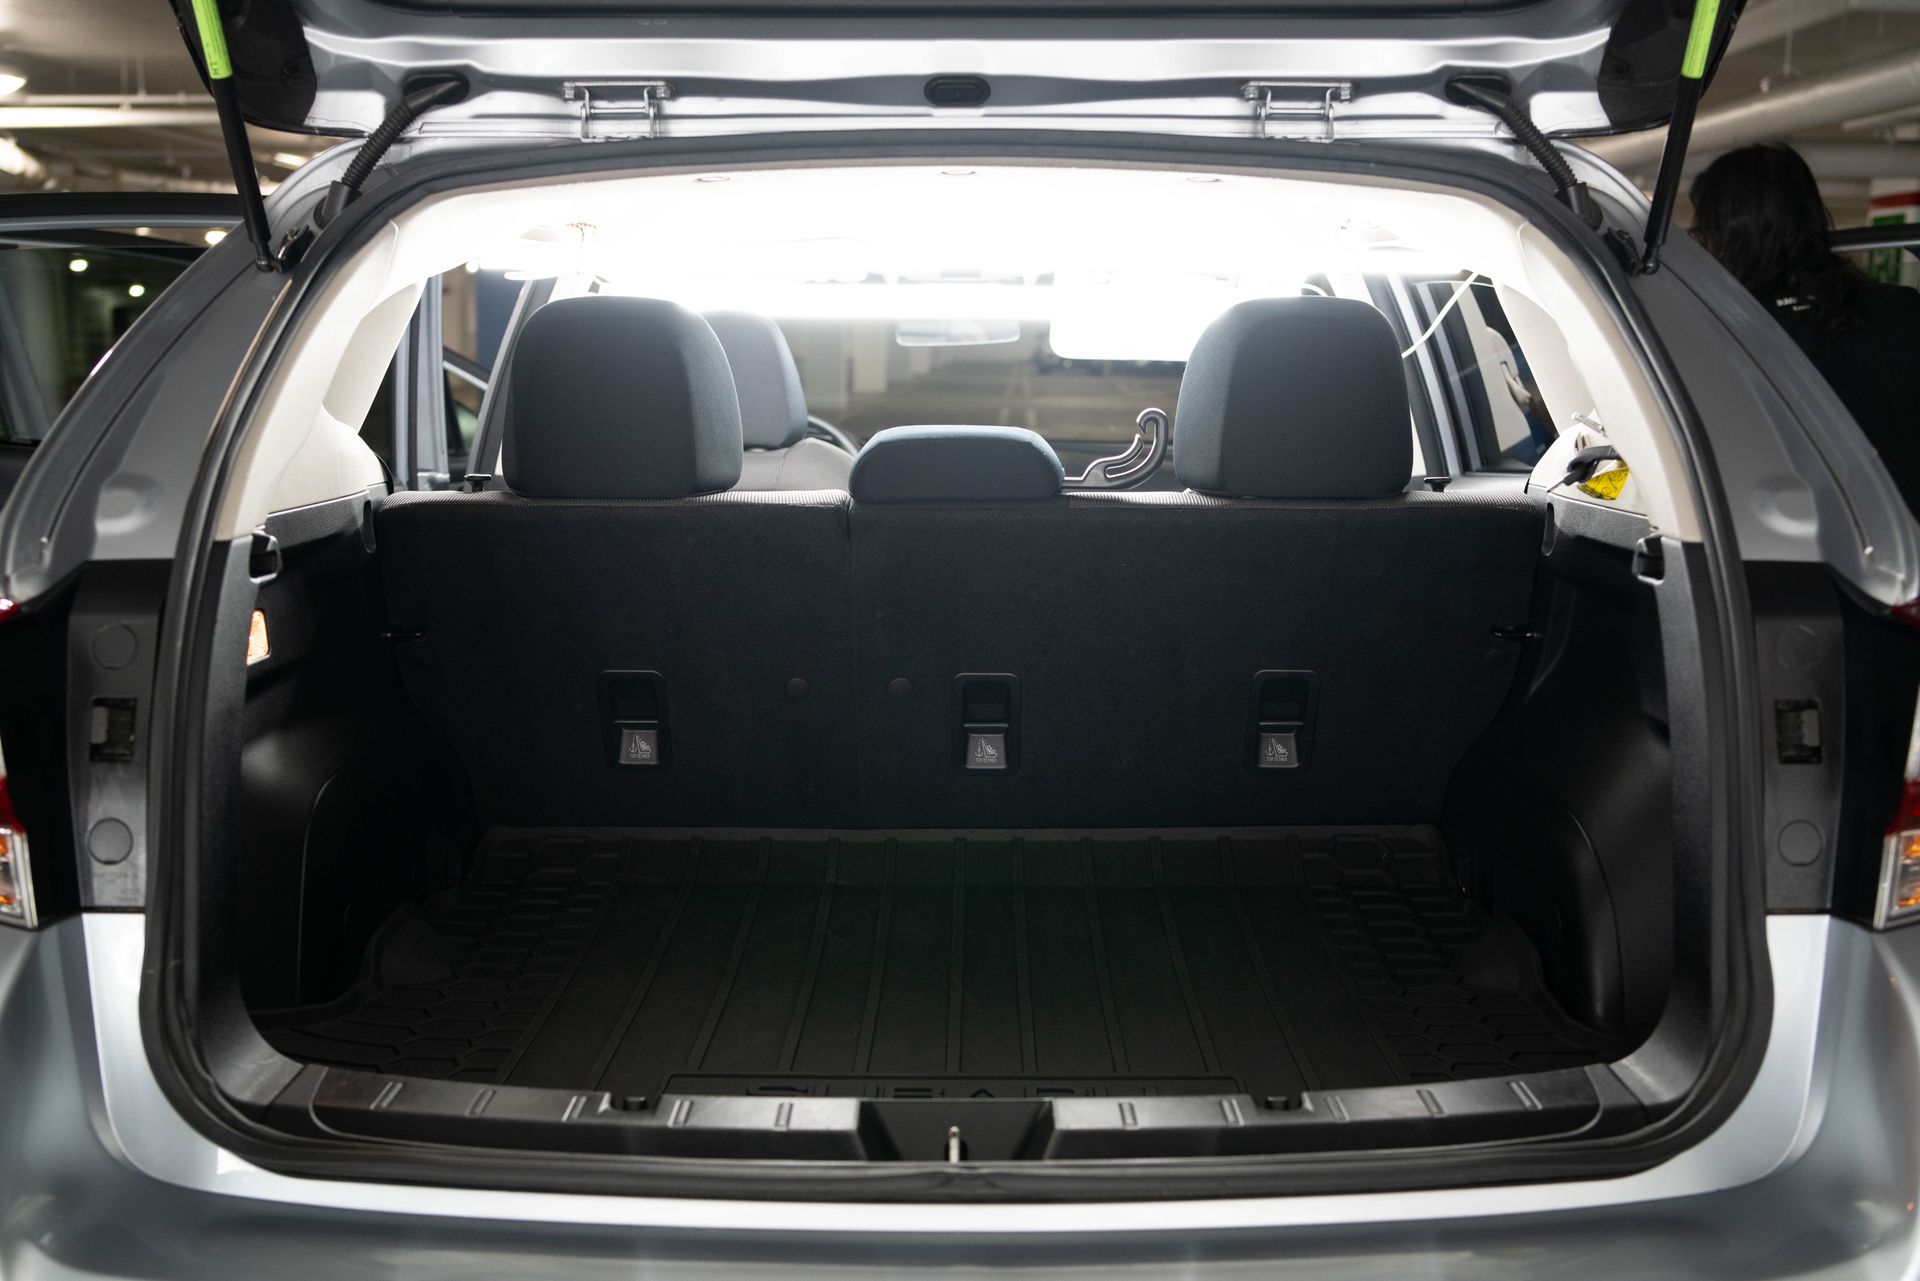
Empty cargo area of a silver hatchback car with rear seats folded down.
January 17, 2026
Preventing mold in a car during storage or after flooding is often misunderstood as a cleaning issue. In practice, it comes down to moisture control. Mold develops when moisture remains trapped inside interior materials long enough to support growth, usually when airflow is limited. The important distinction is this: most vehicles do not continue to have mold problems once moisture intrusion is corrected, the vehicle has been treated for mold and the interior is properly dried. Ongoing issues are typically linked to unresolved leaks, incomplete drying, or storage conditions that allow moisture to build back up. What the Process Actually Is Preventing mold during storage or after flooding is not about aggressive cleaning or constant intervention. The goal is to remove moisture, confirm interior materials are dry beneath the surface, and prevent new moisture from entering. In storage situations, this means managing humidity and circulation over time. After flooding or water intrusion, the focus is on how quickly moisture was removed and which materials absorbed it. When drying is thorough and the source of water is addressed, interiors usually stabilize and remain problem-free. This is why prevention looks different for a vehicle that sat unused for months versus one that experienced direct water exposure. Why Mold Develops in Stored or Flood-Affected Vehicles Mold needs moisture, organic material, and time. Modern vehicle interiors contain foam, padding, insulation, and fabrics that can absorb and hold moisture longer than most owners expect. During long-term storage, temperature changes create condensation. Moist air enters through normal seals and ventilation points, condenses on cooler surfaces, and becomes trapped when airflow stops. Even a small amount of existing moisture can worsen under these conditions. In many cases, minor water intrusion is already present before a vehicle is stored. Once circulation stops, that moisture has no opportunity to dissipate. Vehicles stored outdoors face a similar issue, where small leaks at door seals, sunroof drains, or windshield cowls allow moisture to enter while the vehicle sits. After flooding, moisture intrusion is more direct. Carpet padding, insulation, seat foam, and HVAC components can retain water long after surfaces appear dry. If those materials are not dried fully, odor or mold may appear later. When moisture is removed properly and the vehicle returns to normal use, ongoing airflow and regular operation typically prevent these conditions from returning. Decision Points That Change the Outcome Not all moisture situations behave the same way, and outcomes depend on several practical factors. Storage-related risk depends on the environment. Indoor storage without airflow can be just as challenging as outdoor storage in humid climates. Desiccants help manage moisture in the air, but they do not remove water already trapped in interior materials. Flood-related risk depends on how much water entered, how long it remained, and how quickly drying began. Water that reaches seat foam, padding, or insulation changes how the interior responds and how long moisture persists. It is also common for owners to assume a vehicle is no longer viable based on how much water entered or how long it remained wet. While those factors matter, they do not tell the full story. Interior materials respond differently depending on construction and how moisture moved through the vehicle. Determining whether components can stabilize requires inspection of padding, foam, and hidden areas rather than estimates based on time or water level alone. In practice, most vehicles fall into a middle category where moisture intrusion is identifiable, drying is achievable, and no long-term issues remain once conditions are corrected. Common Misconceptions Storage covers prevent mold. Covers reduce dust but often trap humidity when airflow is limited. If a car dries once, it will stay dry. Stored vehicles experience changing humidity levels that can reintroduce moisture if conditions are not managed. Desiccants alone prevent mold. Desiccants help control air moisture but do not address water retained in foam, padding, or insulation. What Determines Whether Issues Return Sealing a vehicle too tightly during storage can trap humidity and encourage condensation. Partial drying can make an interior appear stable while moisture remains below the surface. After flooding, how quickly drying began and how deeply materials were affected matters more than the initial appearance. Carpet padding and insulation release moisture slowly, while seat foam can remain damp even when surfaces feel dry. When carpets are affected, the most viable method for removing moisture is peeling up carpets and ensuring the insulation underneath is getting proper airflow. When moisture sources are corrected and interior materials are fully dried, additional intervention is rarely needed. When Preservation Matters More Than Results Interior materials are not unlimited. Carpet padding, insulation, and seat foam can degrade when repeatedly exposed to moisture. In some more severe cases, replacing affected components provides a more stable long-term result than repeated drying attempts. Experienced professionals prioritize stability over cosmetic perfection. A vehicle that is dry, ventilated, and returned to normal use will outperform one that looks clean but retains hidden moisture. Frequently Asked Questions Can a stored car grow mold without flooding? Yes. Condensation, lack of airflow, and minor leaks can be enough. How long after flooding does mold appear? Often weeks or months later if moisture remains trapped. Are desiccants enough during storage? They help, but only as part of a broader moisture-management approach.  Do most cars continue to have problems after proper drying? No. Once moisture intrusion is corrected and interiors are dry, most vehicles remain stable. Practical Takeaway Preventing mold during vehicle storage or after flooding comes down to one core principle: moisture must be removed and kept from returning. In most cases, once water intrusion is corrected and interior materials are fully dried and treated for mold, vehicles do not continue to experience mold issues. Normal use, airflow, and basic moisture awareness are usually enough to keep the interior stable. At Westchester Auto Detail, we routinely evaluate and remediate mold-related issues in vehicles, from minor contamination to more involved cases following water intrusion. Through that work, we are familiar with common vehicle-specific areas where moisture intrusion occurs and how those conditions affect interior materials over time. Our focus is on treating existing mold, confirming that interiors are properly dried, and recognizing when underlying issues may need further attention. If you have questions about mold in your vehicle or want guidance on how to address it, our team can review your situation and help outline practical next steps based on inspection and experience.
January 17, 2026
Removing mold from car seats and carpets safely is not just about killing what you can see. In vehicles, mold problems are usually driven by trapped moisture, and improper cleaning can spread contamination deeper or create conditions for regrowth. A safe approach focuses on limiting disturbance, controlling moisture, and ensuring affected materials are actually dry beneath the surface. This guide explains what safe removal looks like, why common DIY methods often fail, and how to recognize when deeper remediation or repair-first steps are necessary. What the Process Actually Is Safe mold removal in a vehicle is a controlled remediation process , not aggressive scrubbing. The goal is to reduce contamination while avoiding over-wetting or spreading spores into seat foam, carpet padding, or the HVAC system. At a high level, the process responds to three conditions: moisture, organic residue, and time. It exists to interrupt those conditions without damaging interior materials. What it does not do is guarantee permanent results if moisture sources remain active or materials are already degraded. A safe approach typically includes assessment, limited surface cleaning, controlled extraction, thorough drying, and prevention planning. Skipping any of these steps increases the risk of recurrence. Why This Problem Exists (Cause and Effect) Vehicles are uniquely vulnerable to mold because they combine porous materials with limited airflow. Fabric seats, seat foam, carpet padding, and insulation absorb and retain moisture far longer than most people realize. Moisture enters through common situations such as wet clothing, spills, rain intrusion, condensation from air conditioning use, or long-term storage in humid conditions. Even when the surface feels dry, moisture can remain trapped underneath. Cause-and-effect patterns are consistent: Moisture trapped in seat foam leads to odor that returns after cleaning. Carpet padding that stays damp allows spores to survive and spread upward. HVAC evaporator moisture can recirculate contamination through the cabin when the fan runs. This is why surface cleaning alone rarely solves the issue. Decision Points That Change the Outcome Not every mold situation should be handled the same way. Several factors determine whether limited DIY cleaning is reasonable or likely to fail. Material type matters. Fabric seats behave differently than leather, and both differ from foam and padding underneath. Light surface spotting on fabric can sometimes be addressed cautiously. Foam saturation beneath the surface is a different problem entirely. Severity and duration also matter. Recent, localized exposure is easier to stabilize than long-term dampness or widespread odor. If moisture has been present for weeks or months, deeper involvement is likely. Source status is critical. If water intrusion from a leak, drain, or seal is ongoing, interior cleaning should pause until that source is corrected. In those cases, a dealership or qualified repair facility is often the appropriate first step. Restraint is required when tools or drying capacity are limited. Over-wetting seats or carpets without proper extraction and drying often makes the problem worse. Common Misconceptions Vinegar or steam alone removes mold safely. These methods may improve appearance but do not address moisture trapped below the surface. Overuse can increase saturation and recurrence risk. If the stain is gone, the problem is solved. Mold often persists in foam or padding even when the surface looks clean. Odor sprays or fogging treatments fix mold. These products may mask smells temporarily but do not remove moisture or embedded contamination. Risks, Limitations, and Trade-Offs Improper removal attempts can spread contamination deeper into interior materials. Aggressive brushing, compressed air, or over-saturation can force spores into foam and padding where drying becomes difficult. Cross-contamination is another risk. Tools that are not properly cleaned can transfer spores between areas or vehicles. There are also clear limits. Mold removal cannot reliably restore materials that have broken down structurally. In some cases, replacement is the only stable option. This article focuses on protecting vehicle materials and reducing recurrence. It does not diagnose health conditions or guarantee outcomes. When Preservation Matters More Than Results Interior materials are finite. Seat foam and carpet padding degrade with repeated wetting and microbial activity. Chasing perfect cosmetic results can sometimes create more long-term risk than improvement. Experienced professionals often stop before full saturation or disassembly when the risk outweighs the benefit. Stability, dryness, and prevention matter more than making a surface look perfect for a short time. Frequently Asked Questions Can mold grow without visible spots on seats? Yes. Odor often comes from foam, padding, or HVAC components before mold is visible. Is it safe to scrub mold out of fabric seats? Light surface cleaning may help, but aggressive scrubbing can spread contamination and force moisture deeper. Why does the musty smell come back after cleaning? Because moisture or contamination remains below the surface or within the HVAC system. Should I clean mold if my car has an active leak? No. The source should be repaired first to prevent repeat contamination. When should I stop DIY and consult a professional? When odor persists, materials remain damp, or foam and padding are involved. Practical Takeaway Safely removing mold from car seats and carpets is less about stronger cleaners and more about controlling moisture, limiting spread, and confirming that materials are dry beneath the surface. DIY cleaning can be appropriate in limited cases, but it becomes unreliable when foam, padding, or ongoing moisture are involved. Addressing the source first, using restraint, and understanding vehicle-specific systems prevents recurrence and protects interior materials over the long term.
More Posts